Construction of the floats ²
(continued from page 1 ]
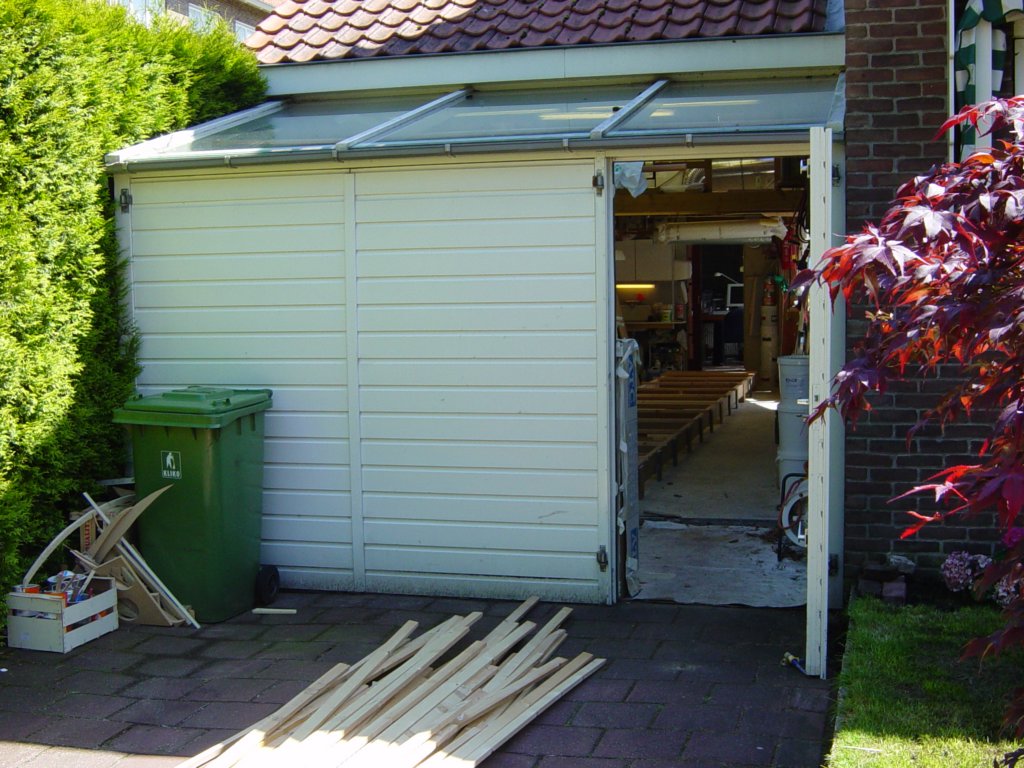
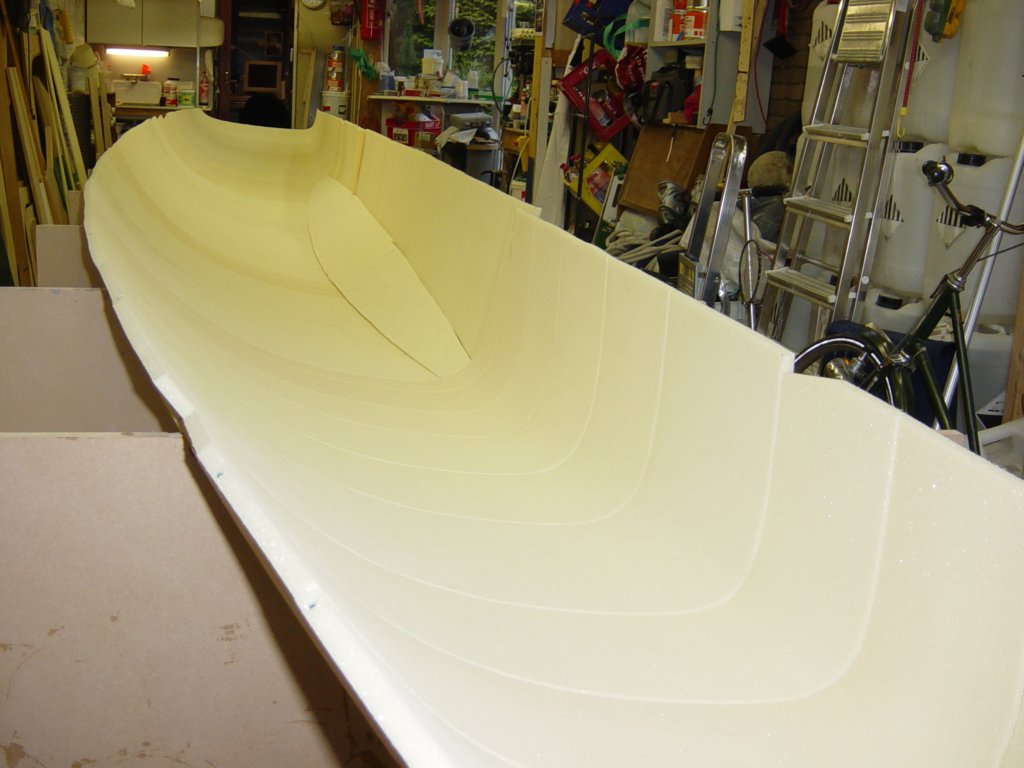
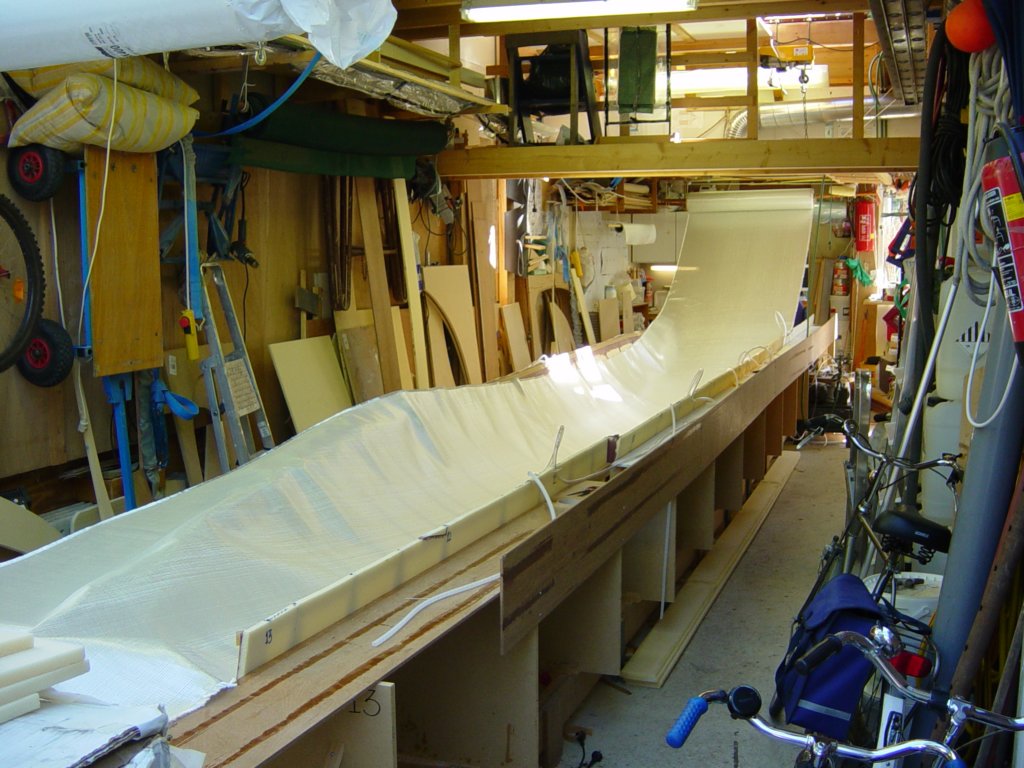
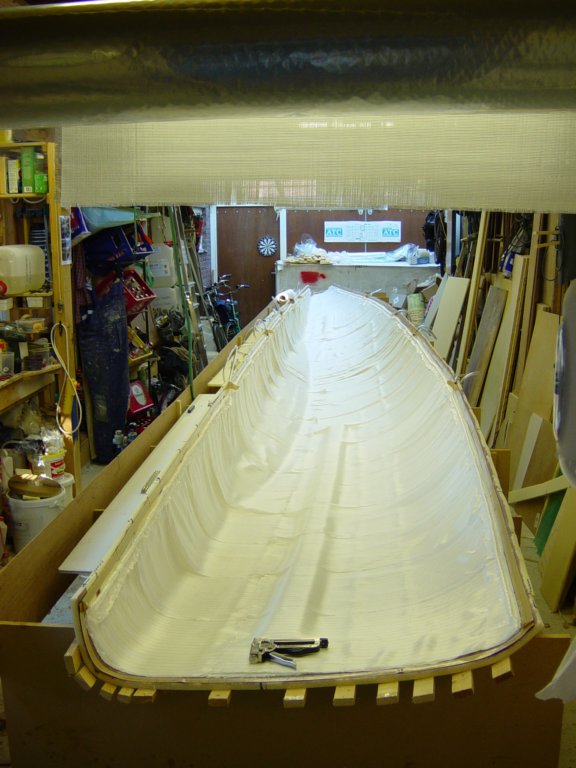
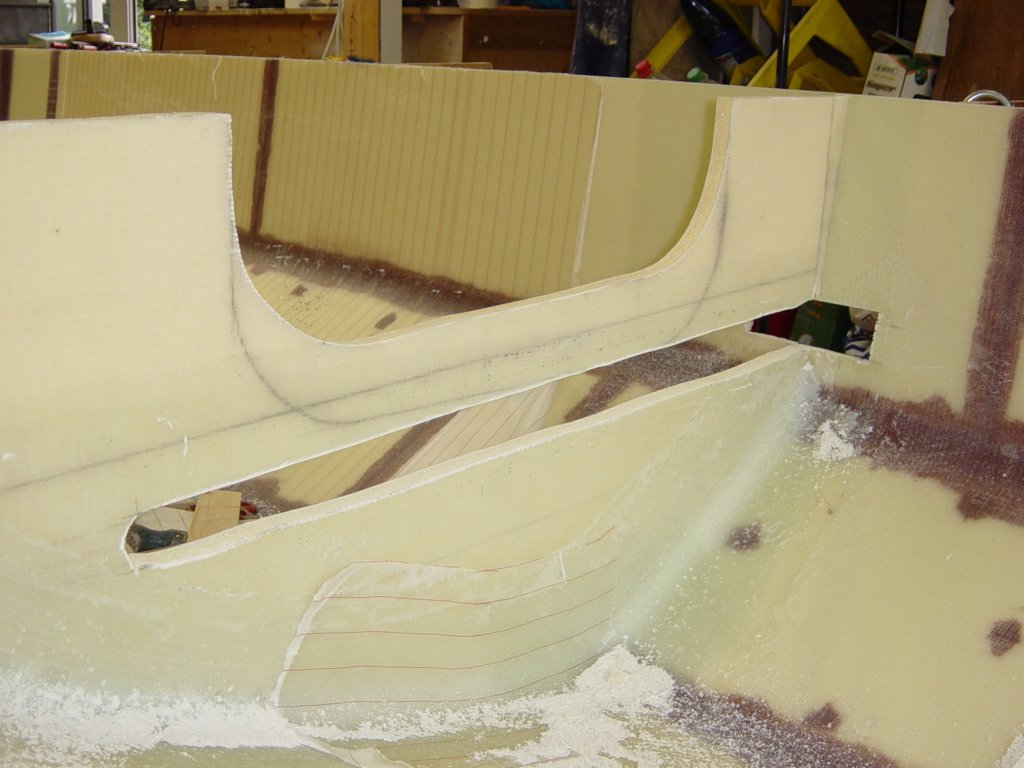
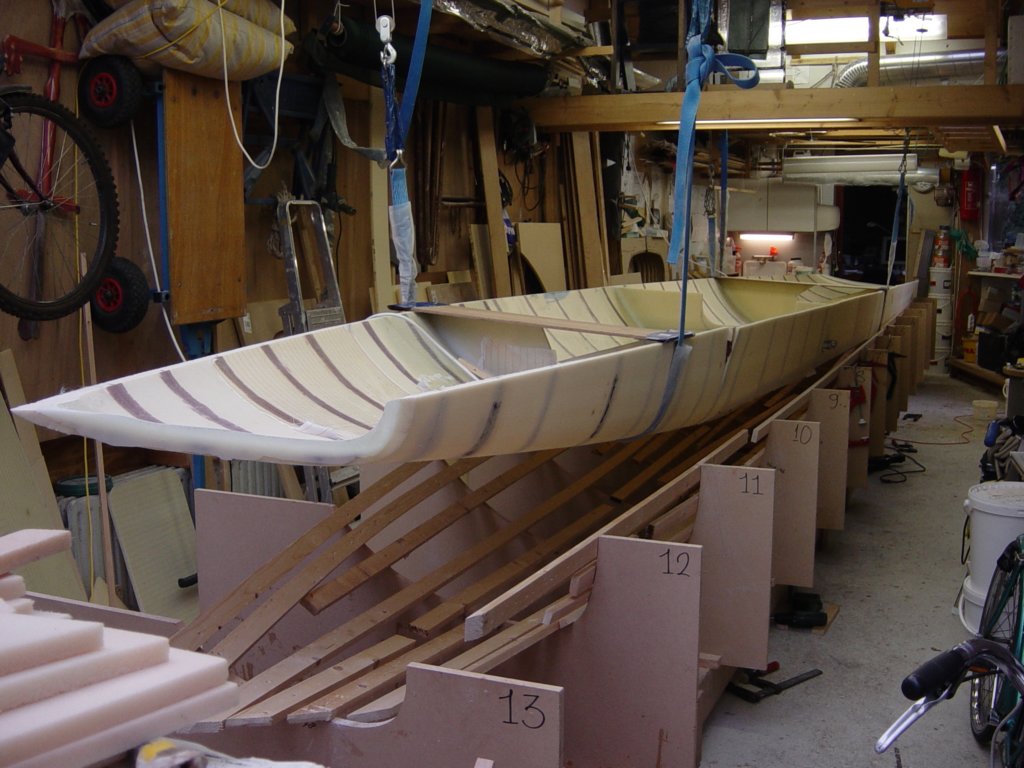
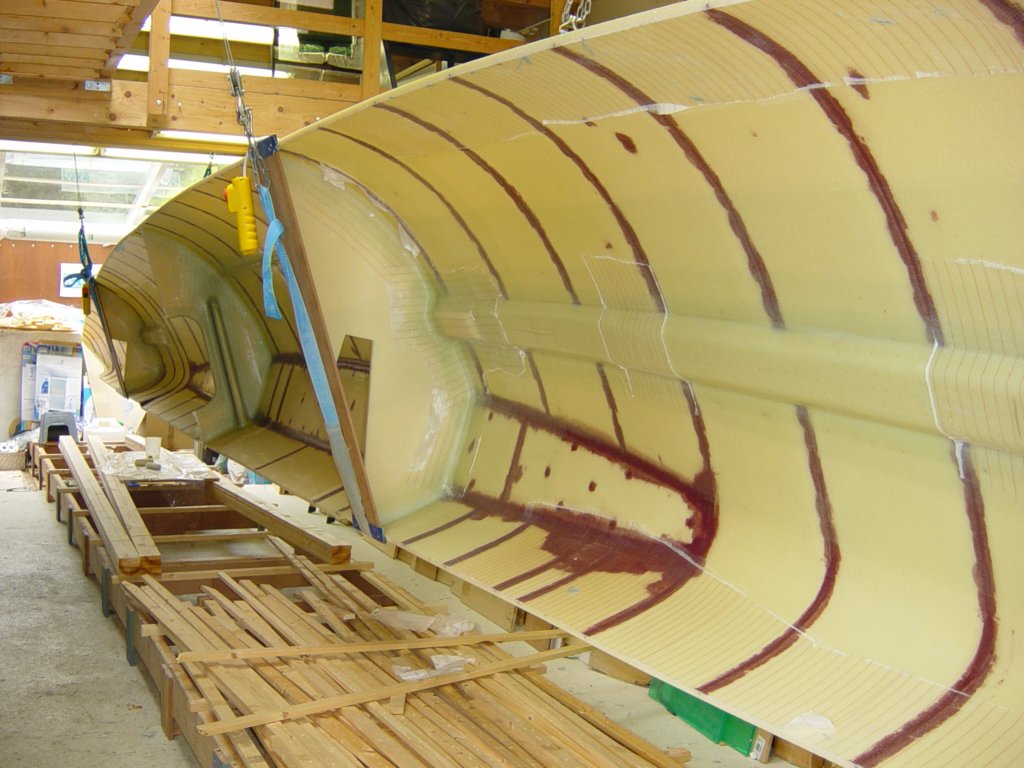
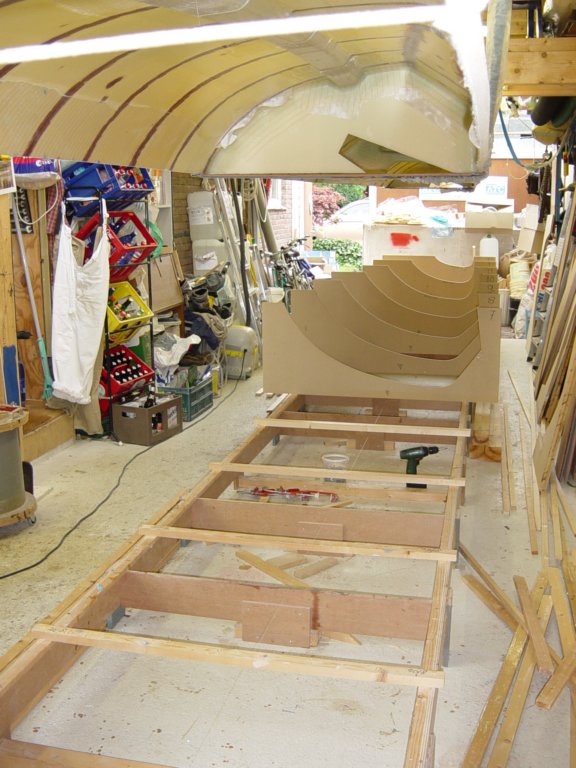
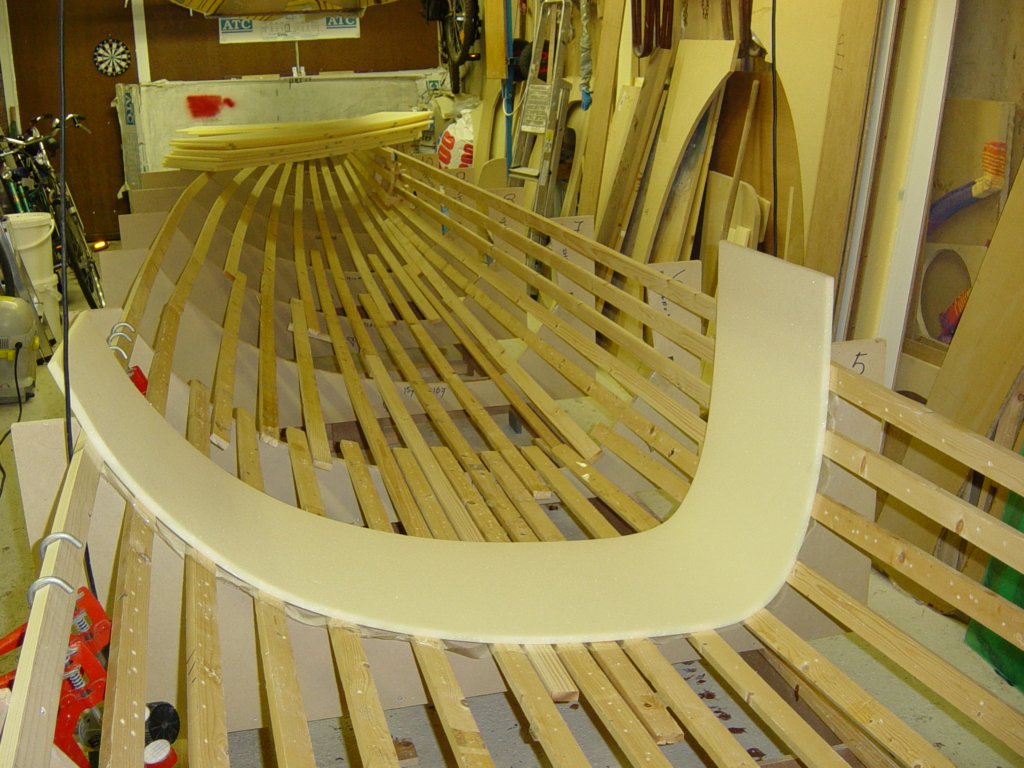
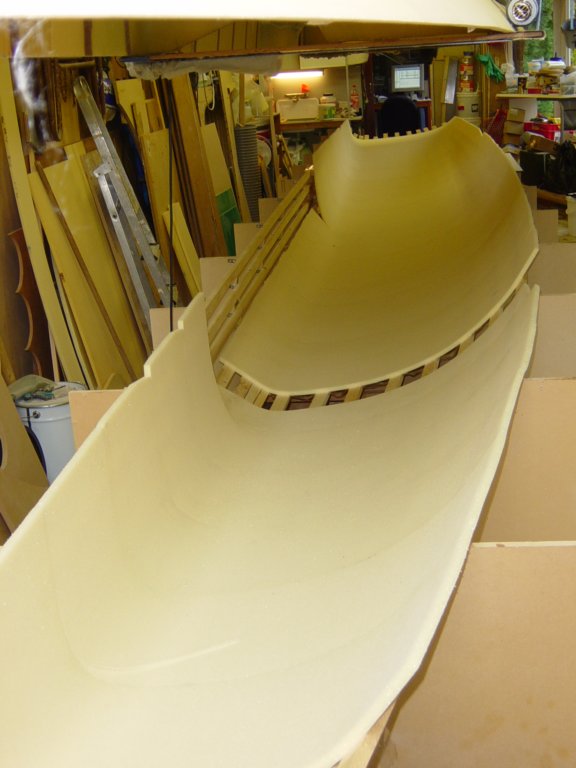
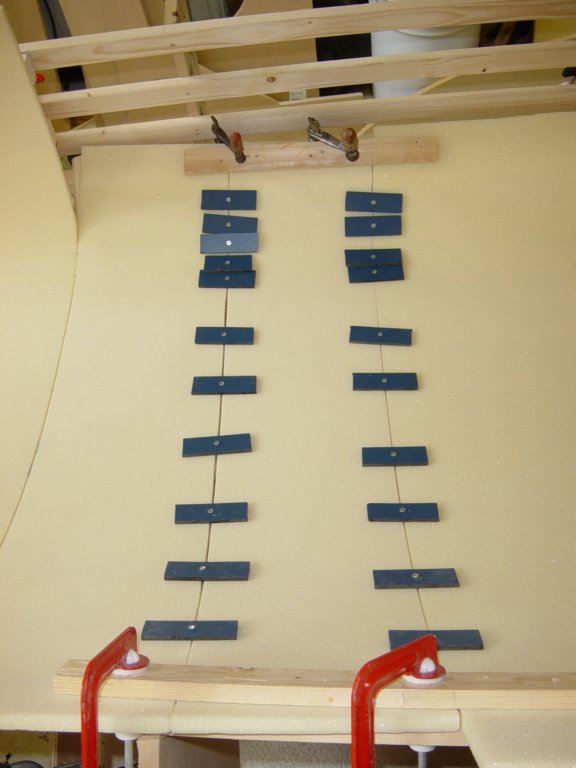
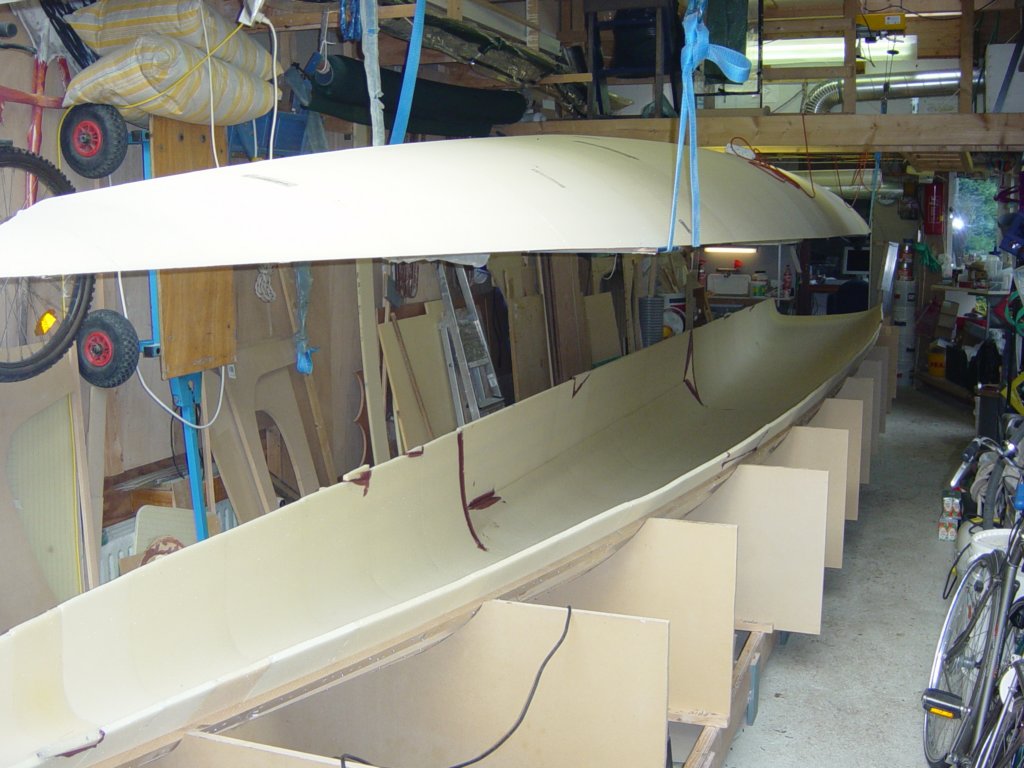
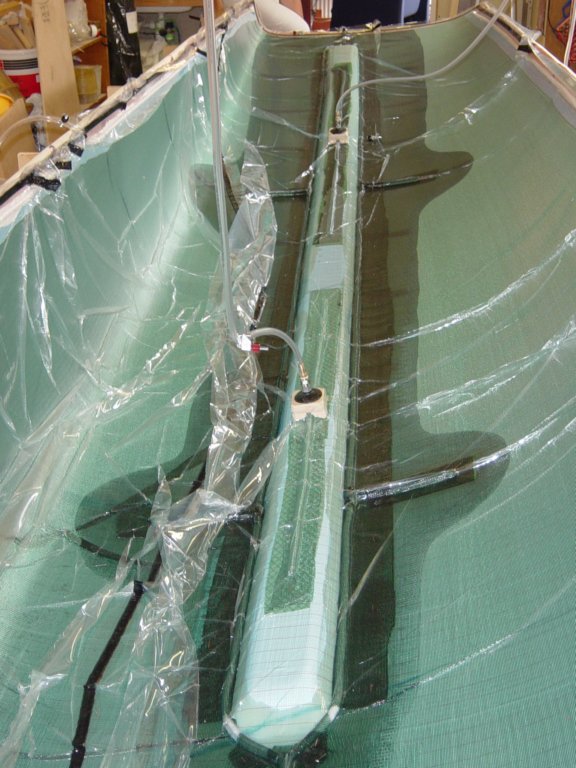
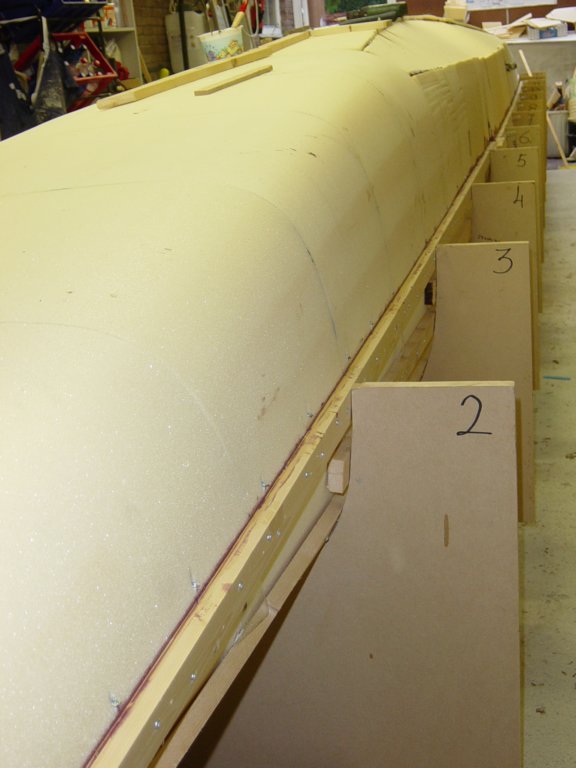
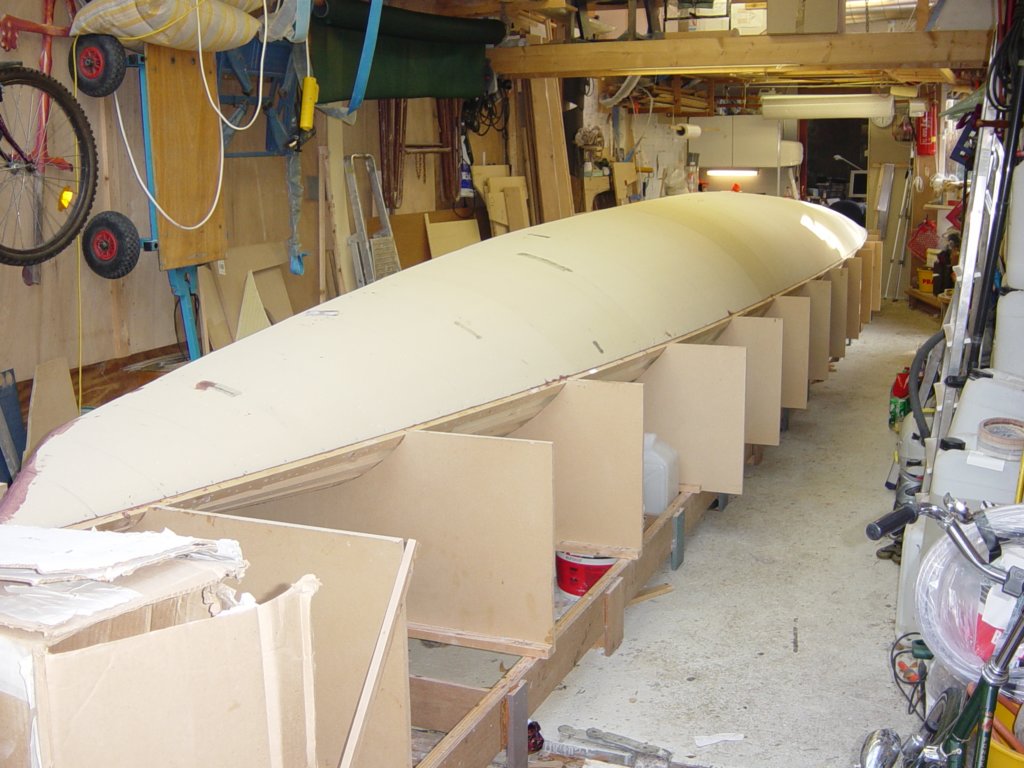
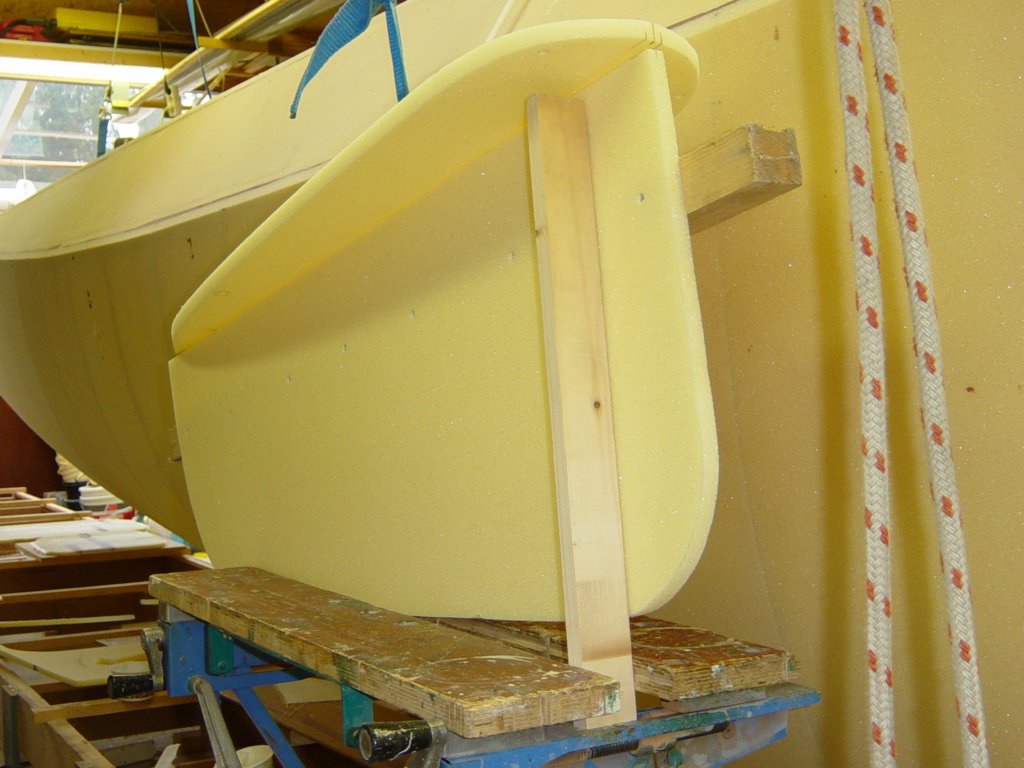
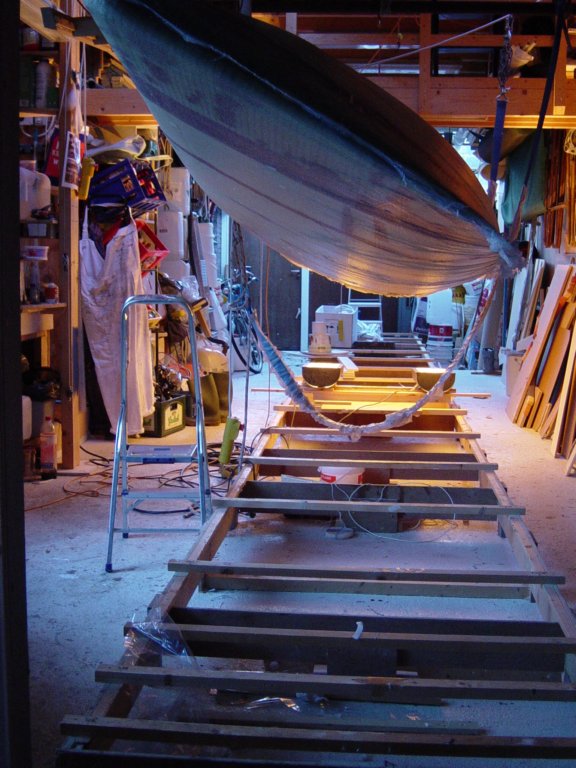
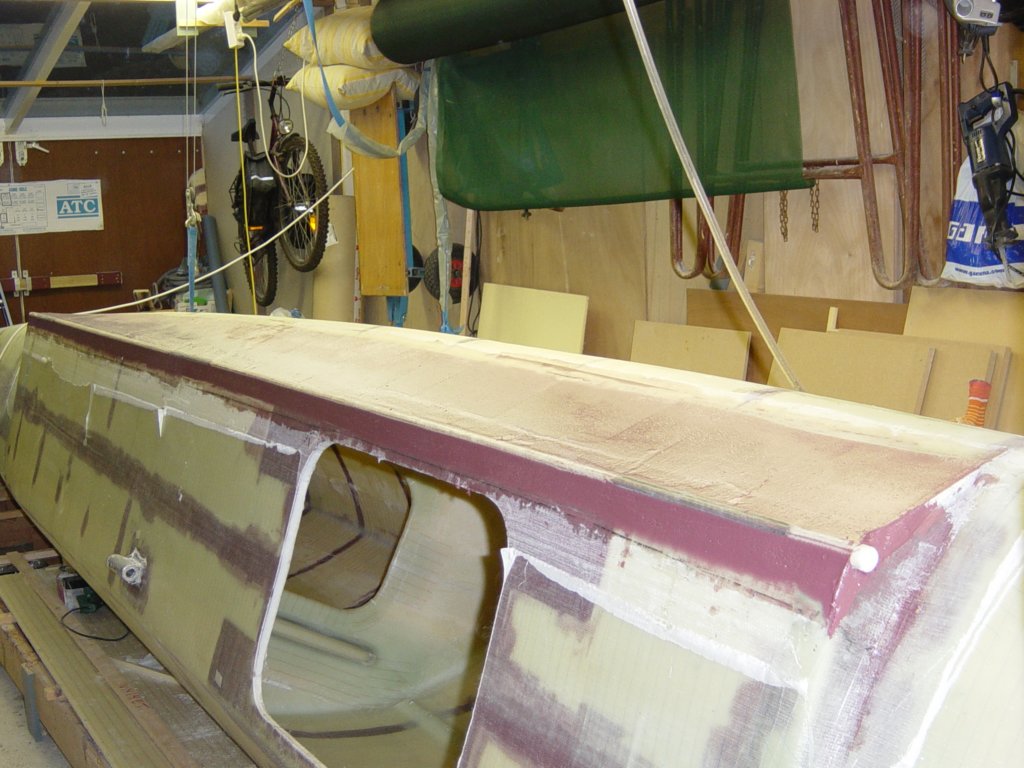
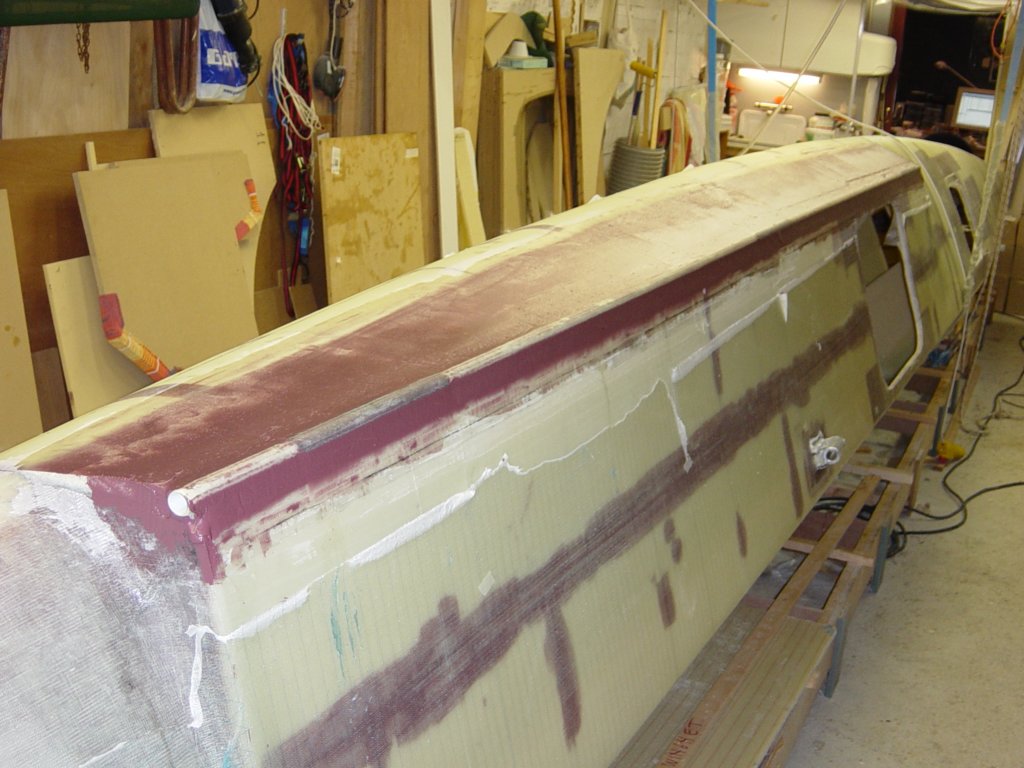
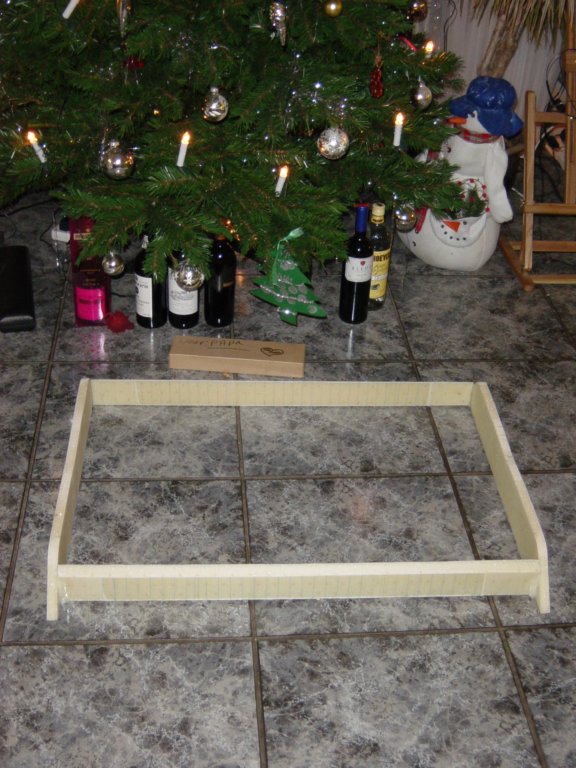
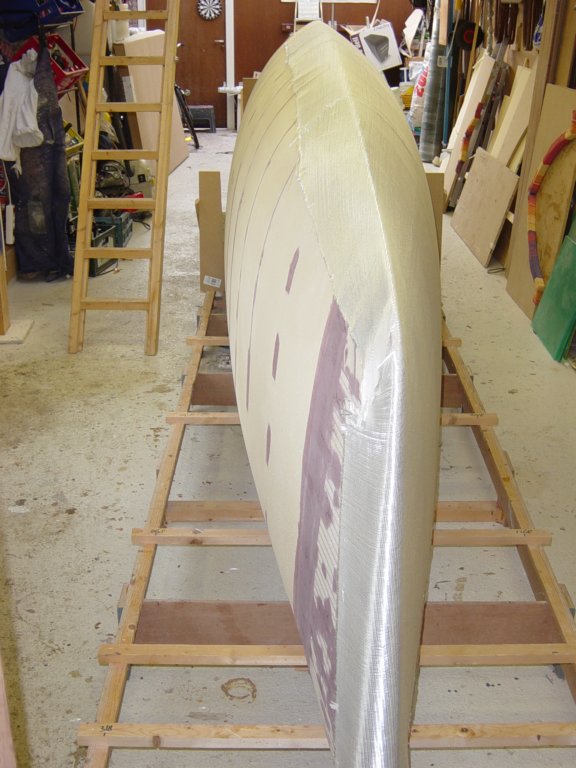
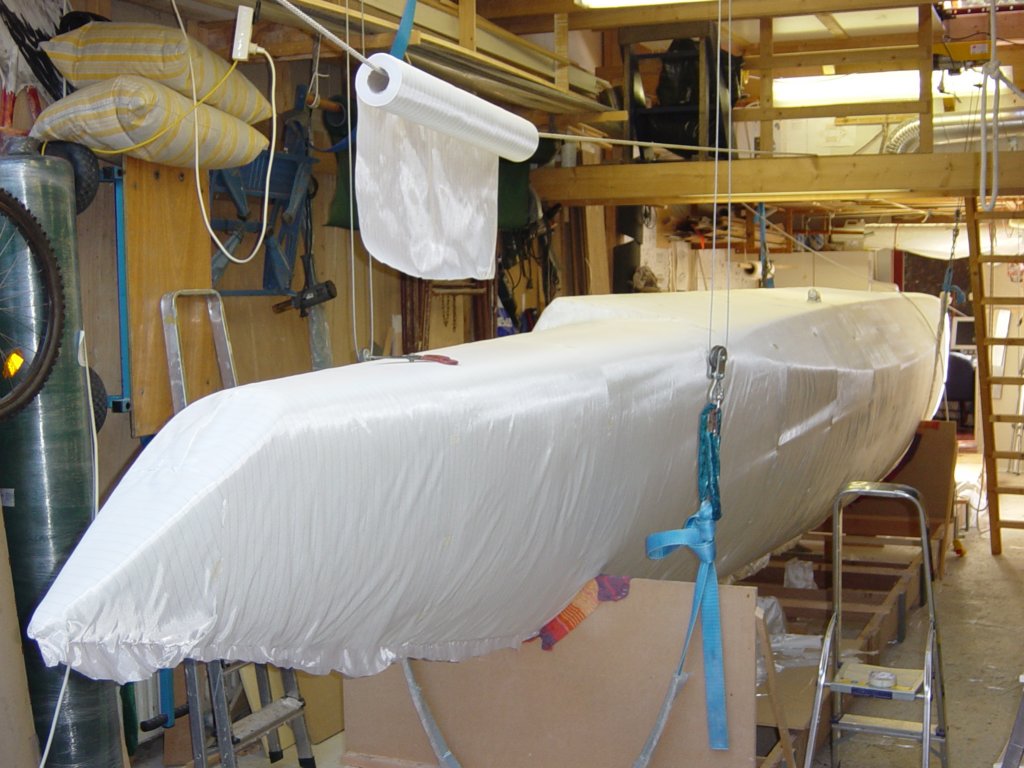
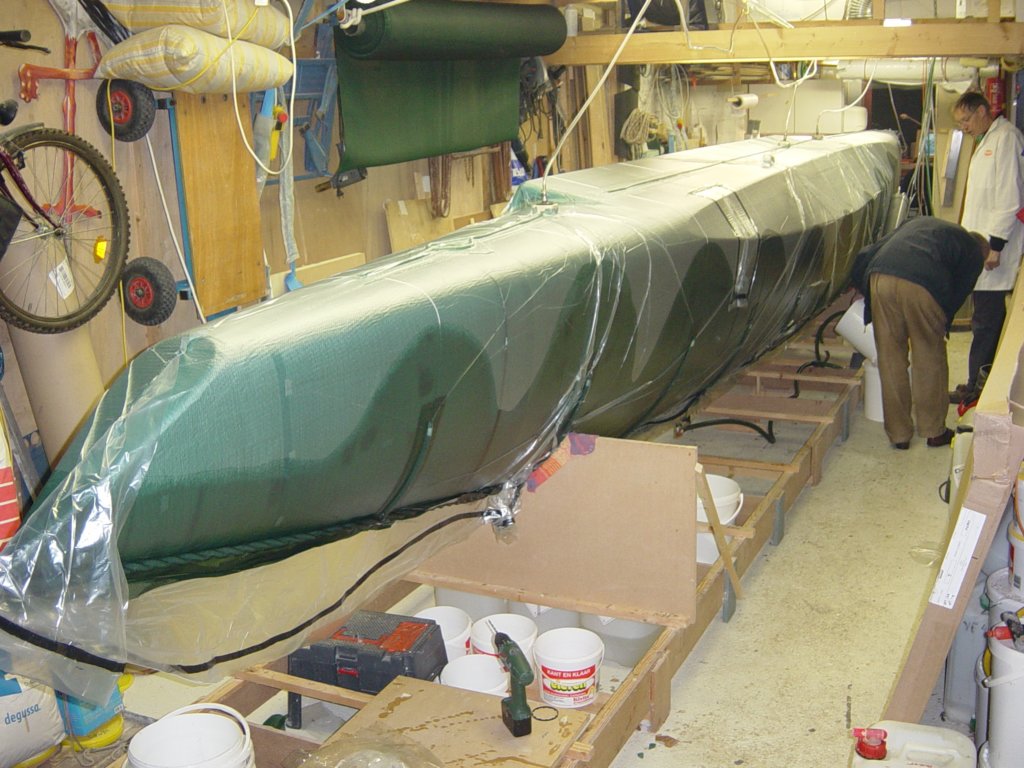
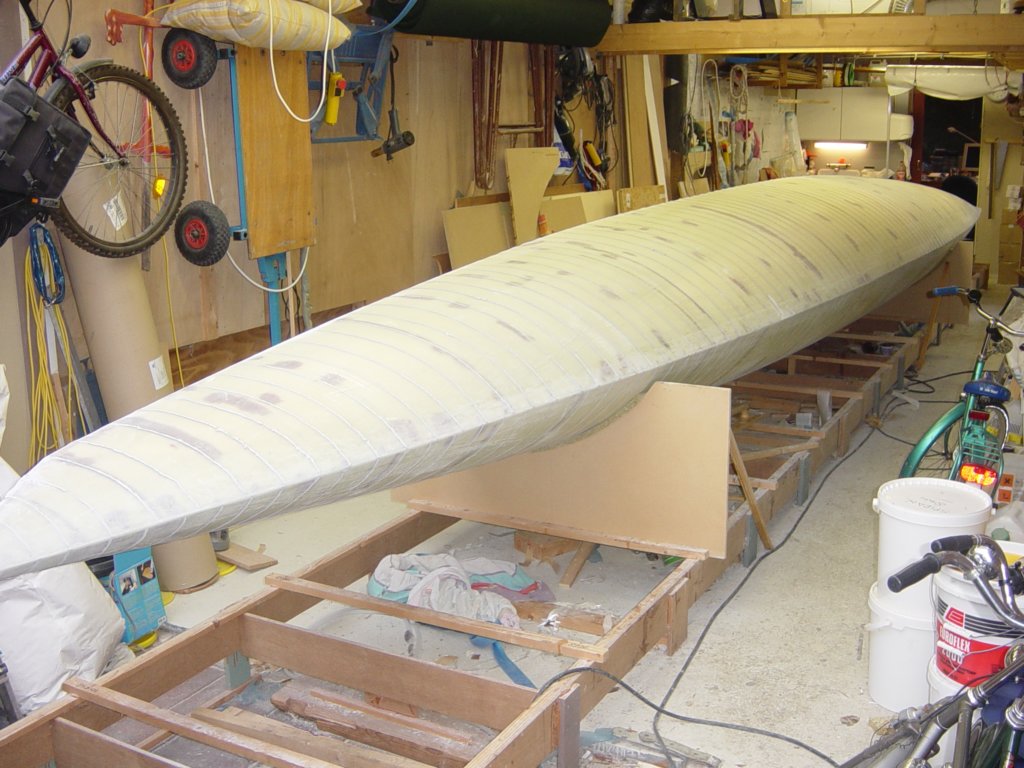
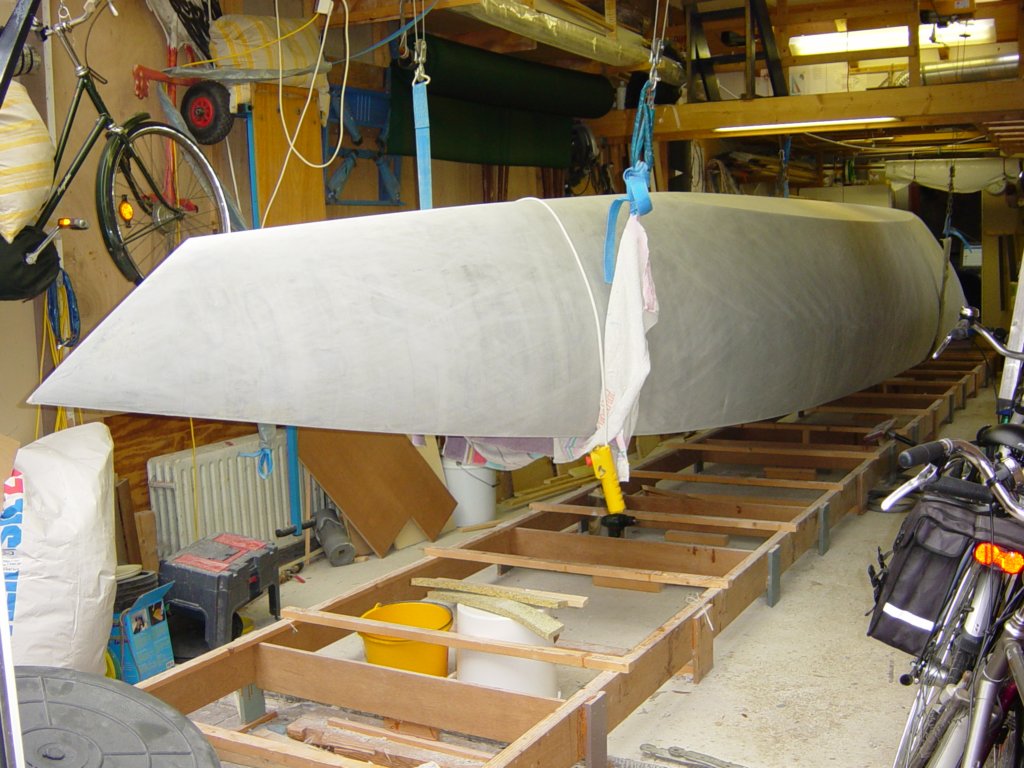
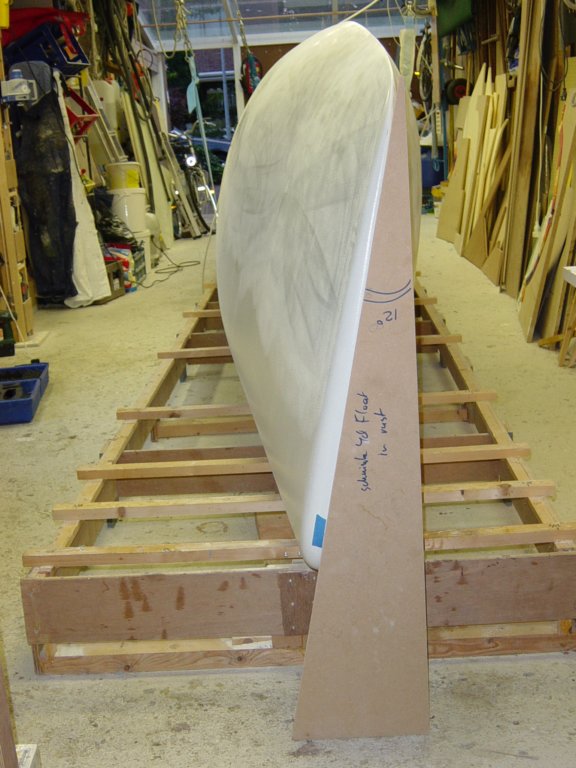
Starboard float, the beginnings
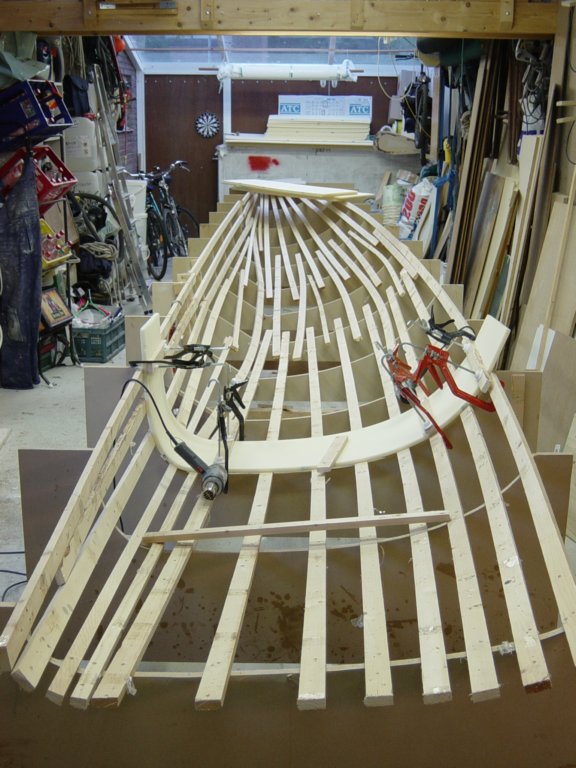
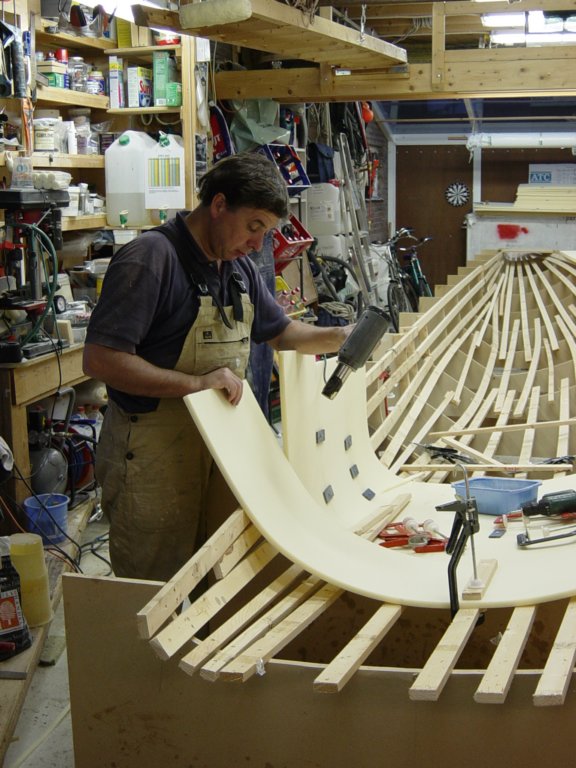
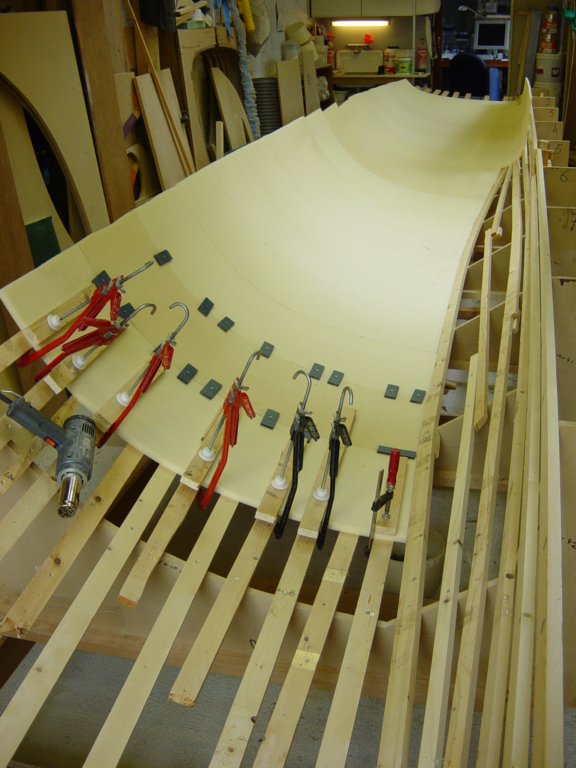
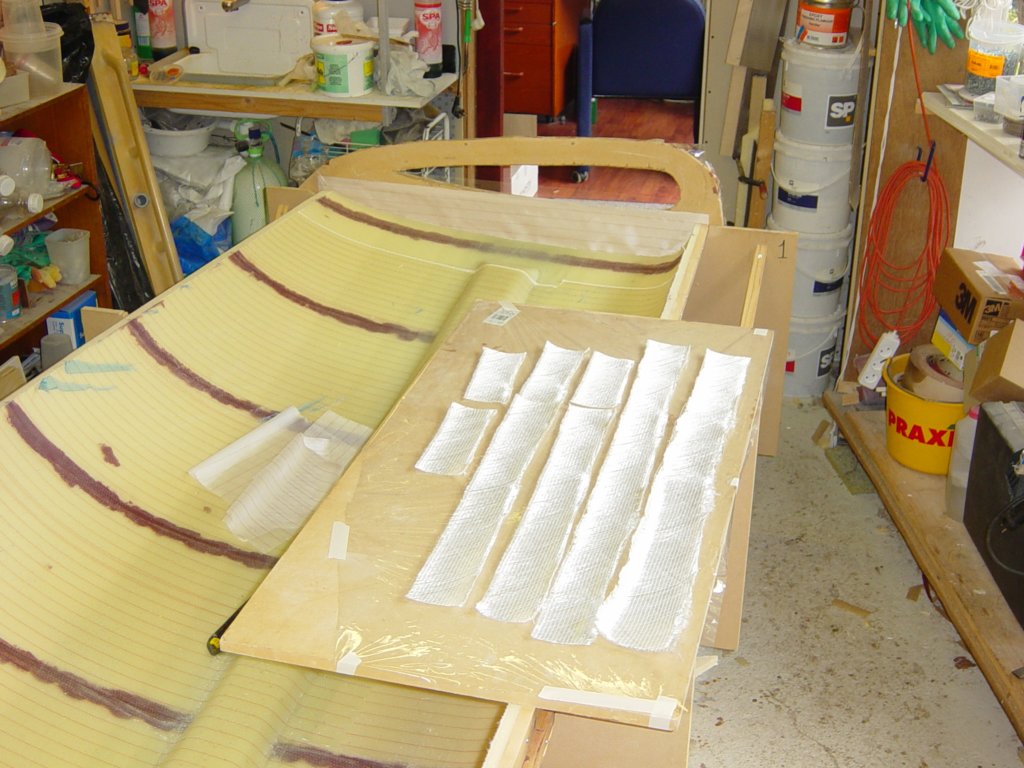
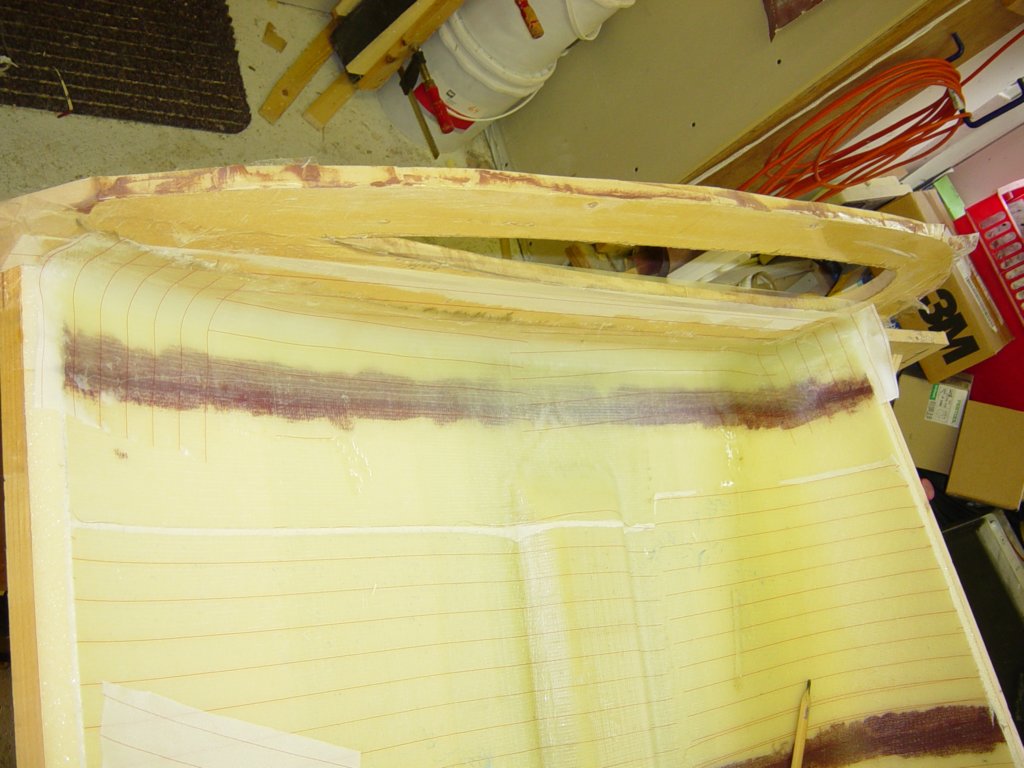
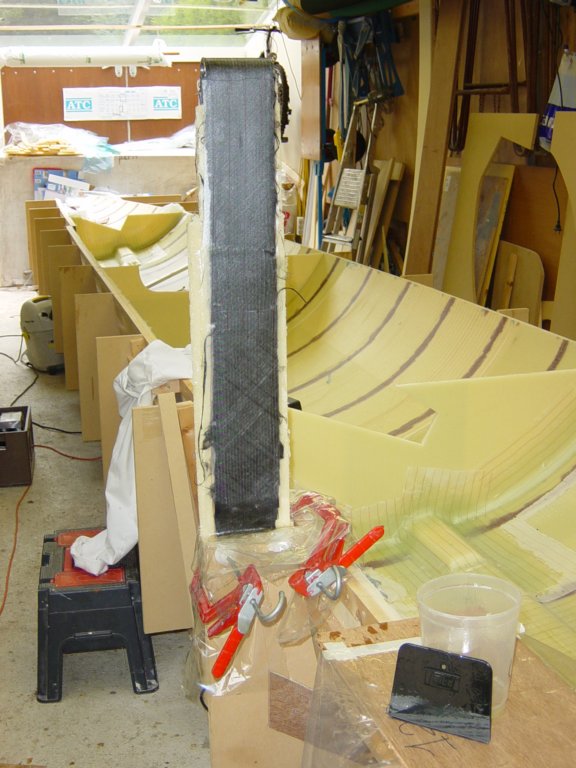
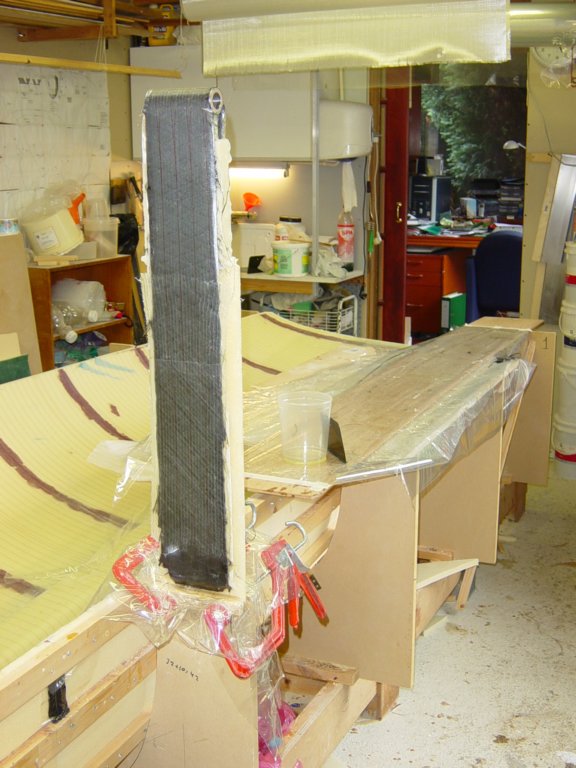
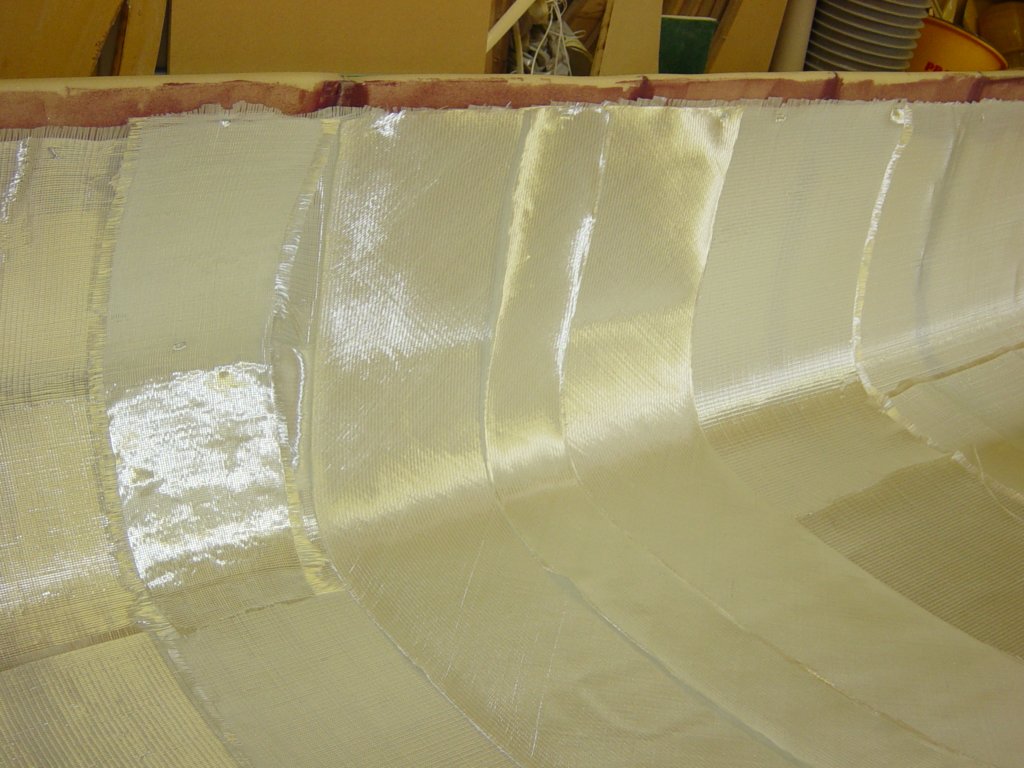
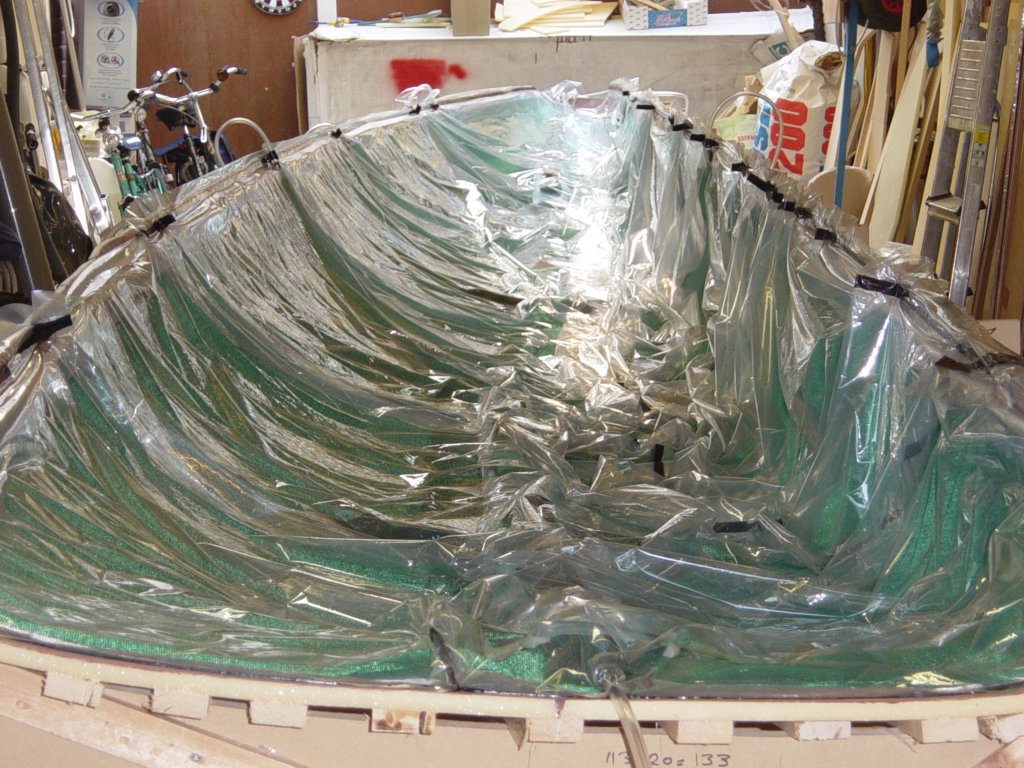
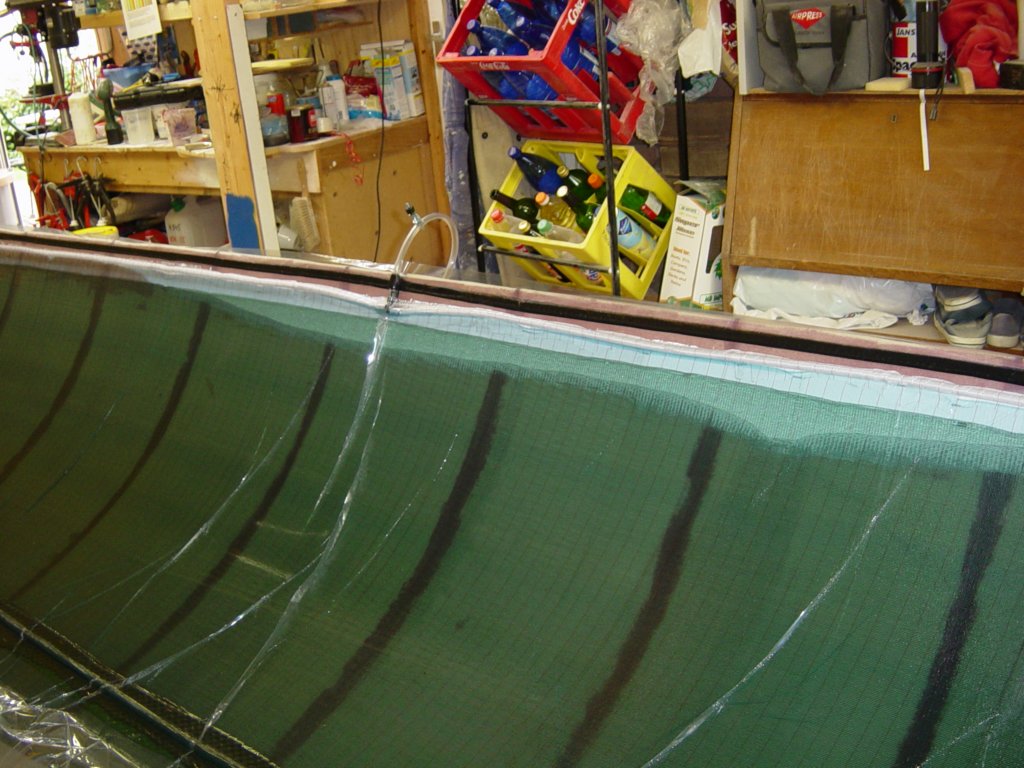
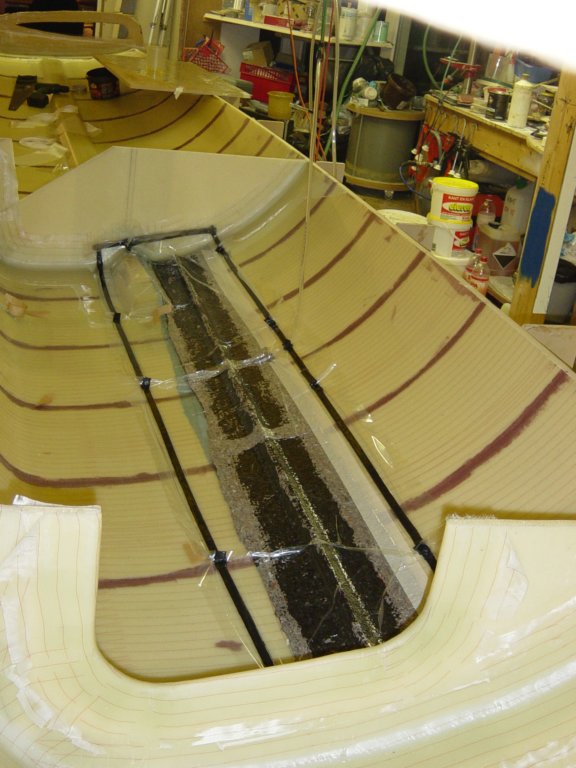
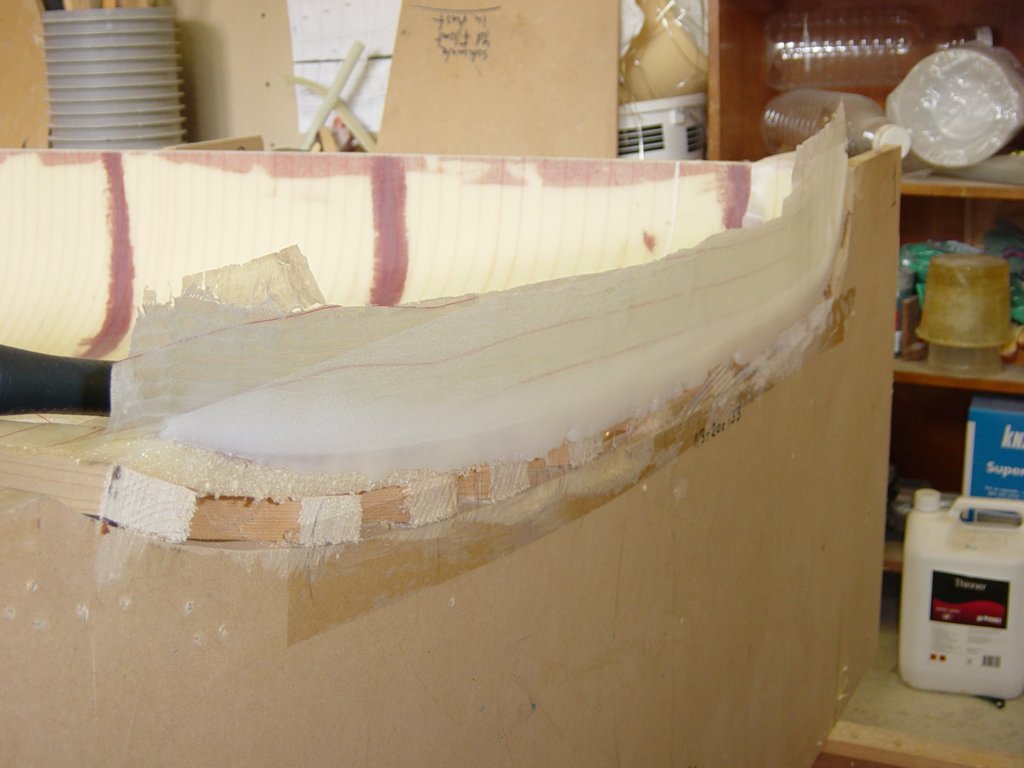
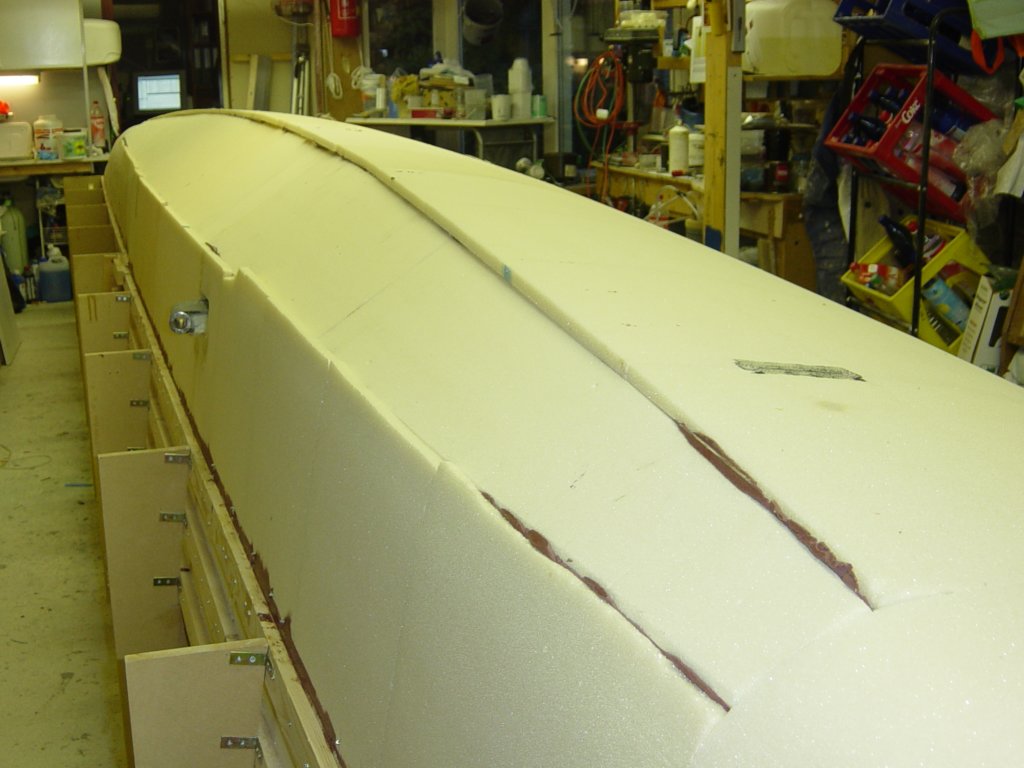
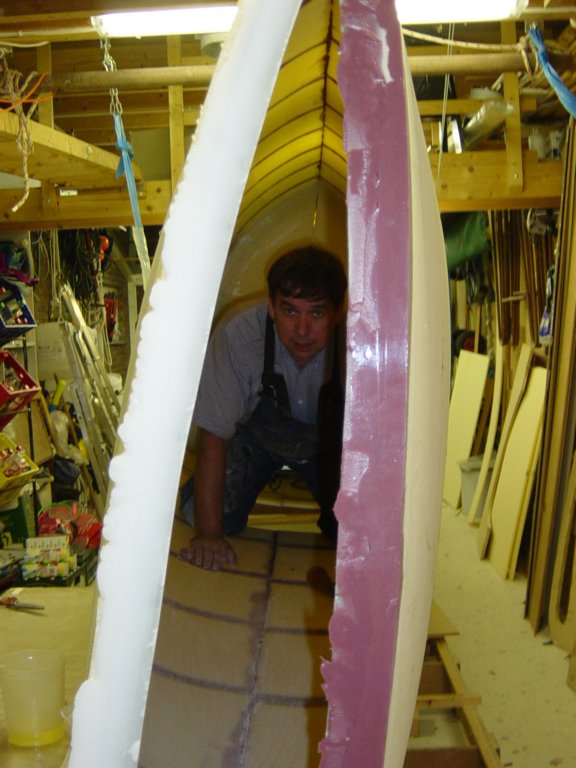
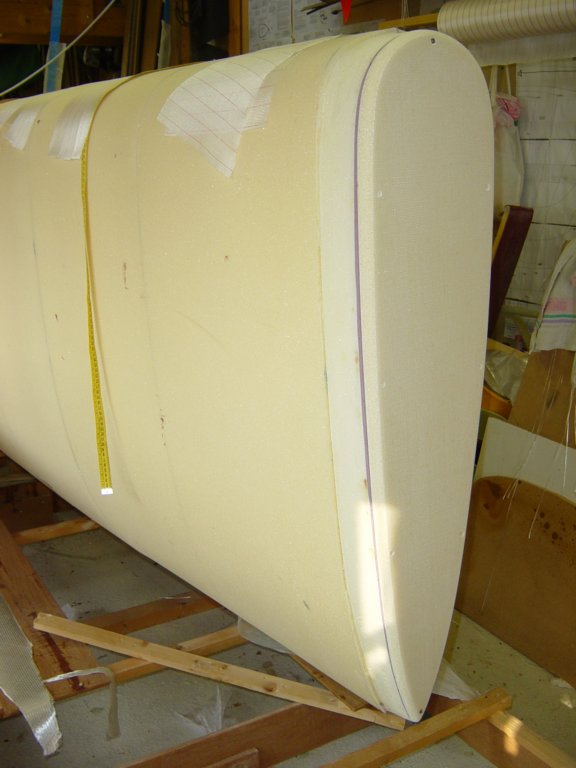
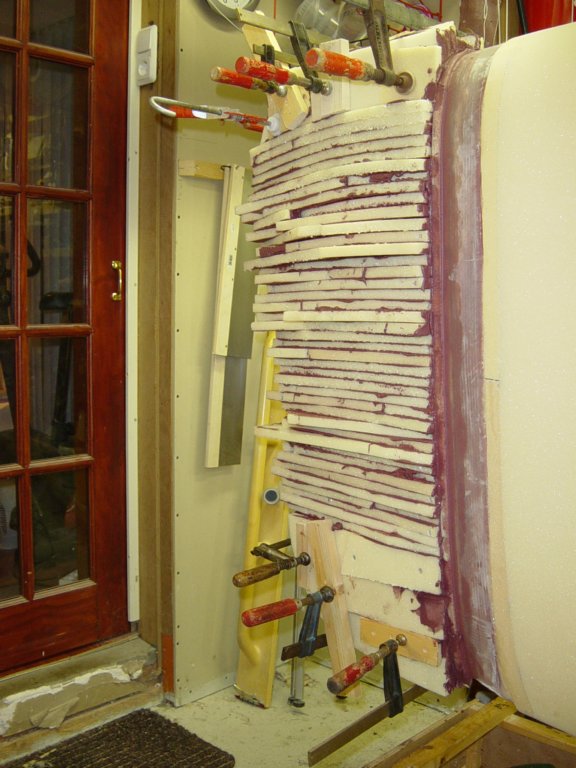
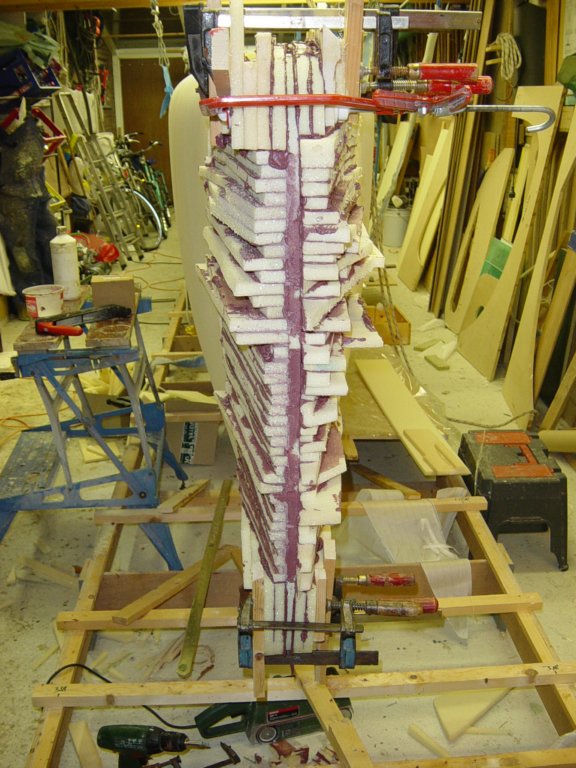
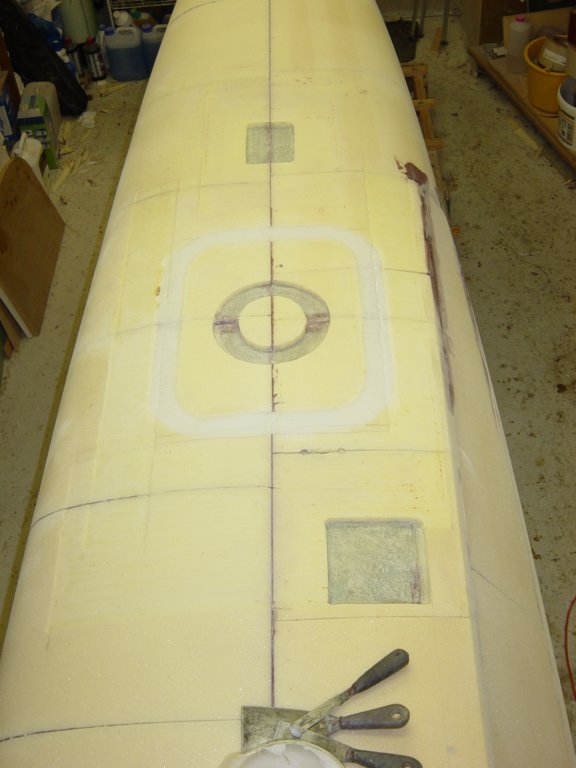
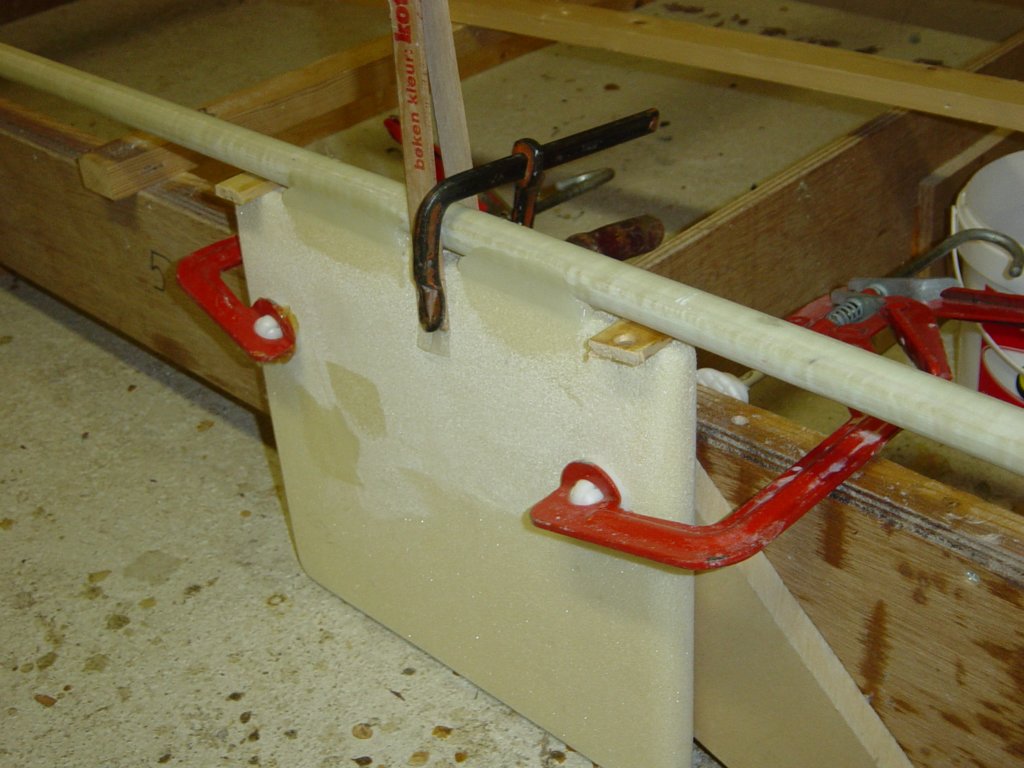
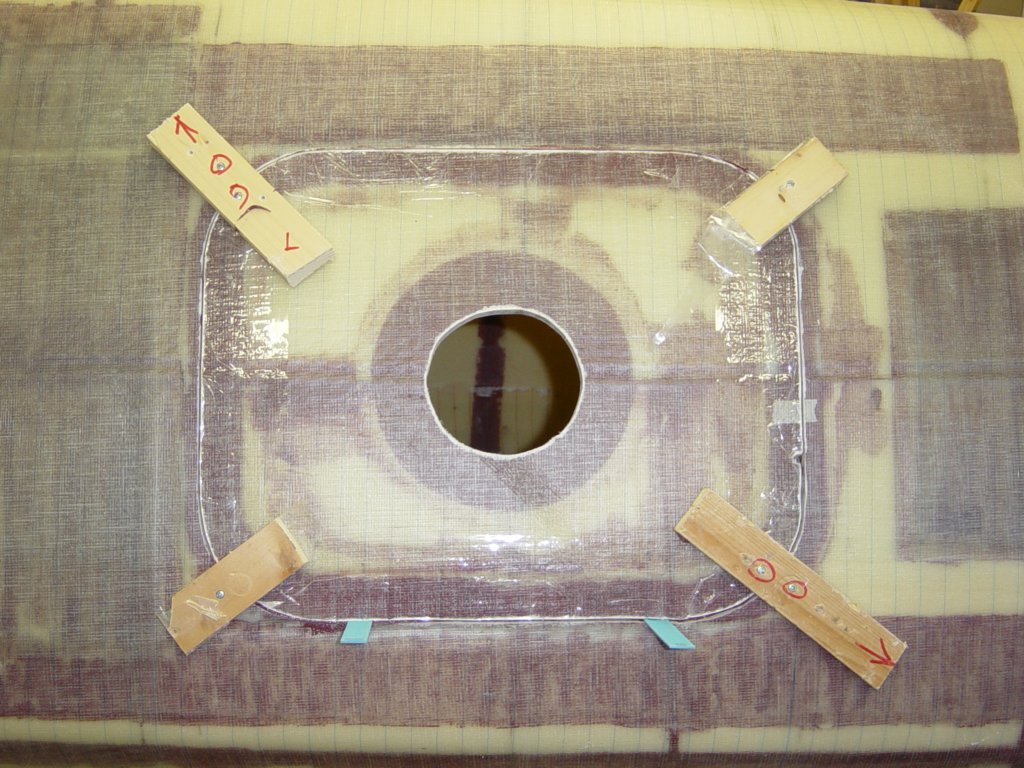
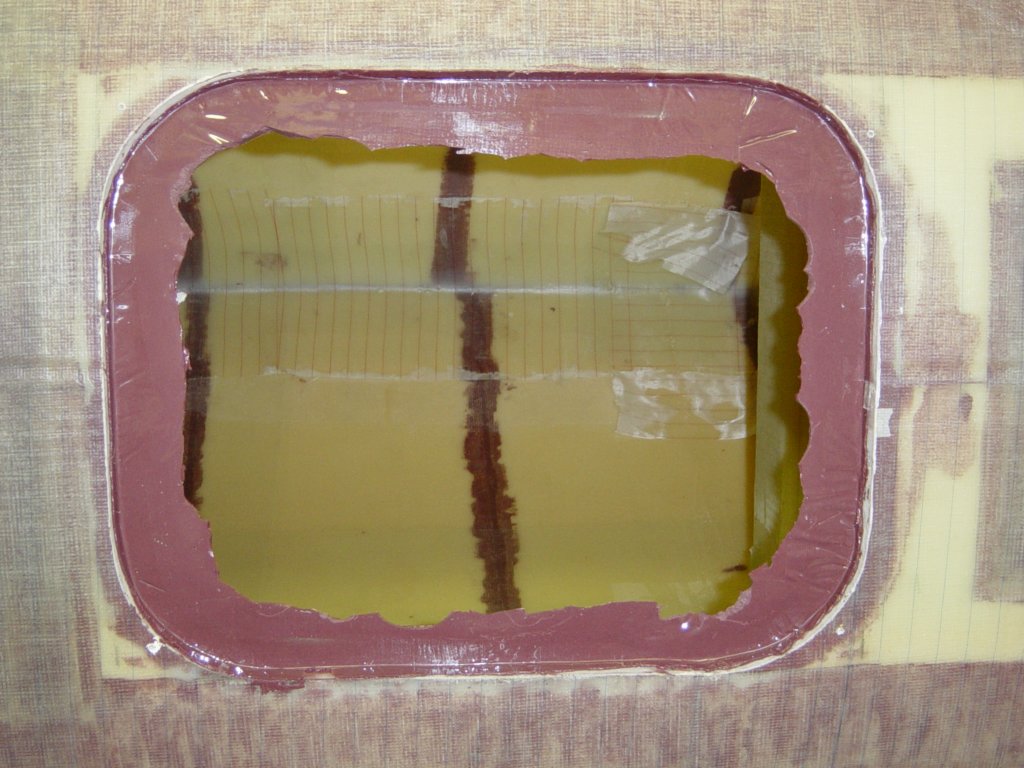
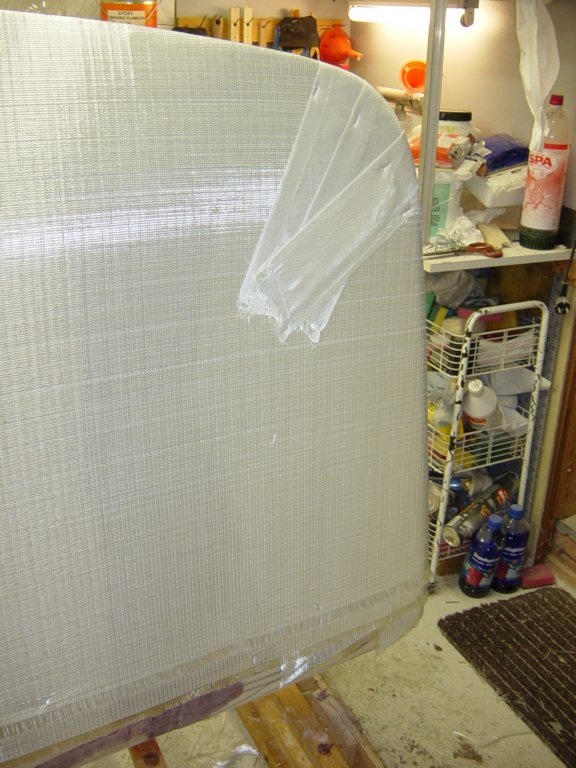
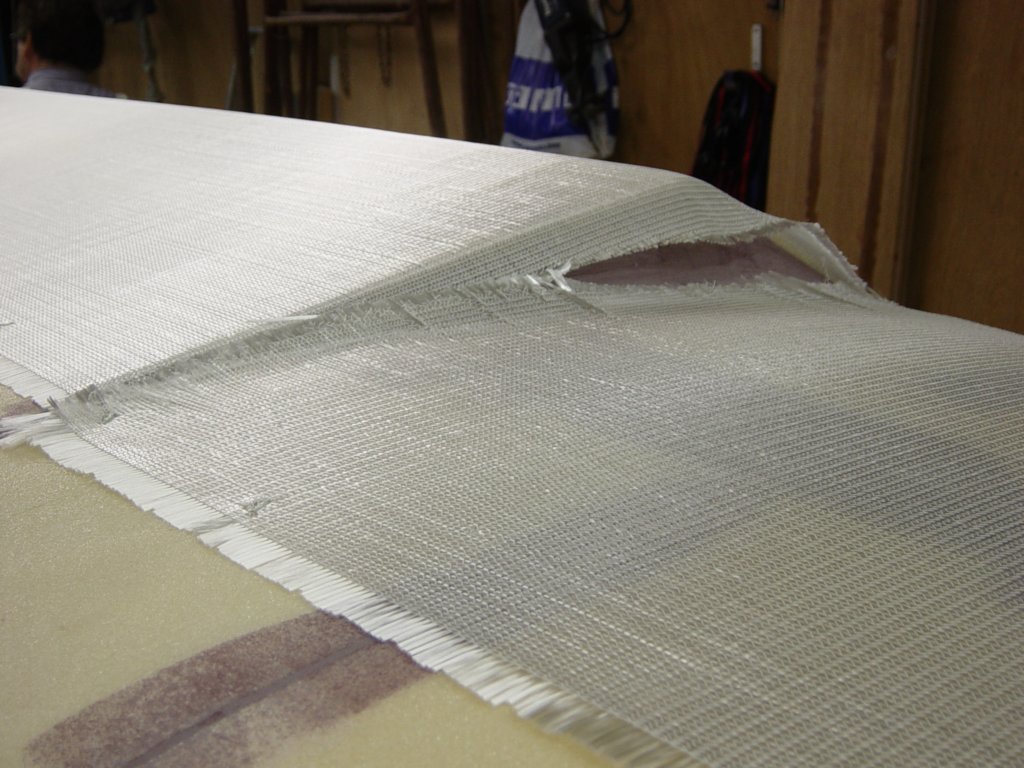
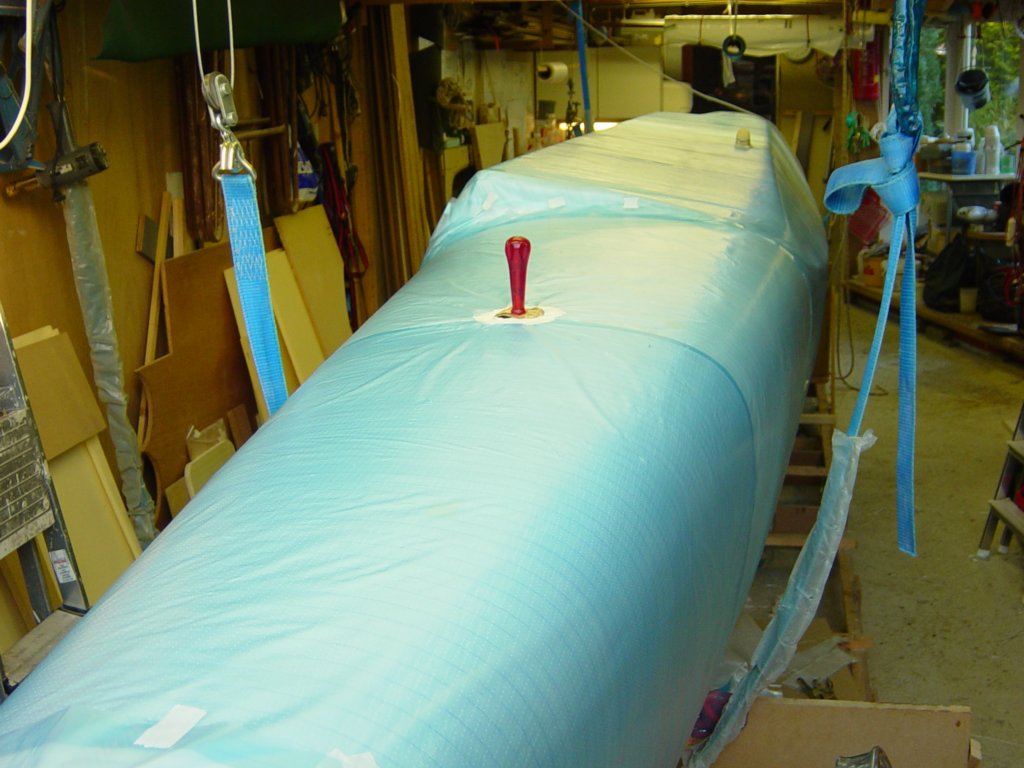
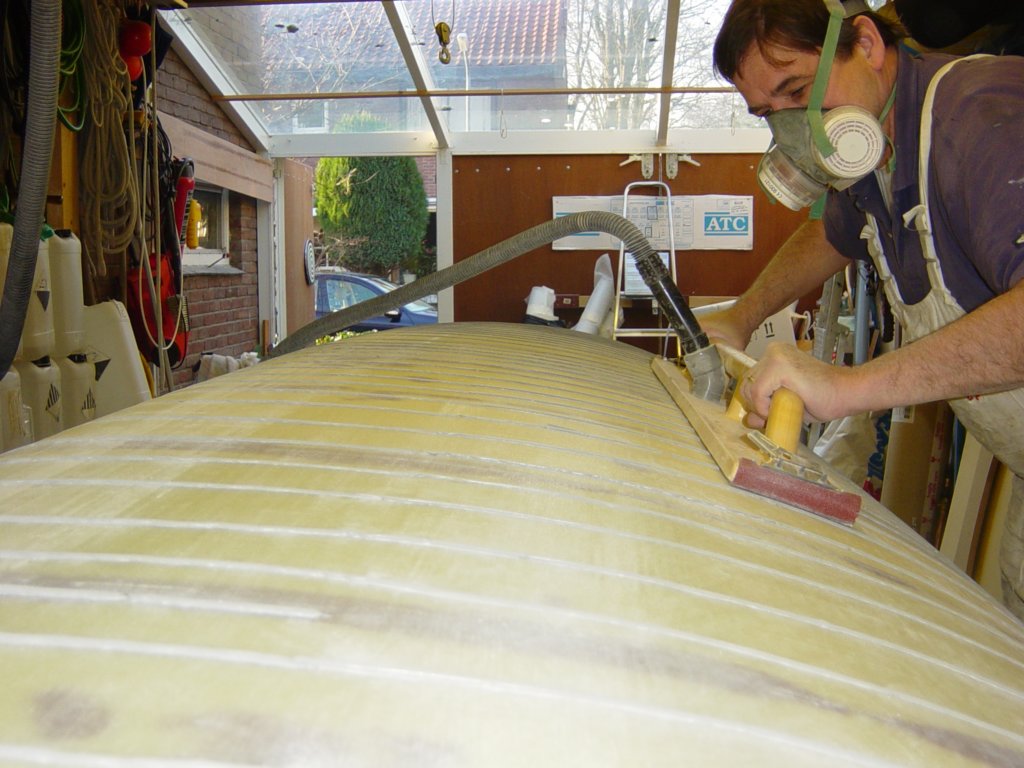
It has so far been a steep learning curve, so I hope the starboard float build much faster than the first port float. (otherwise I have a problem ;-) Progressive insight and experience also leads to ever-improving work methods and applications. First the construction of the starboard half of this float.
Last float half

|
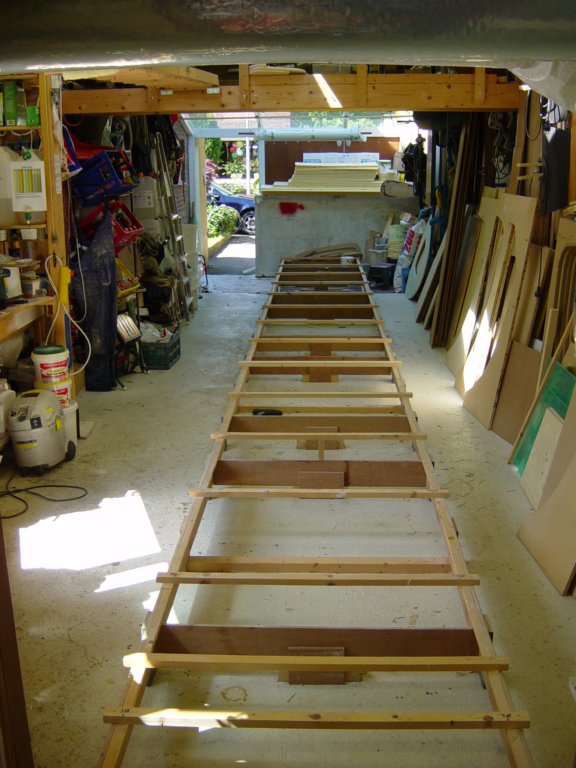
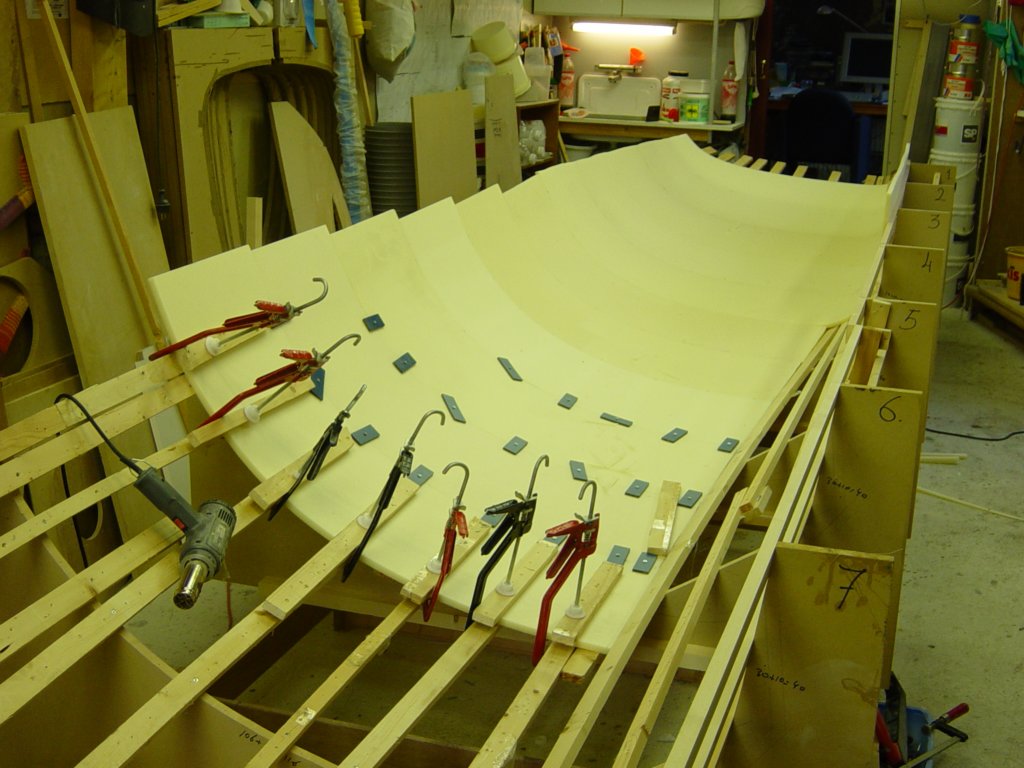
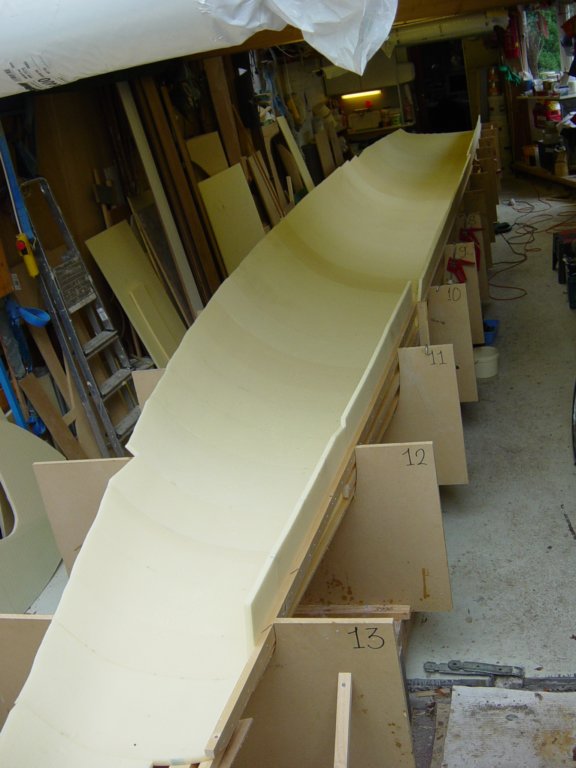
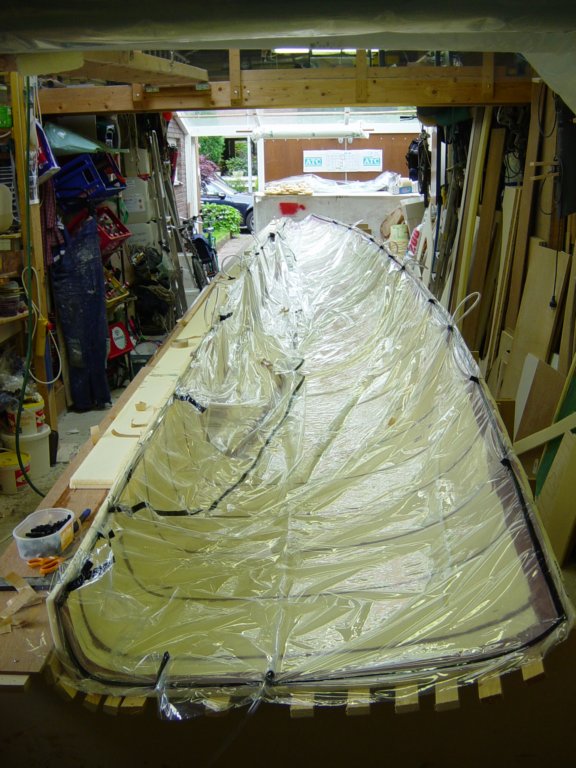
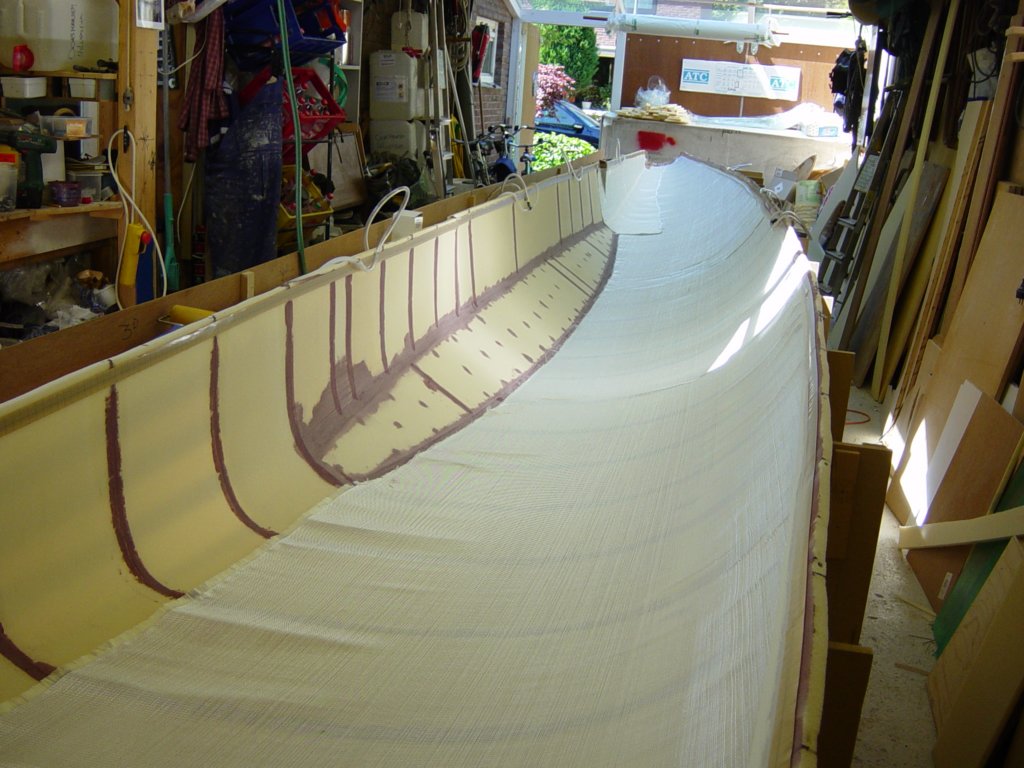
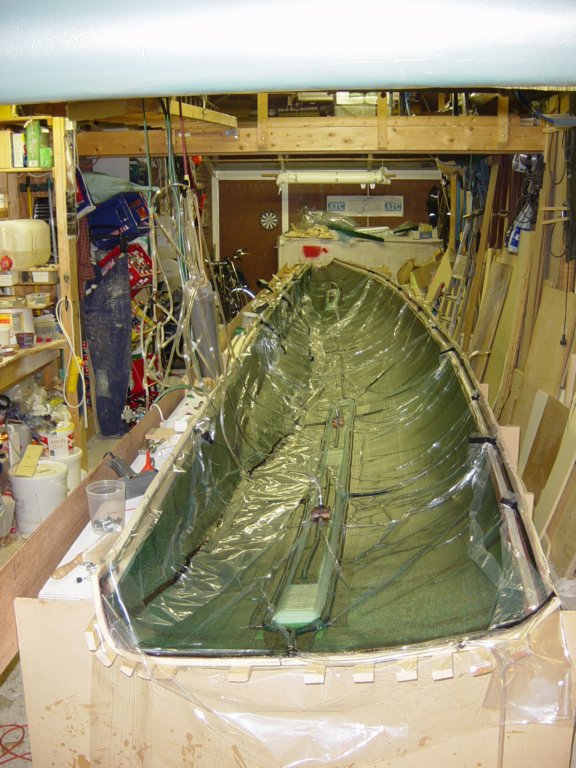
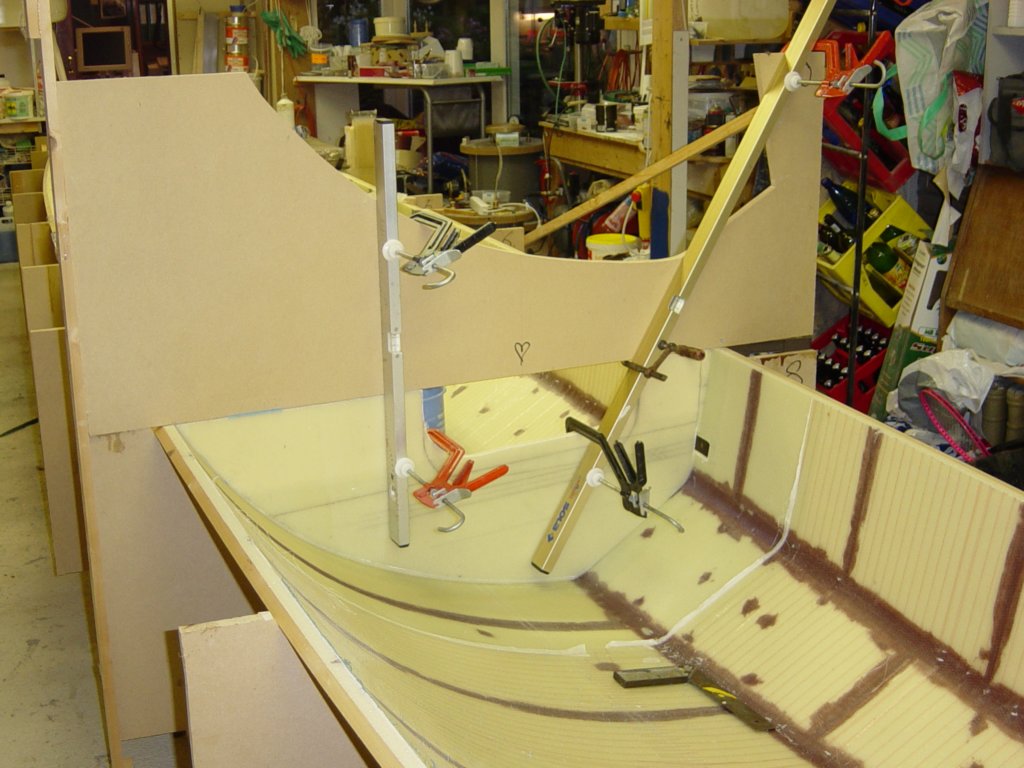
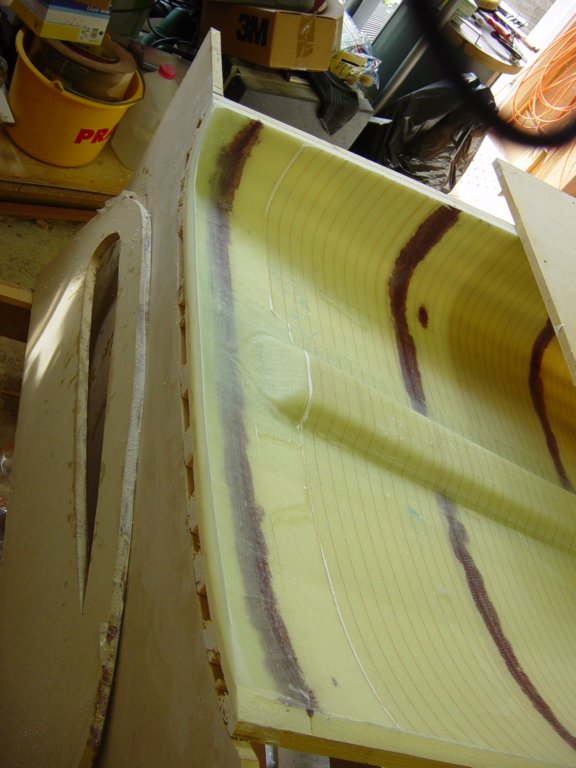
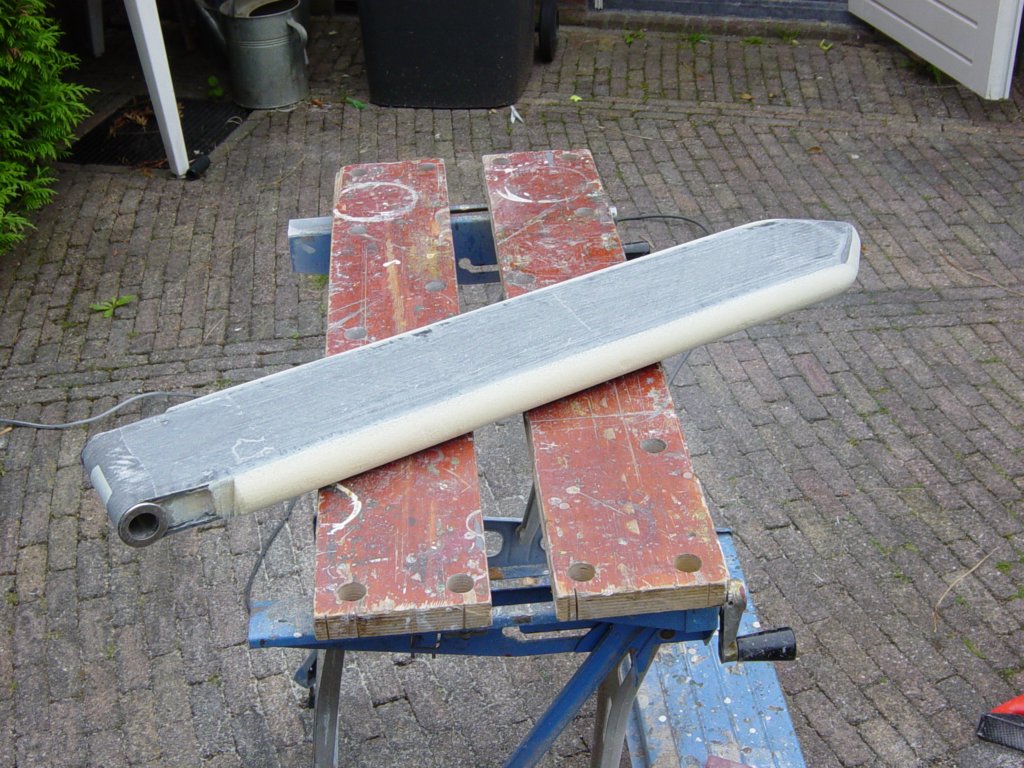
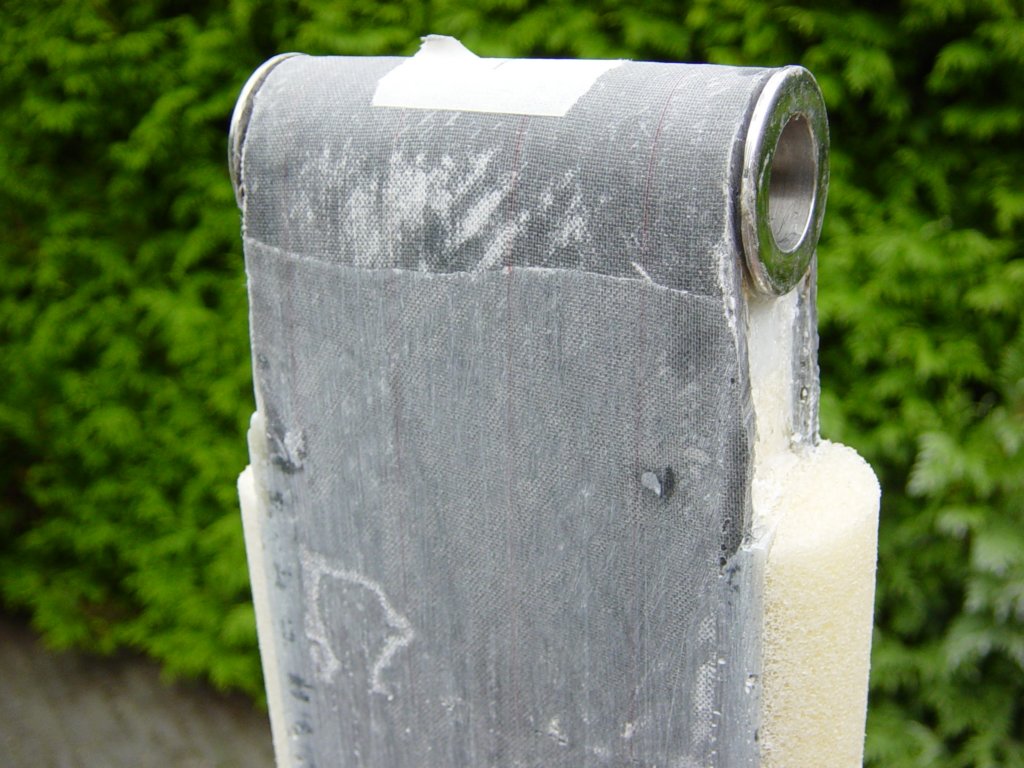
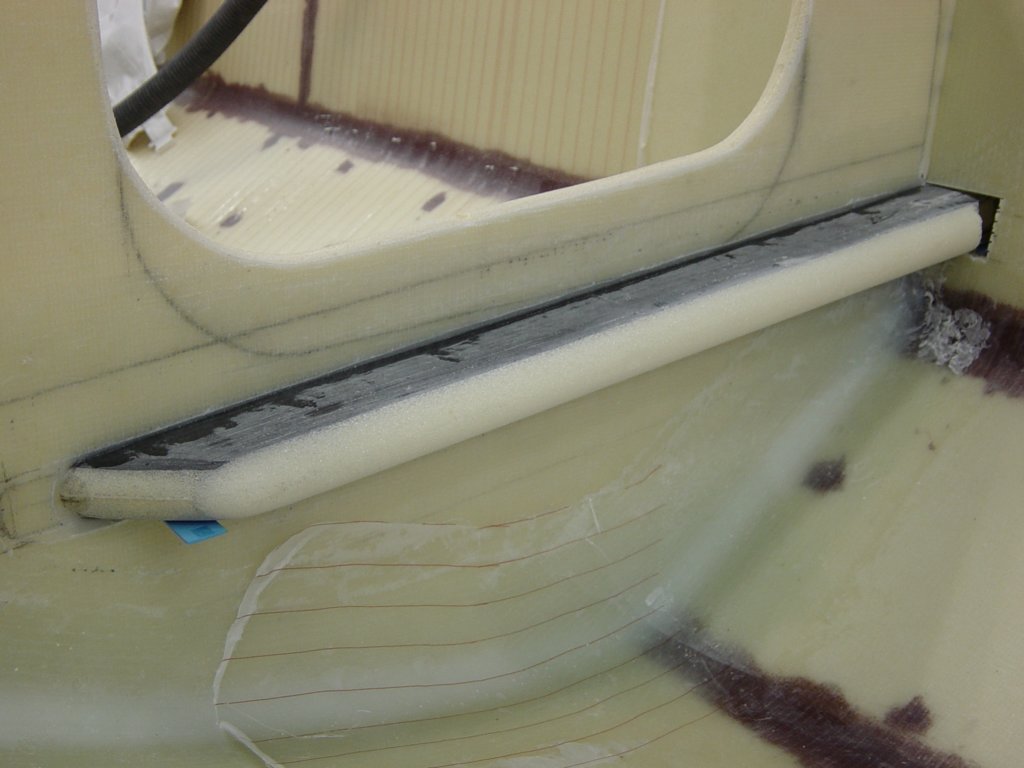
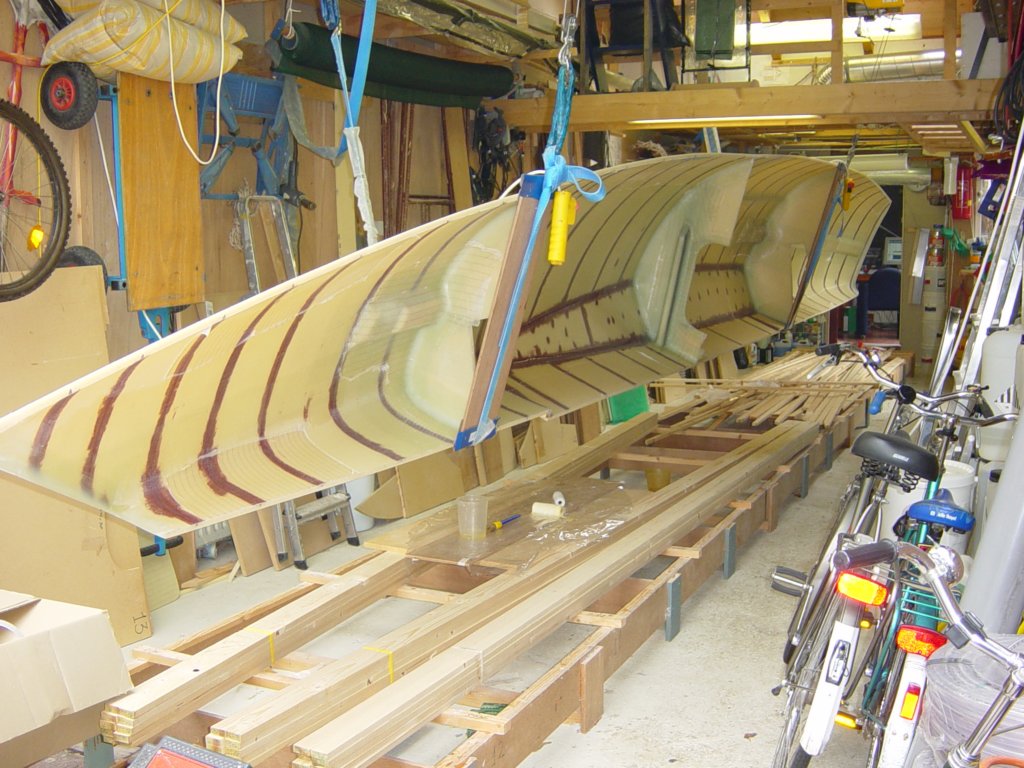
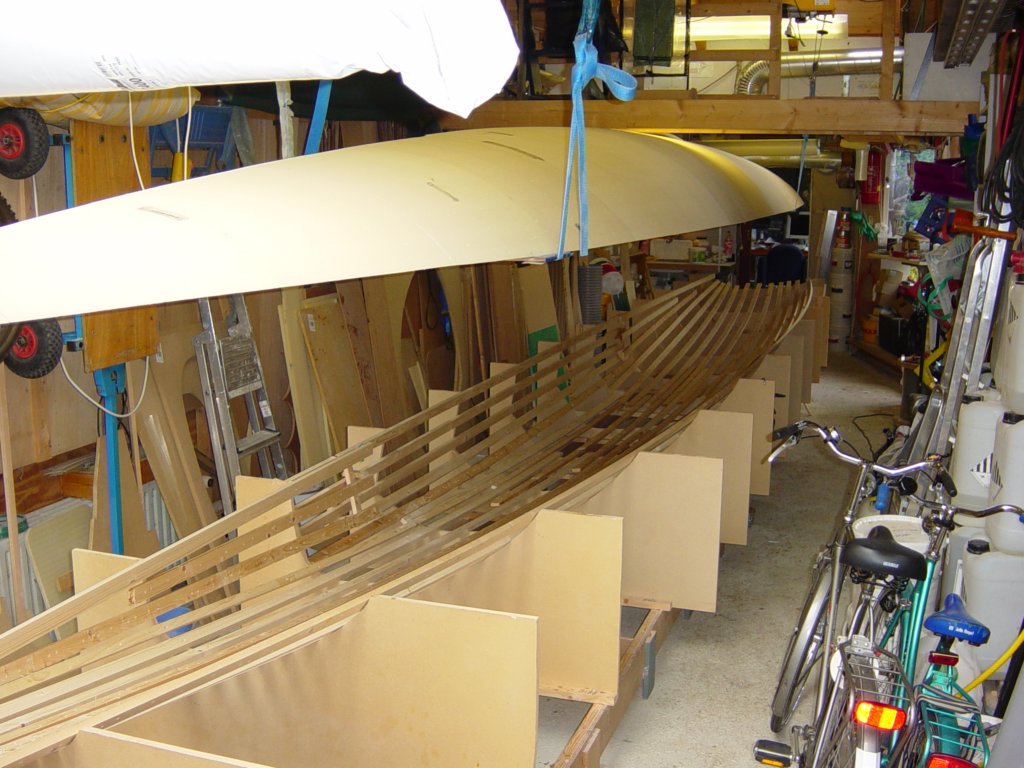
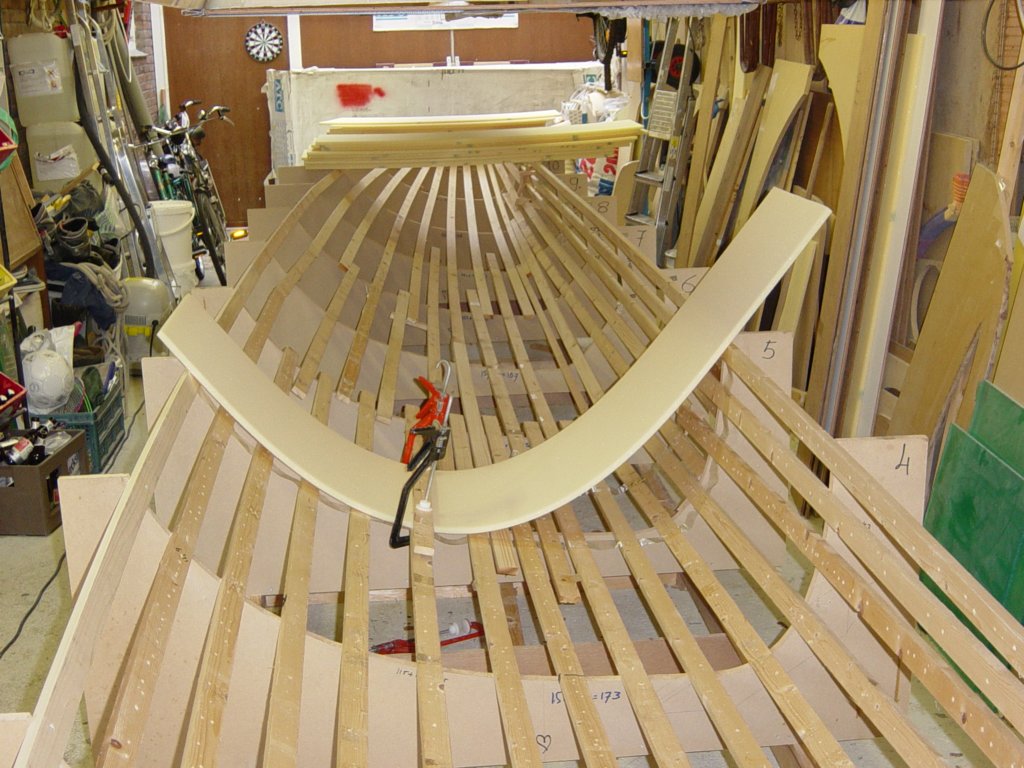
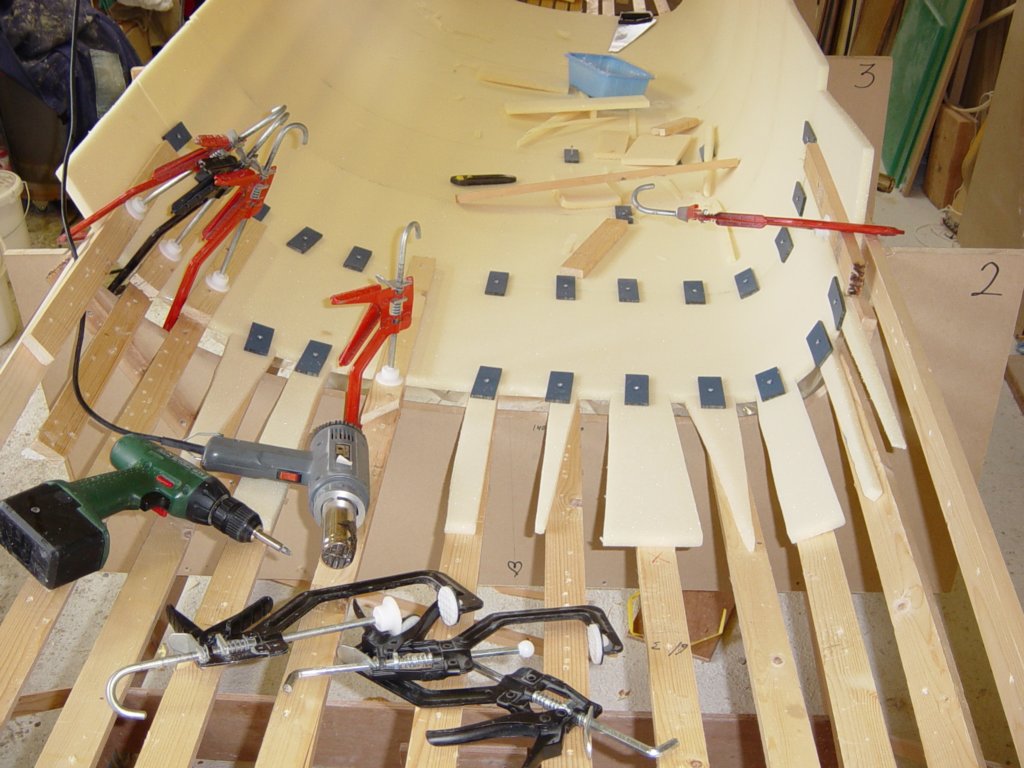
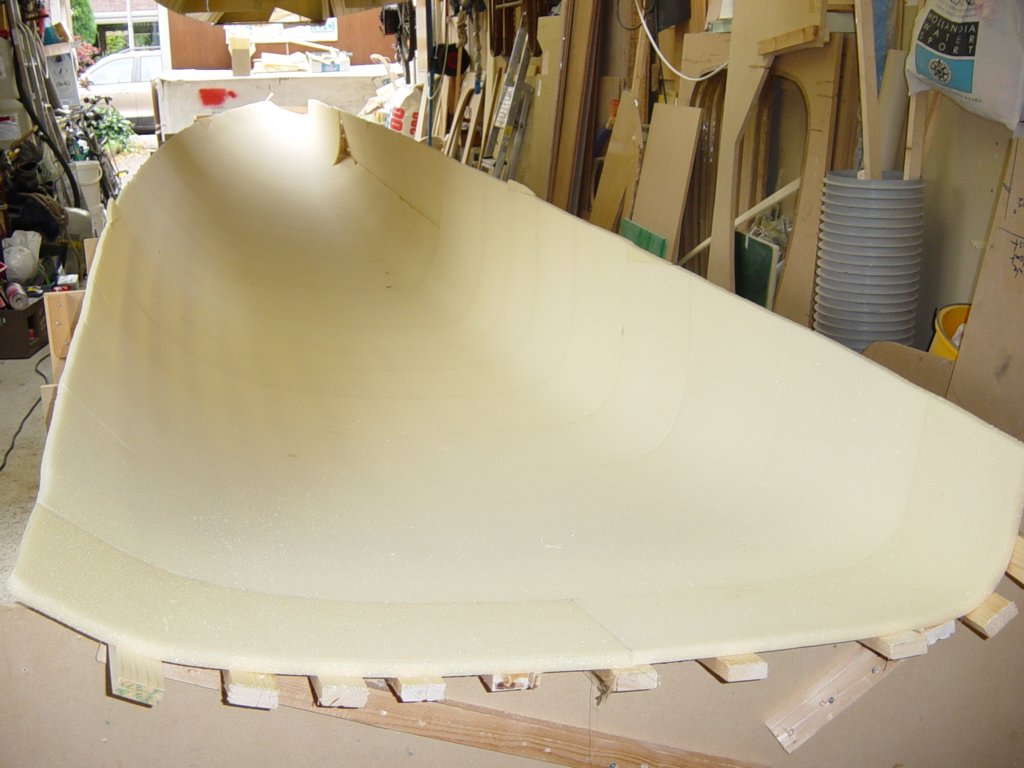
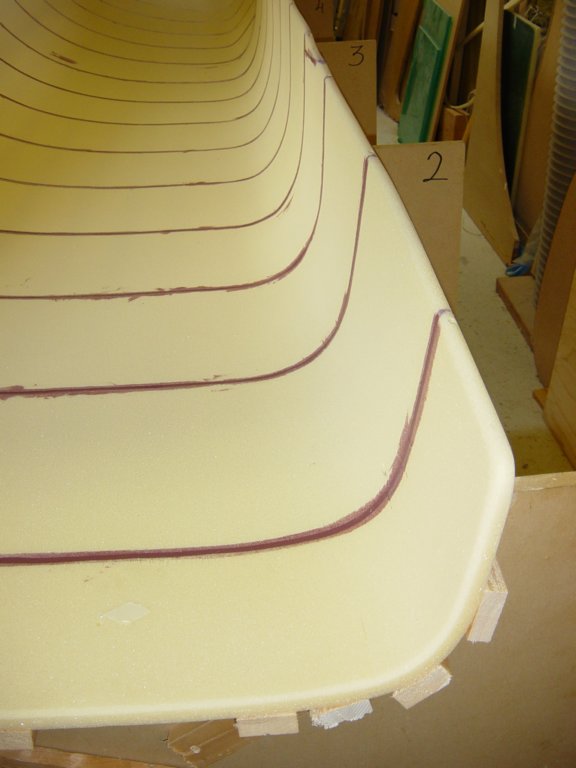
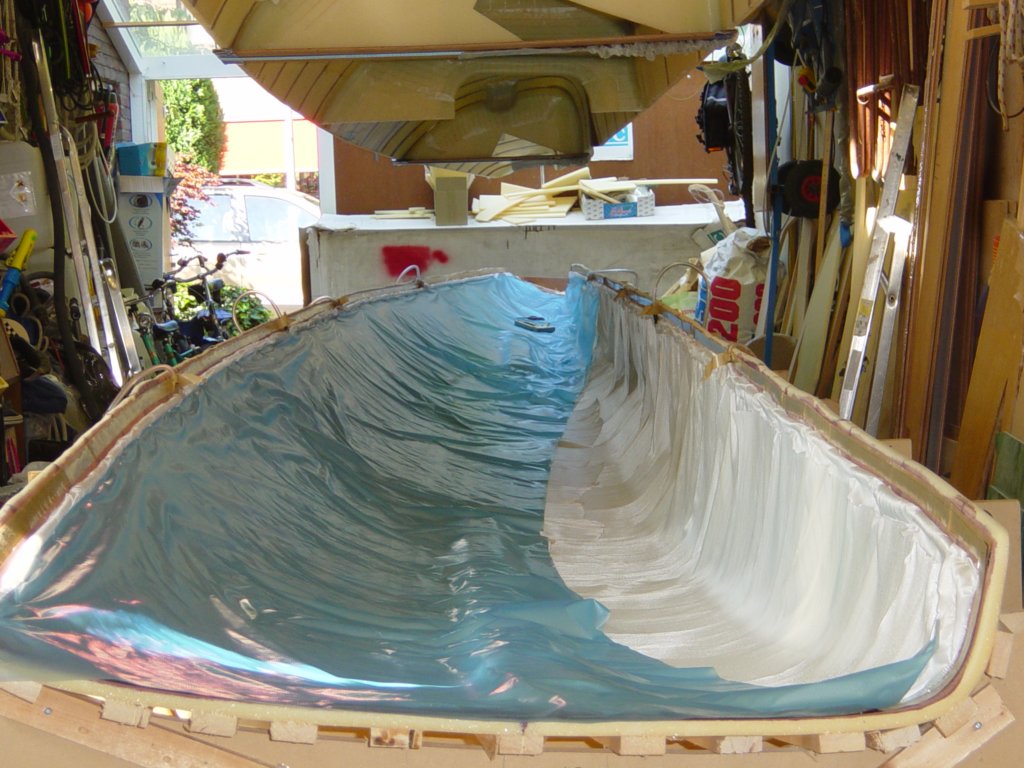
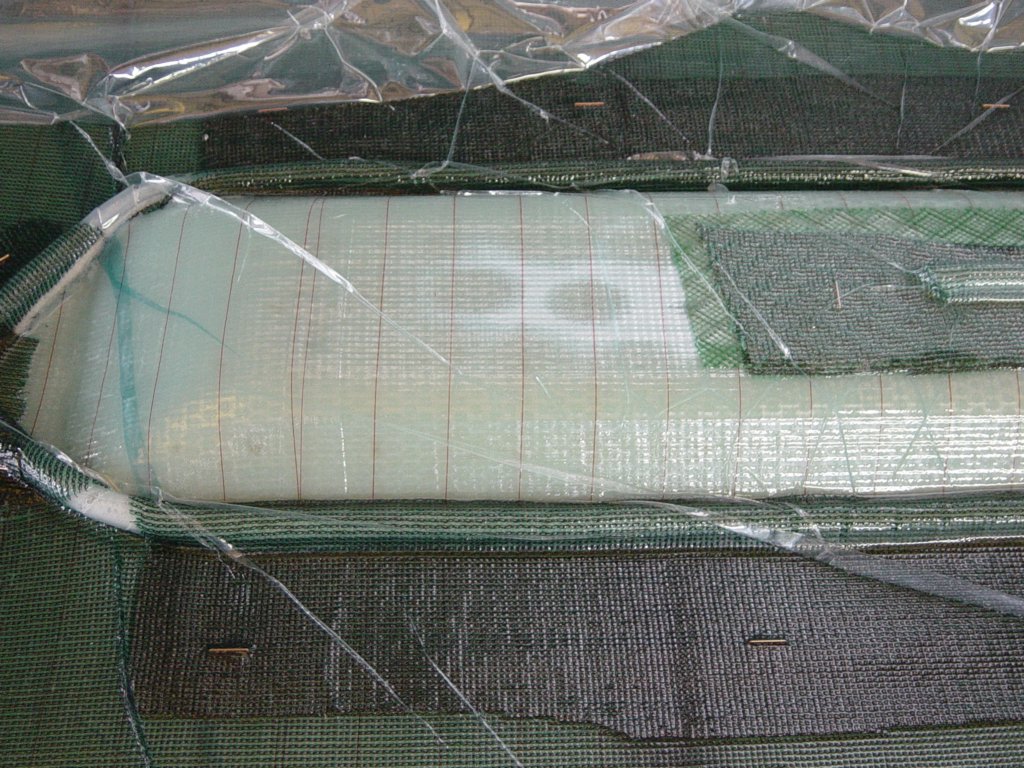
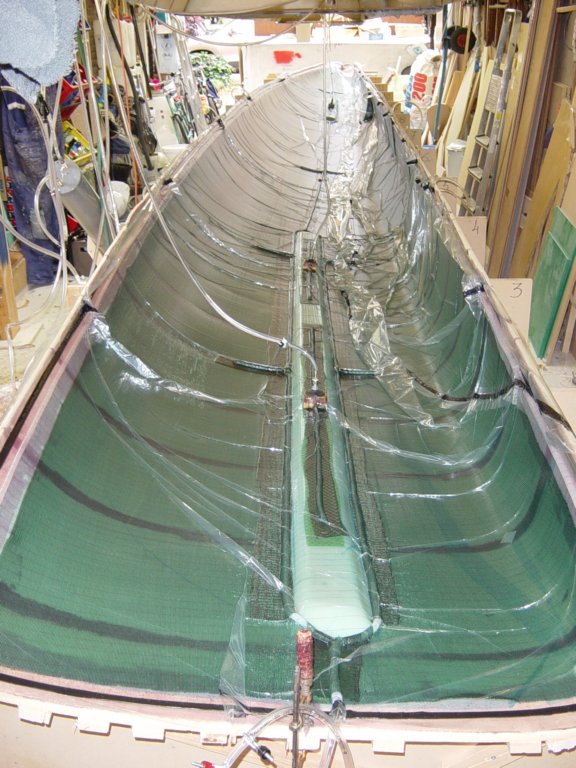
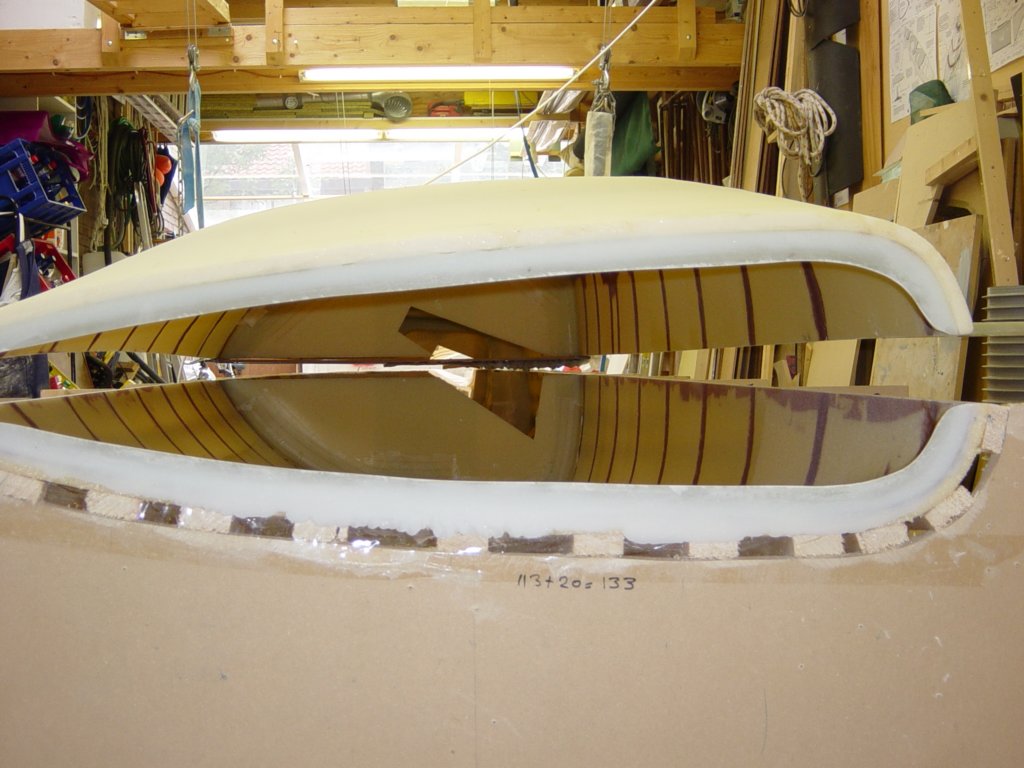
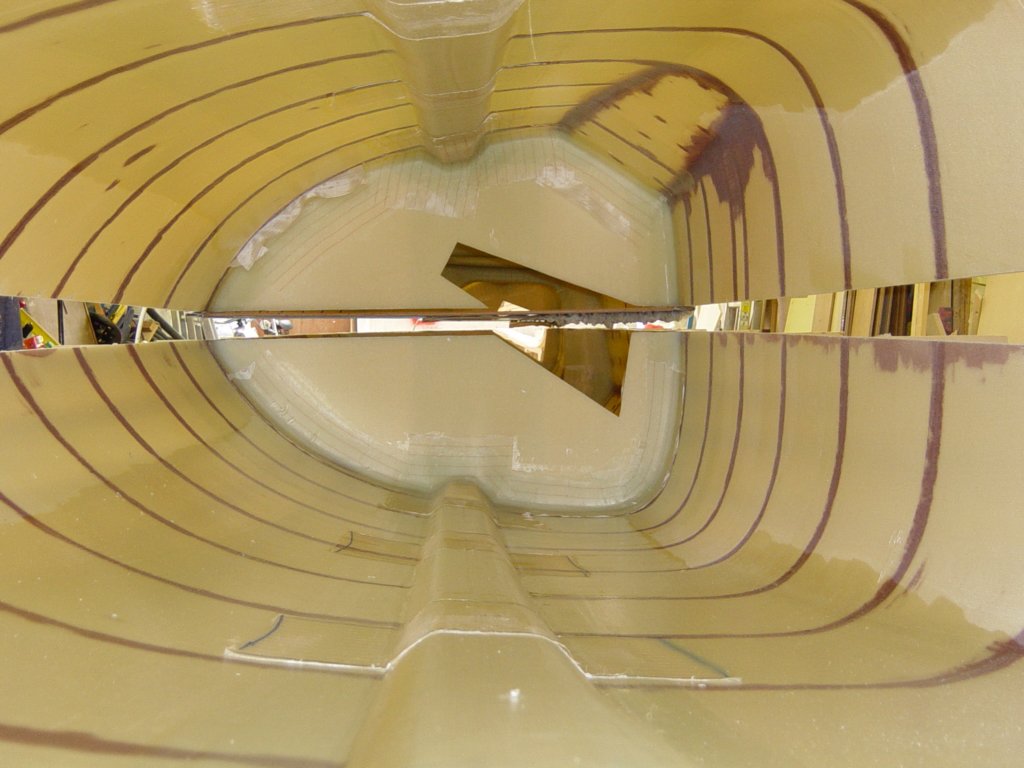
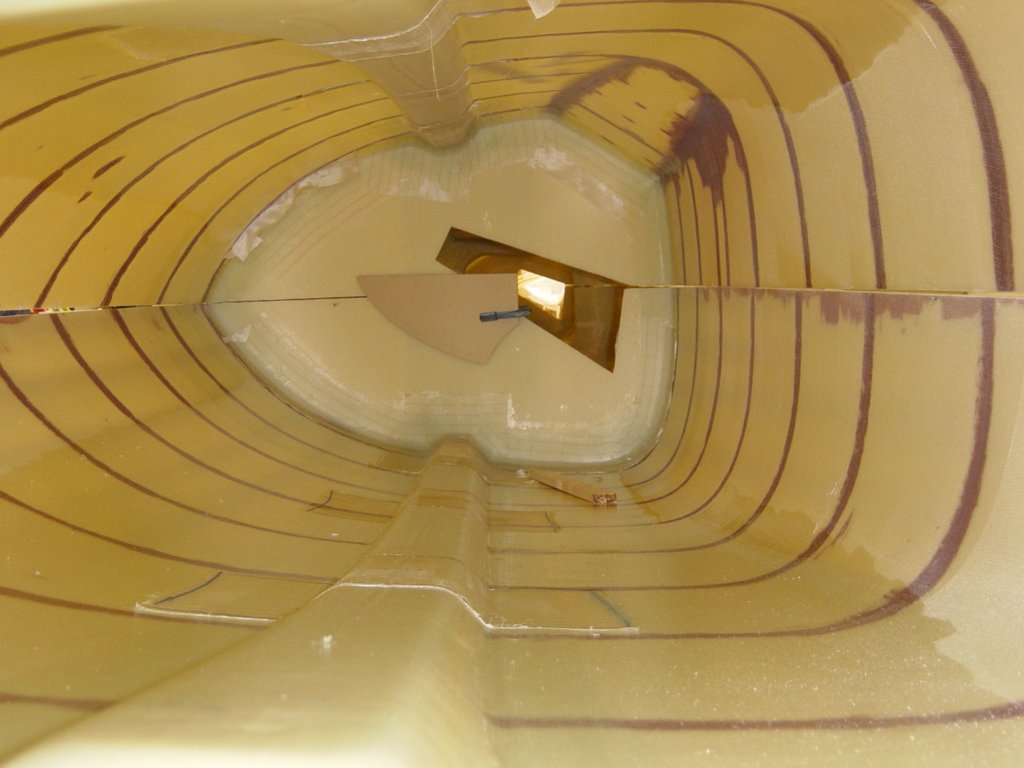
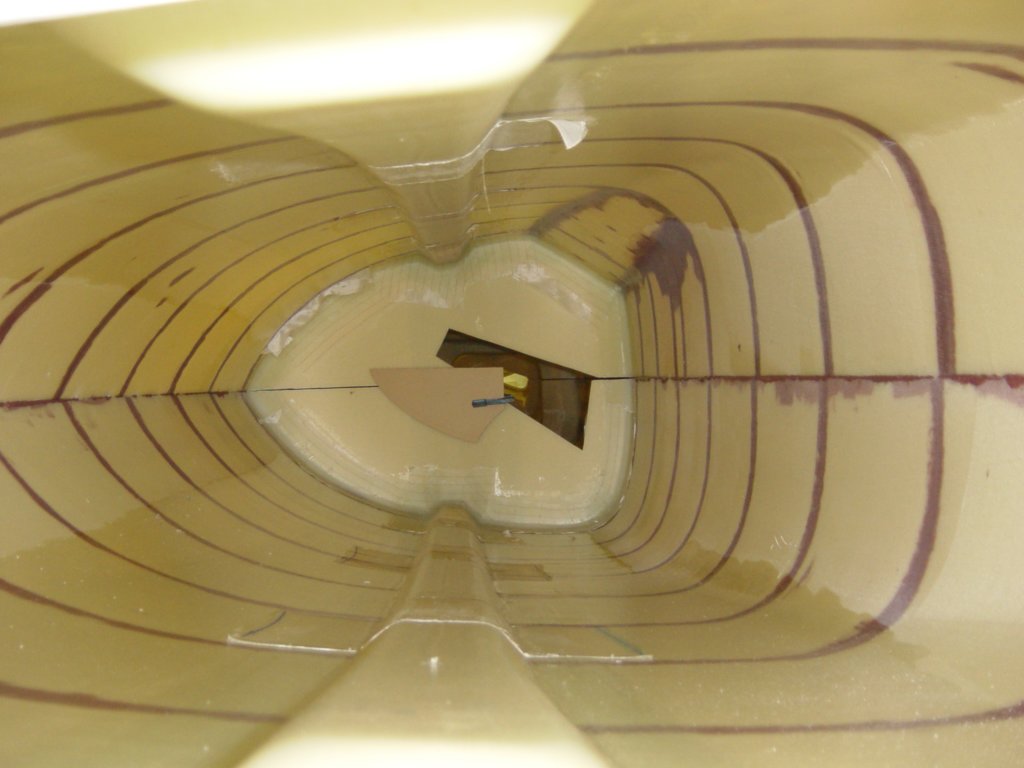
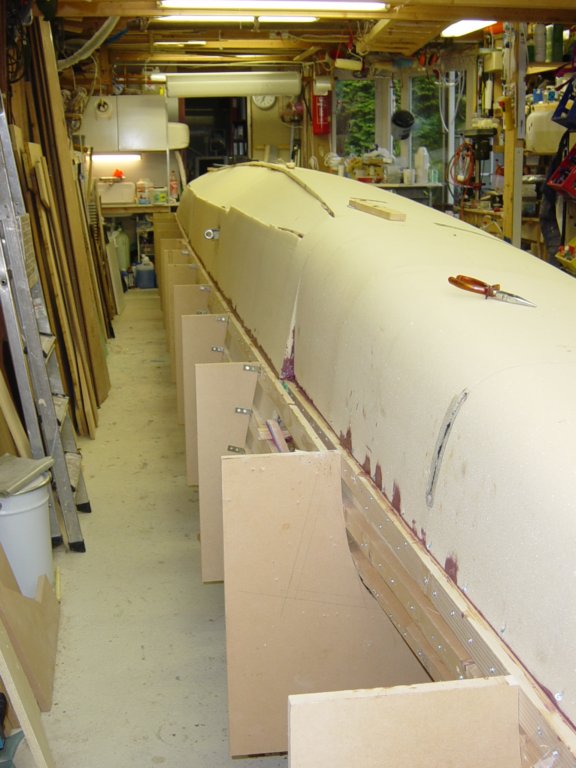
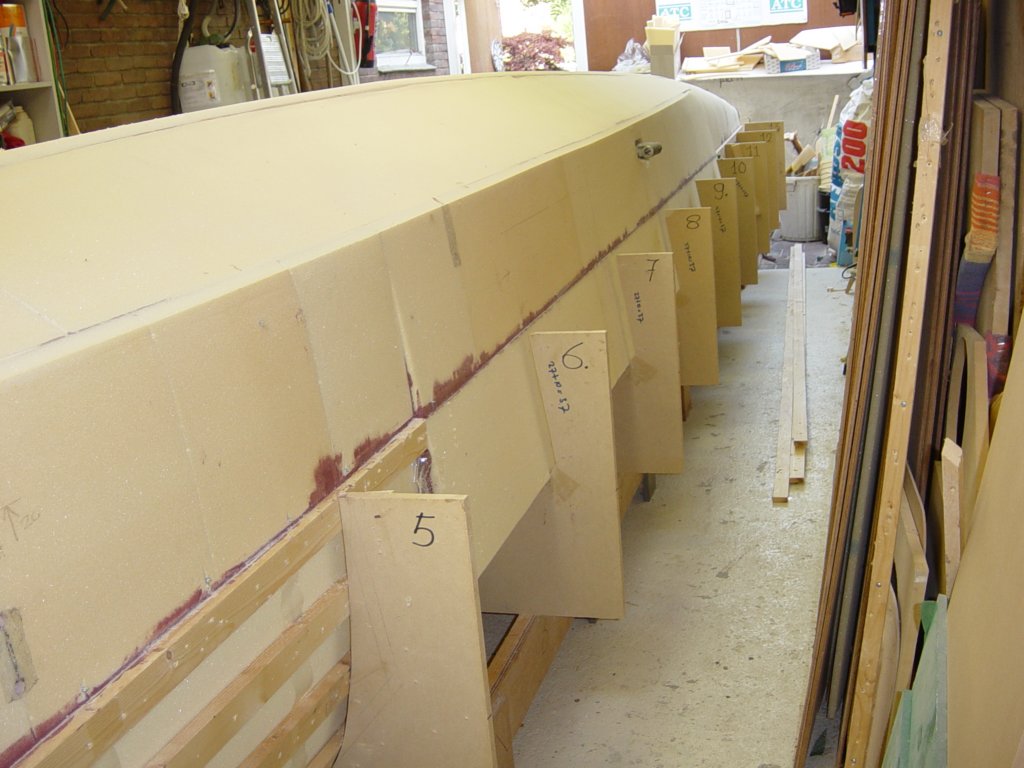
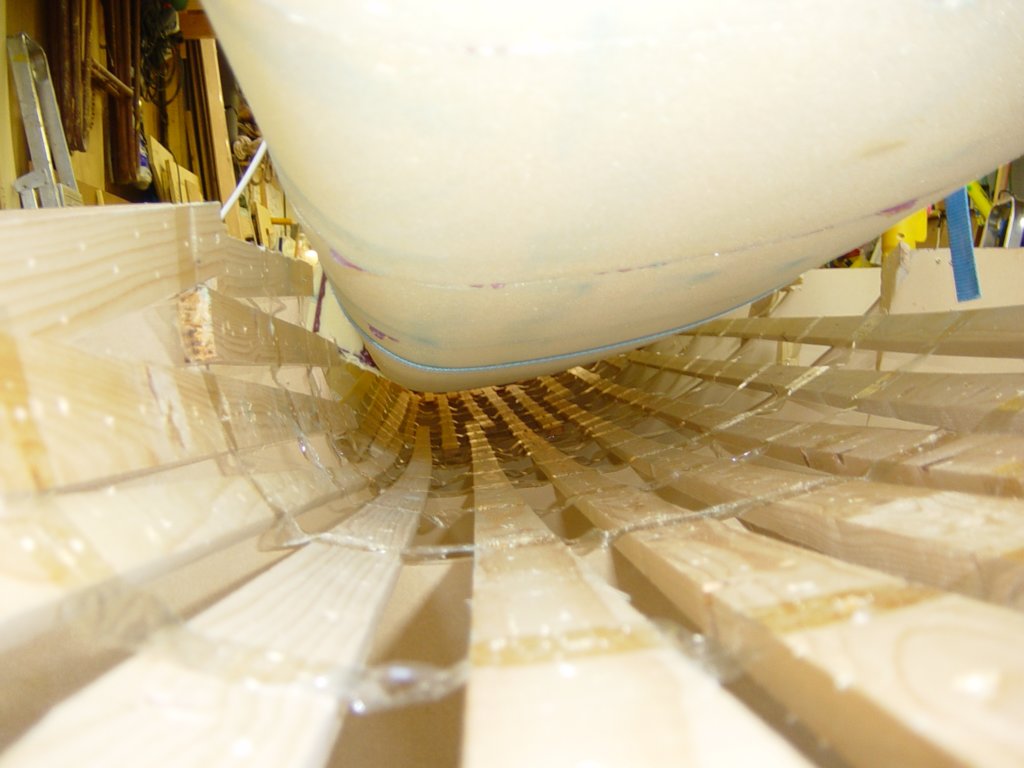
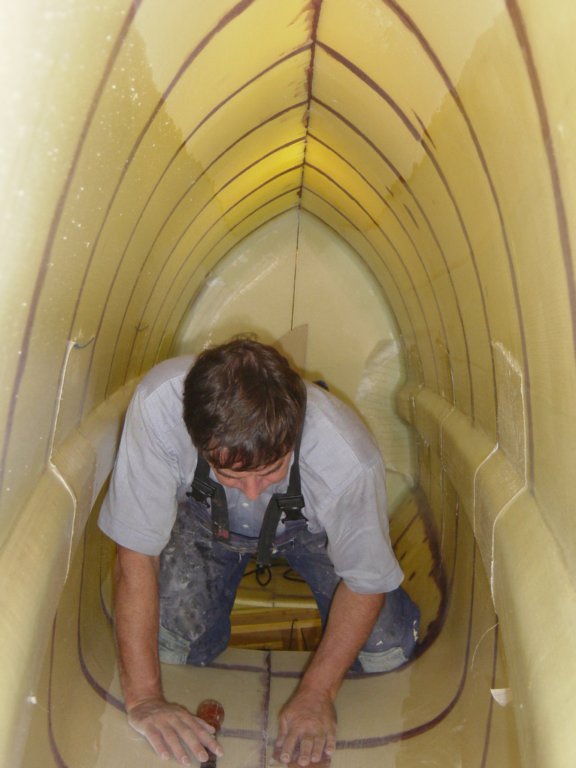
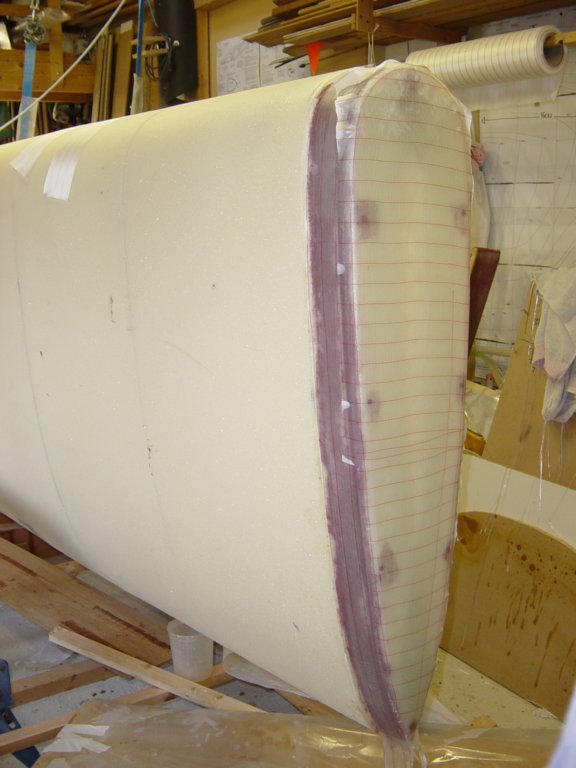
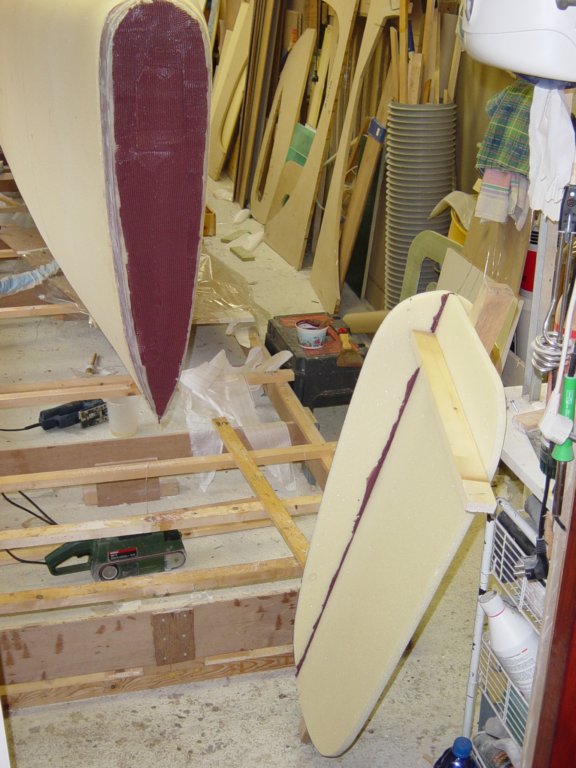
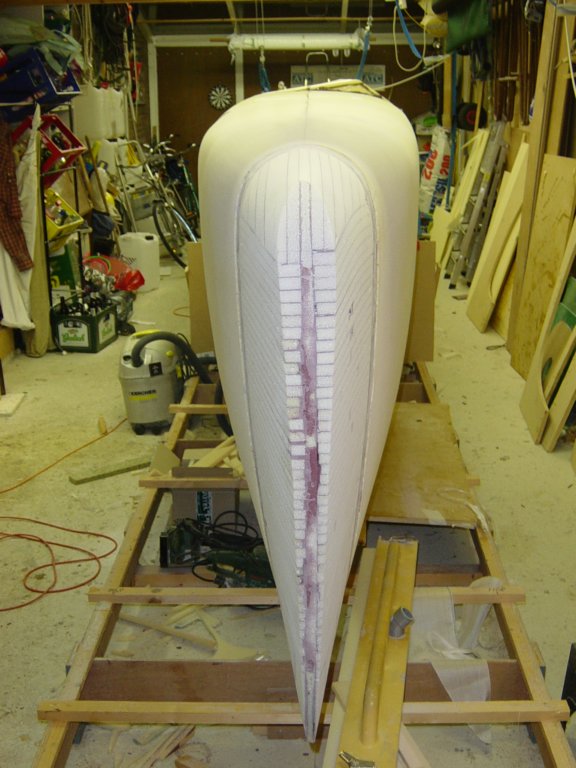
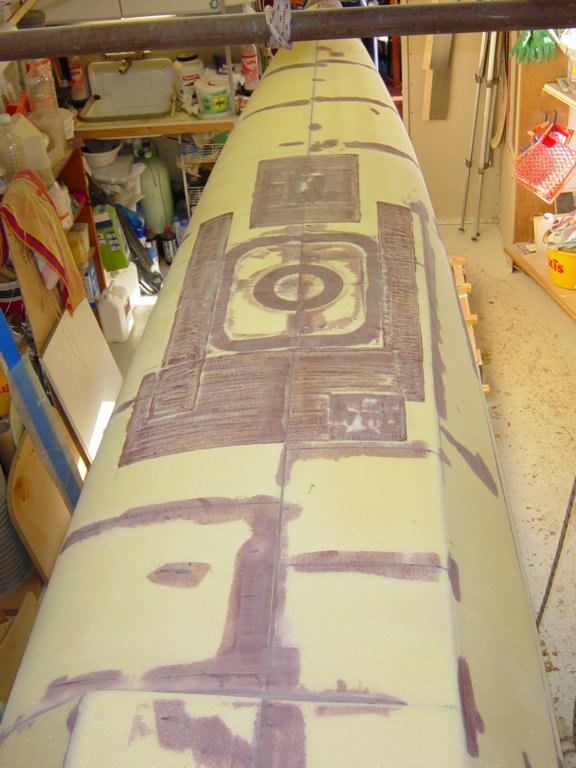
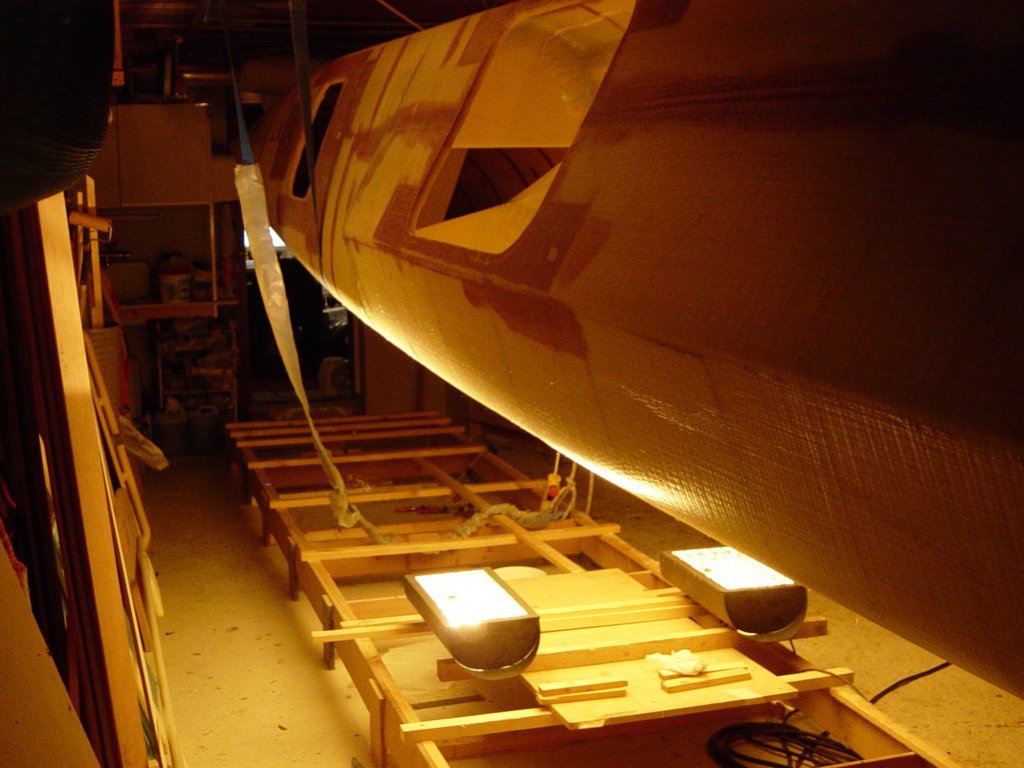
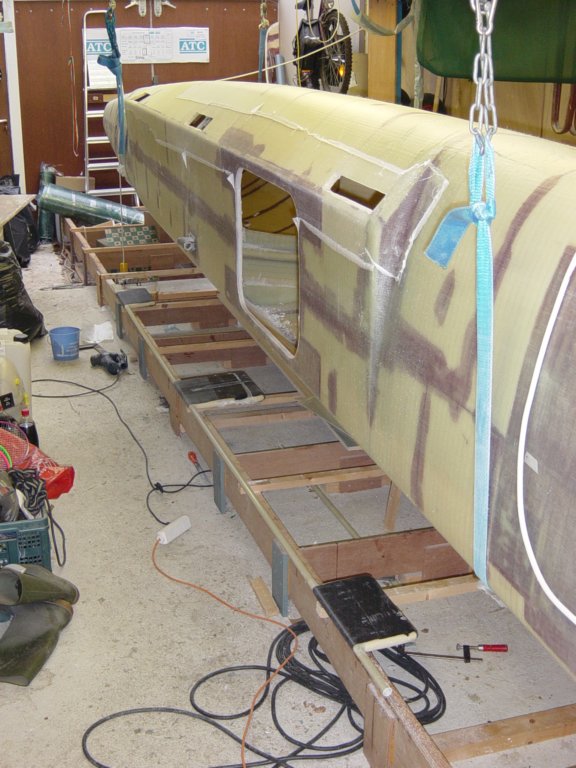
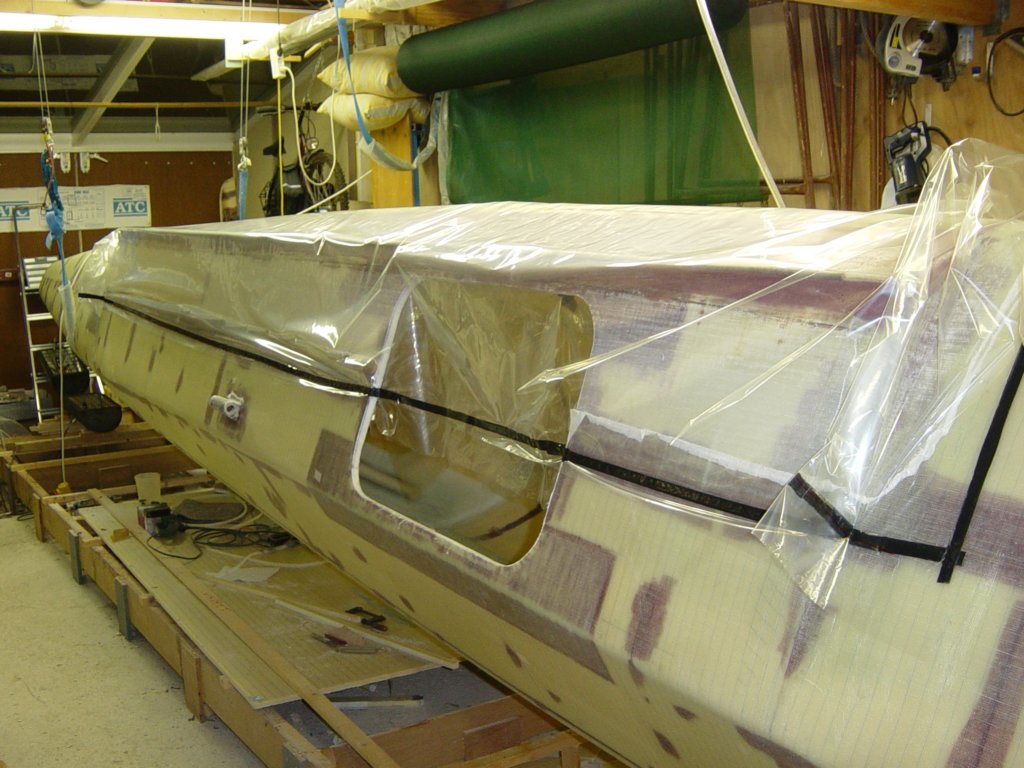
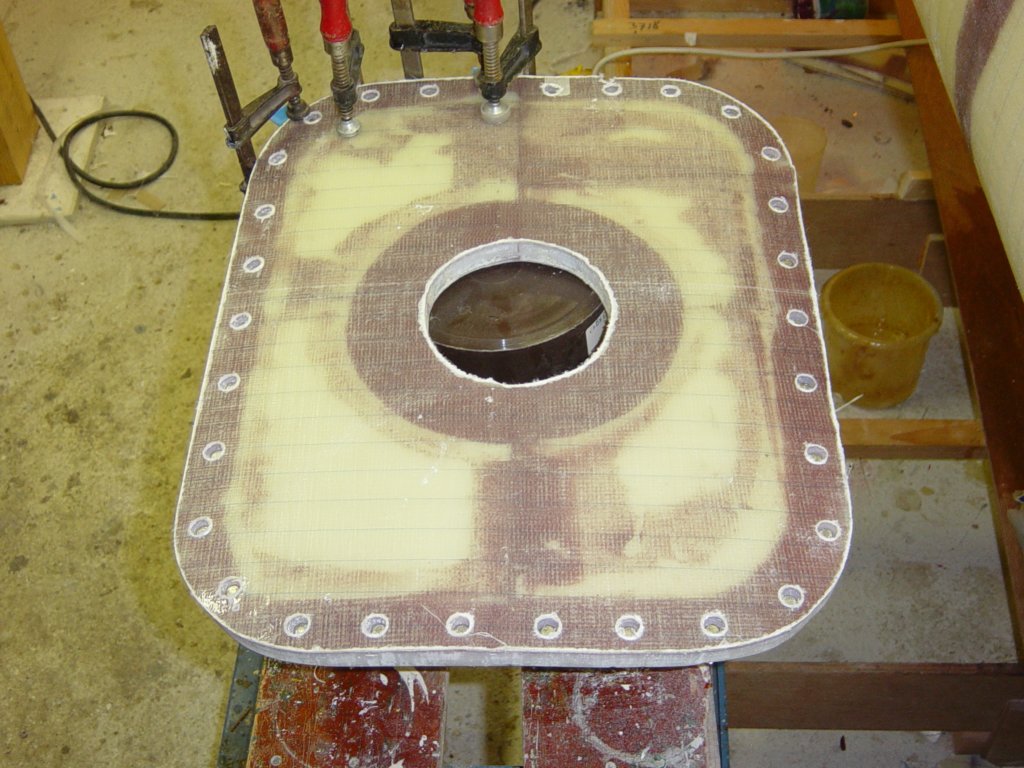
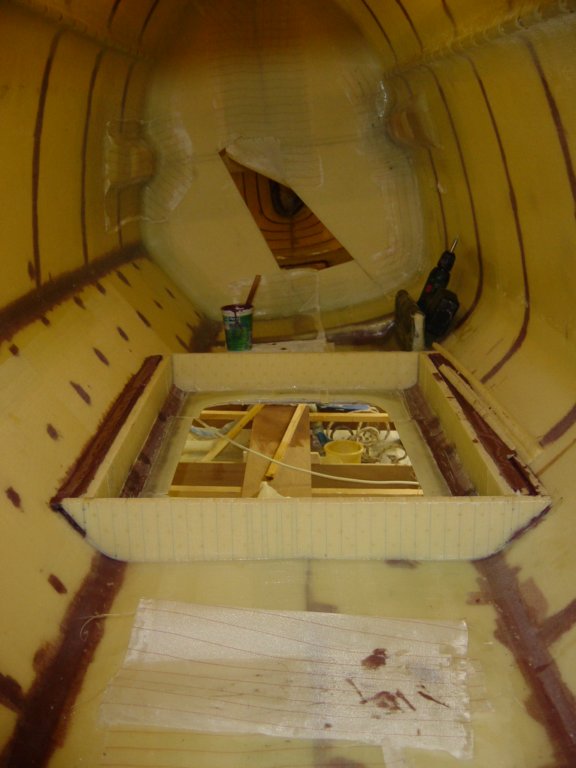
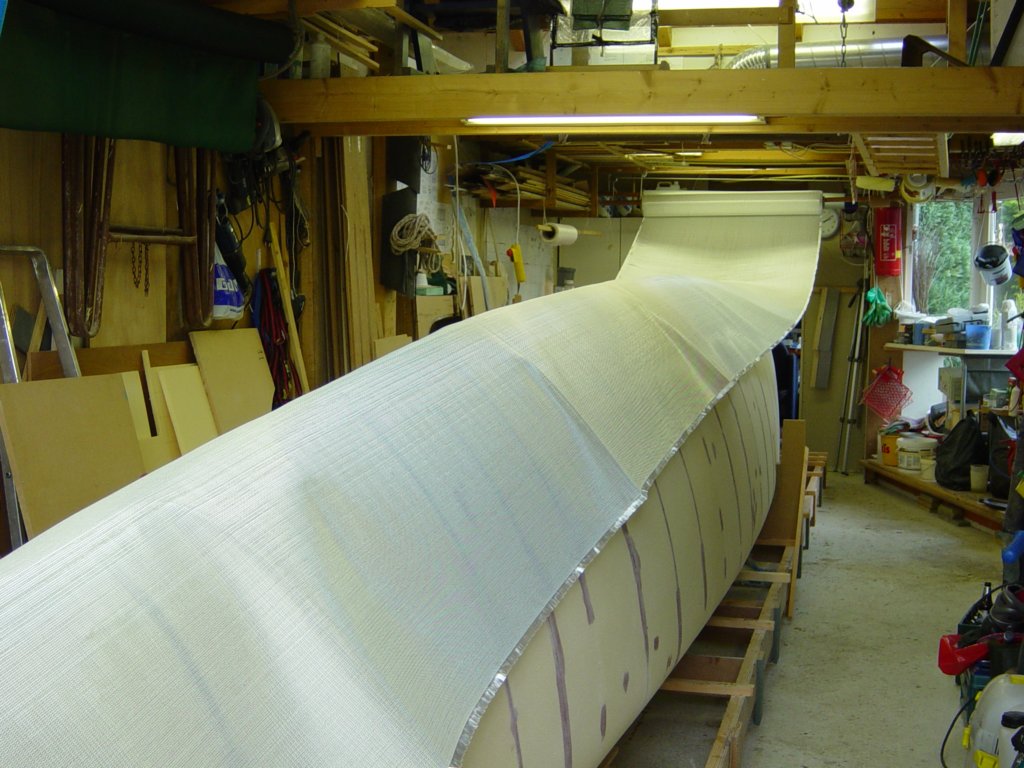
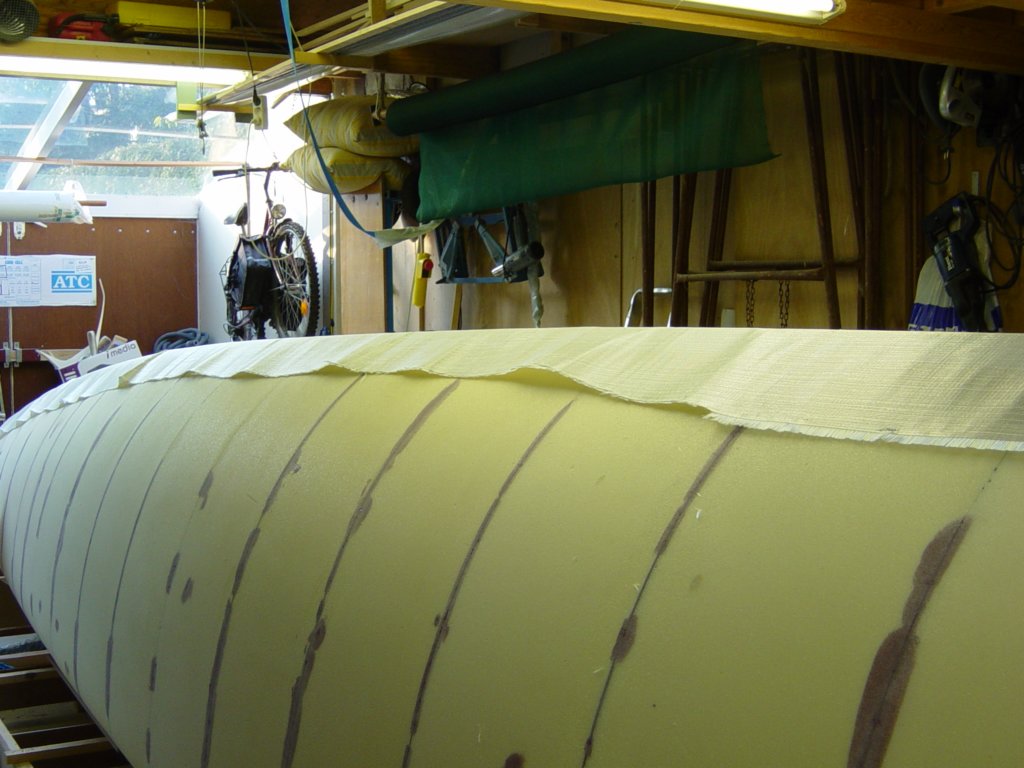
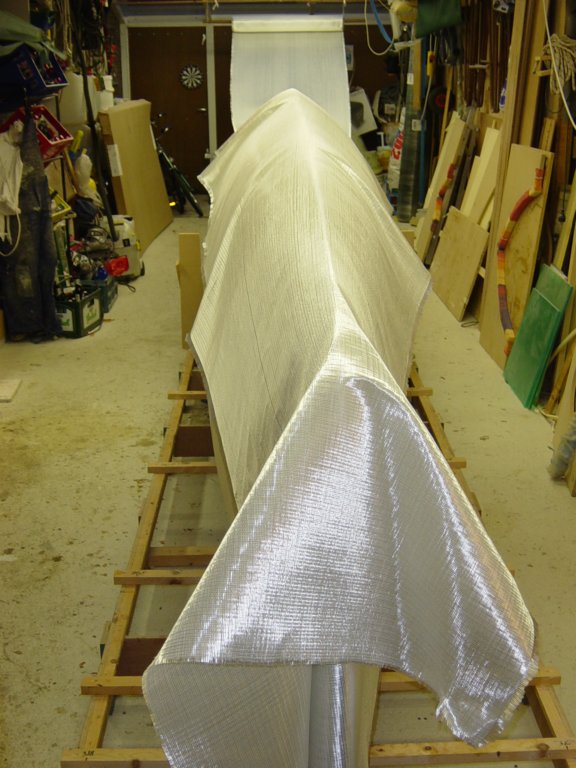
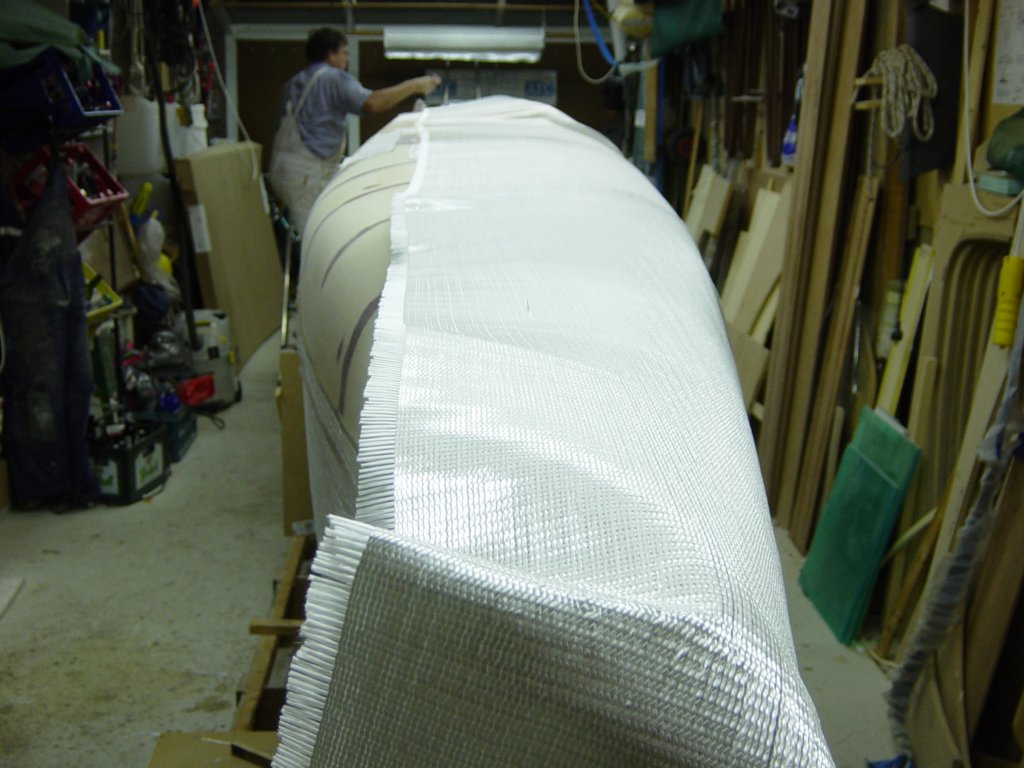
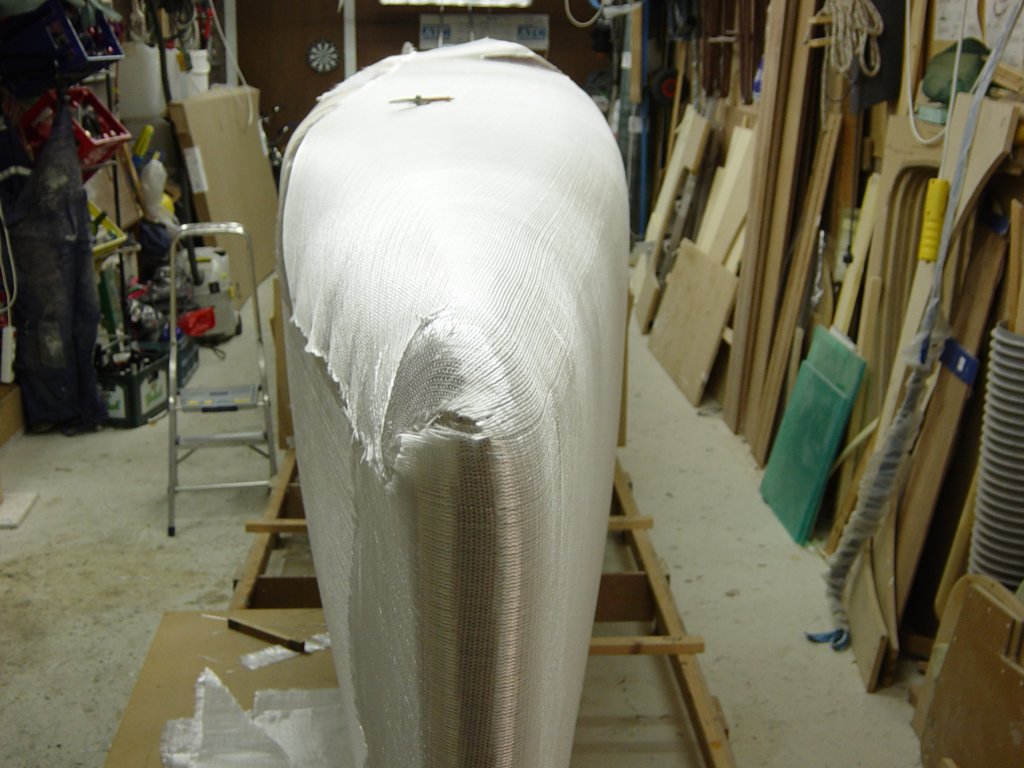
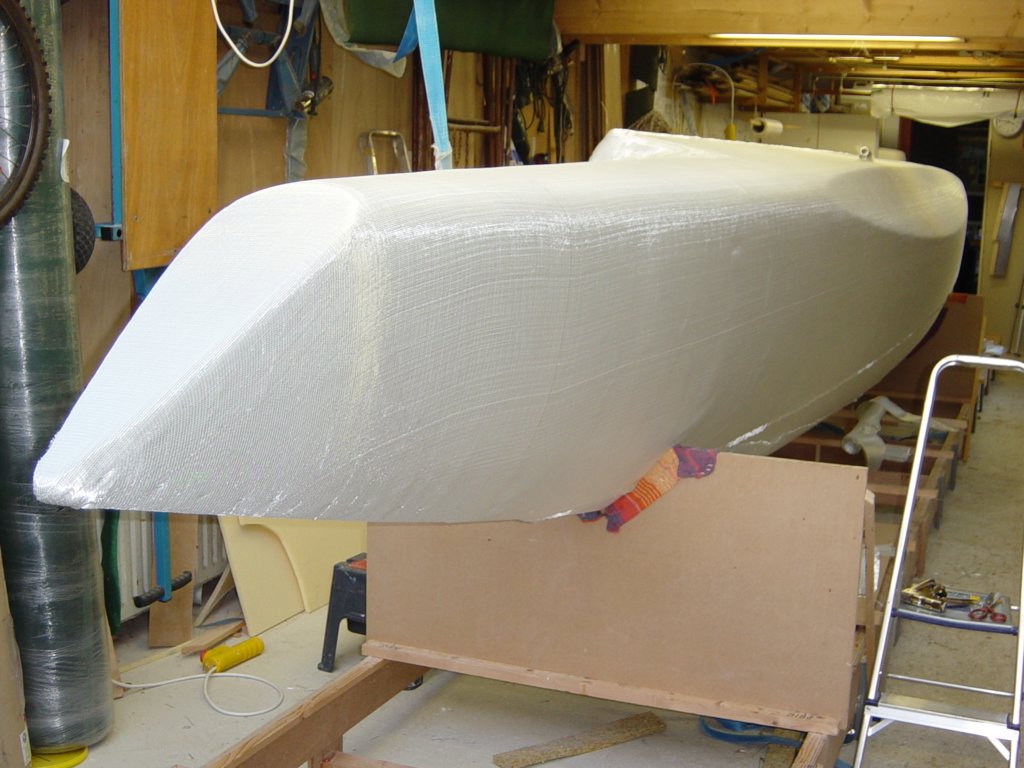
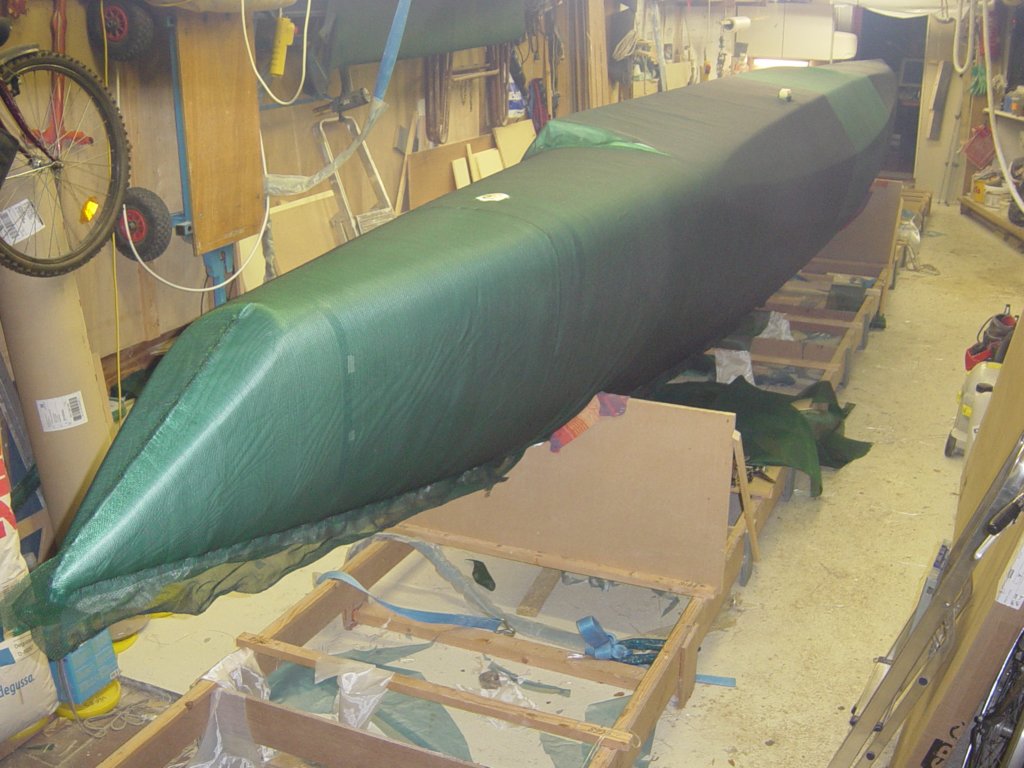
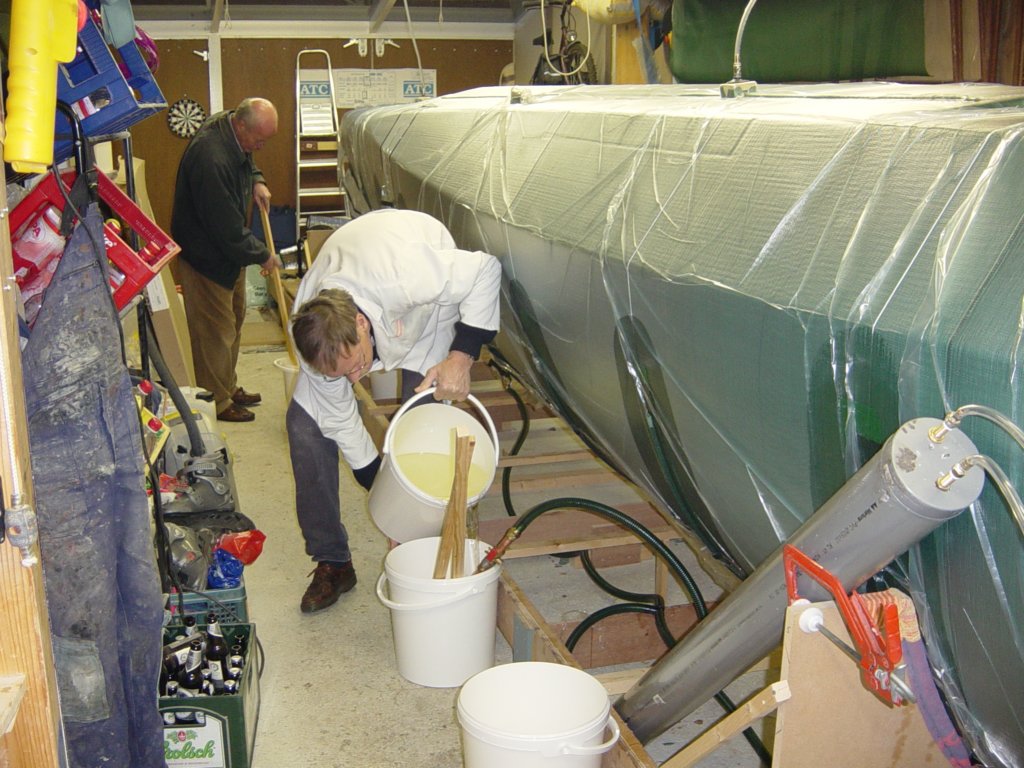
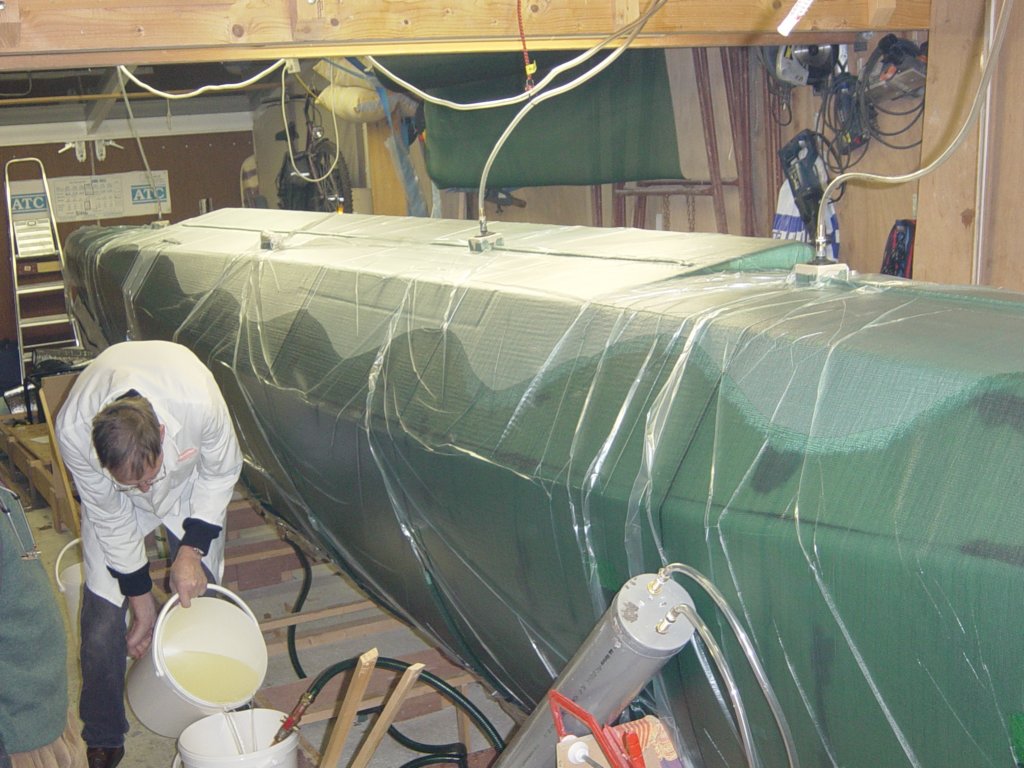
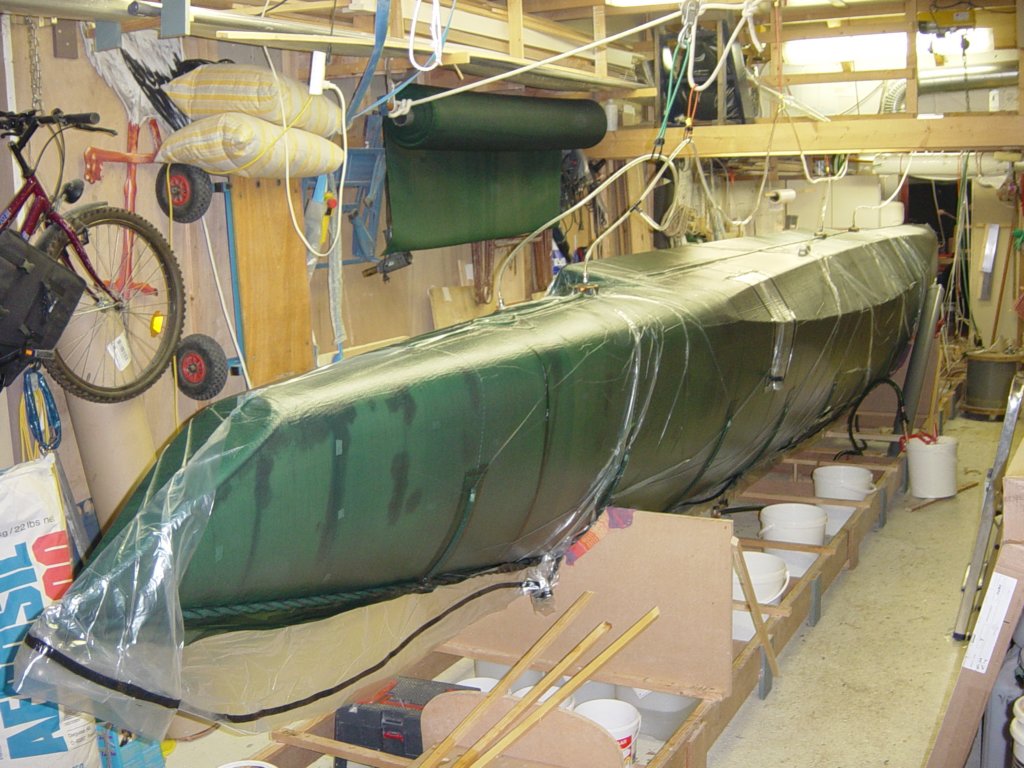
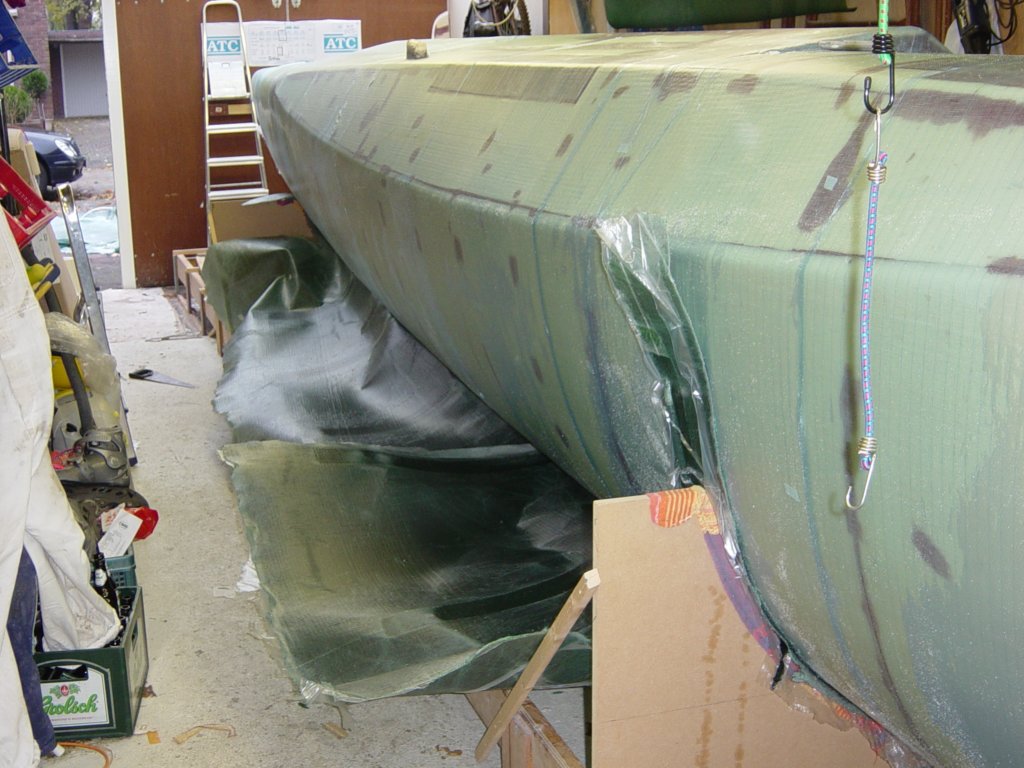
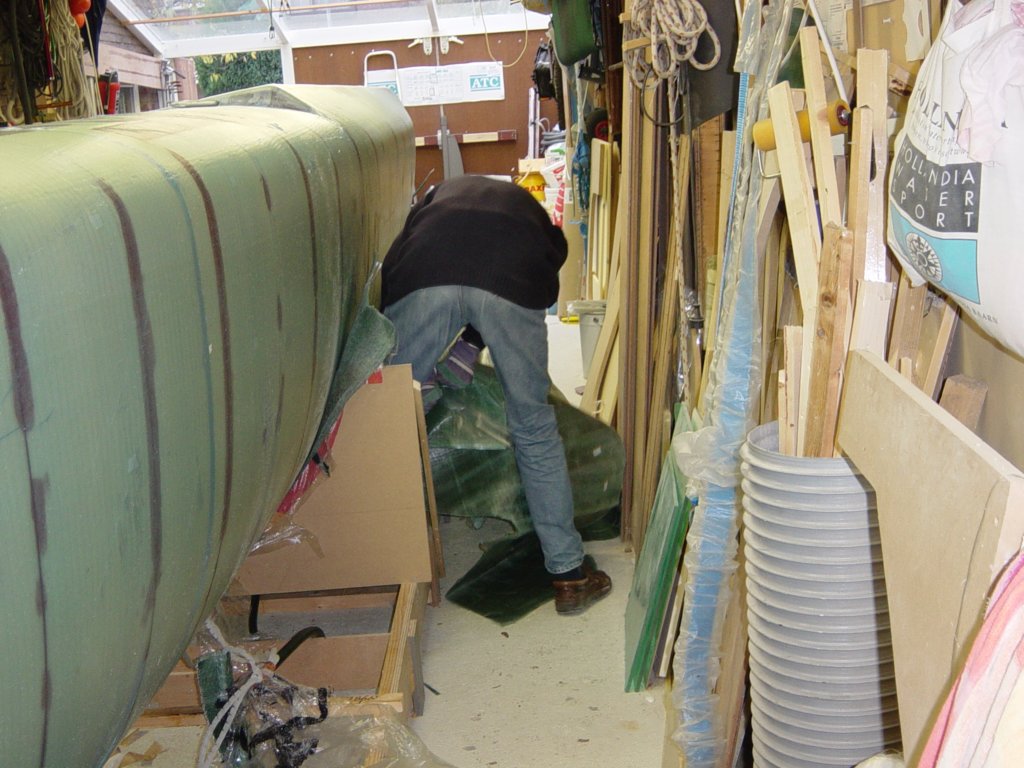
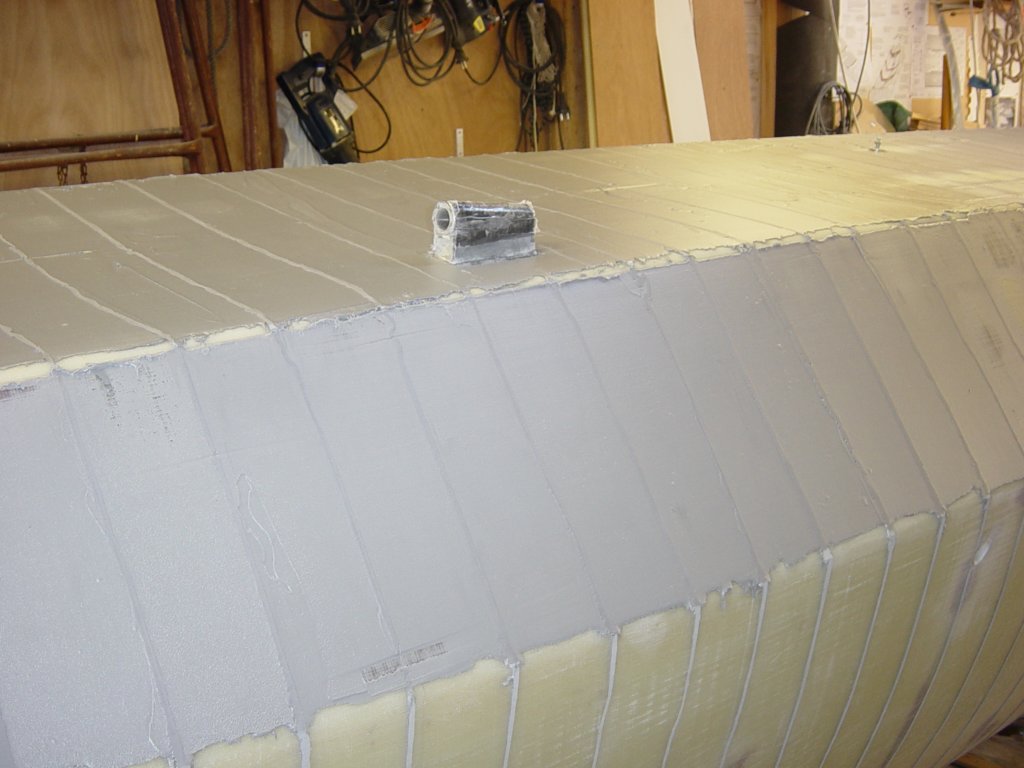
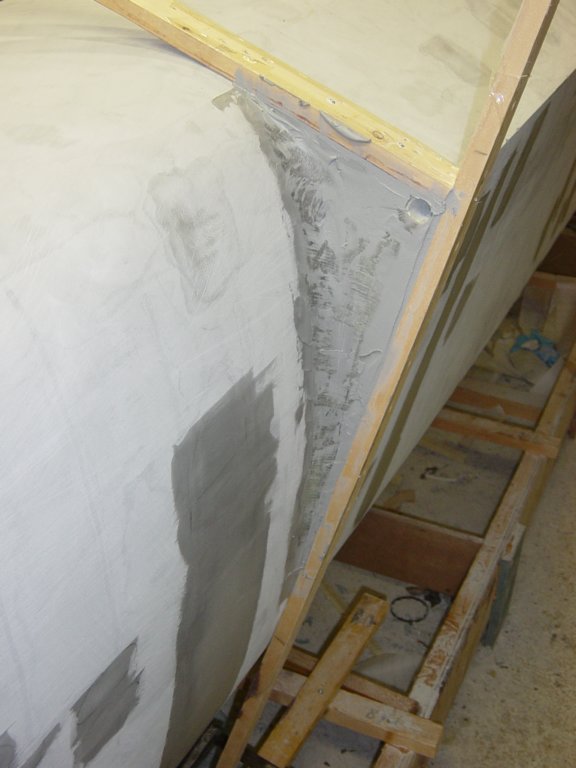
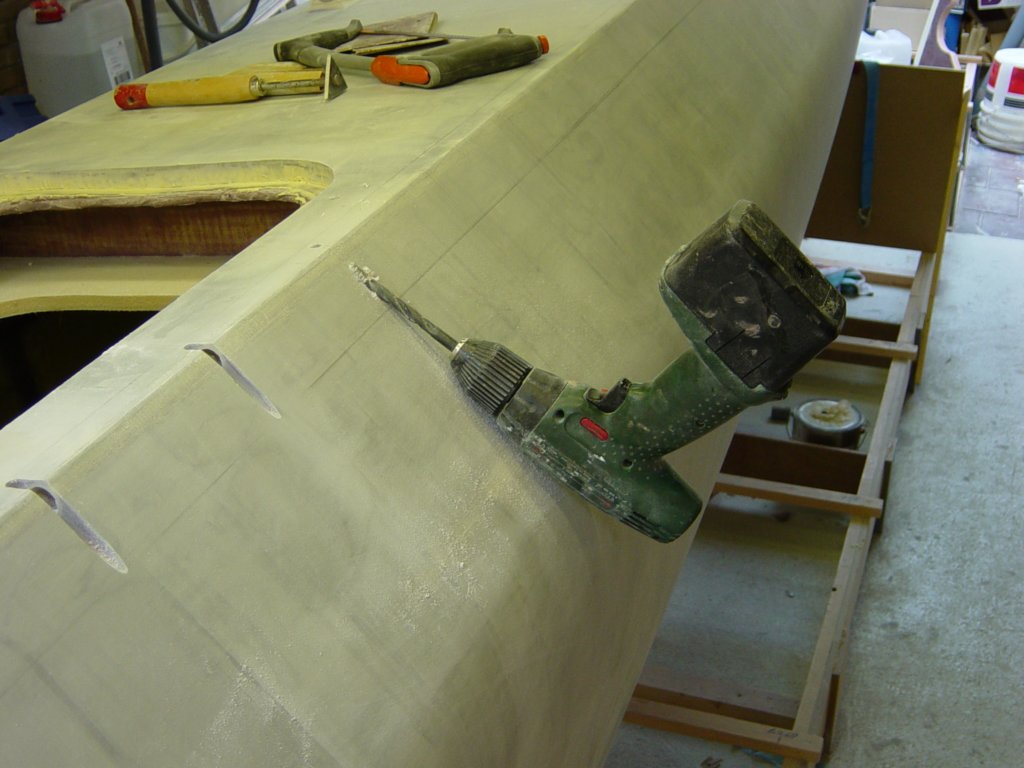
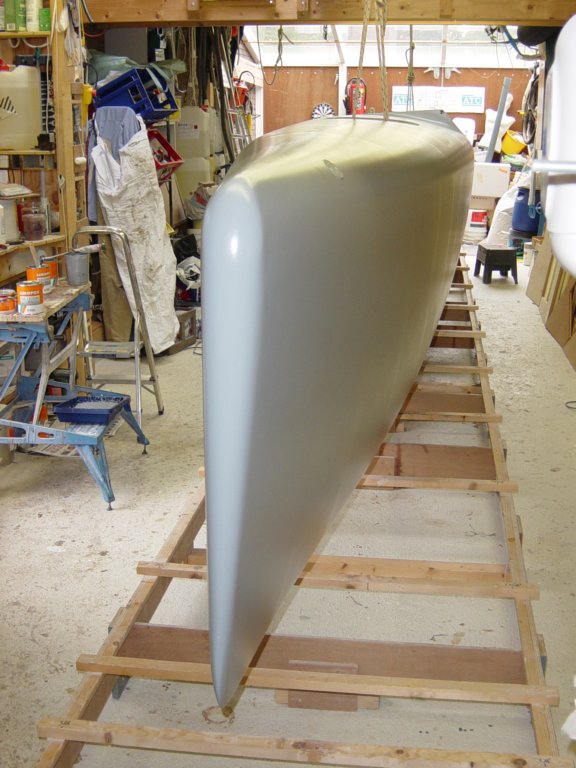
Last is the construction of the port side of the starboard float. With the experience of the previously built hulls, the assembly goes flawlessly and quickly. As you can see in the above video, tempo of labor is getting better :-)

Starboard float assembly


|
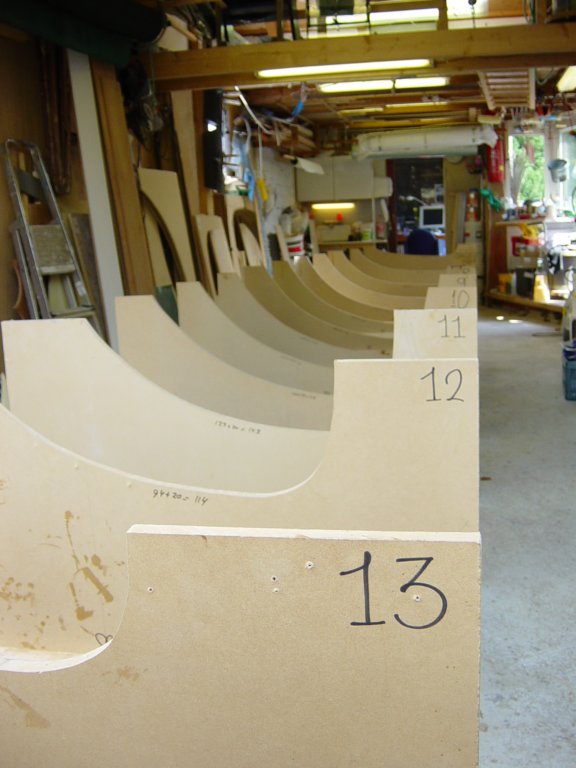
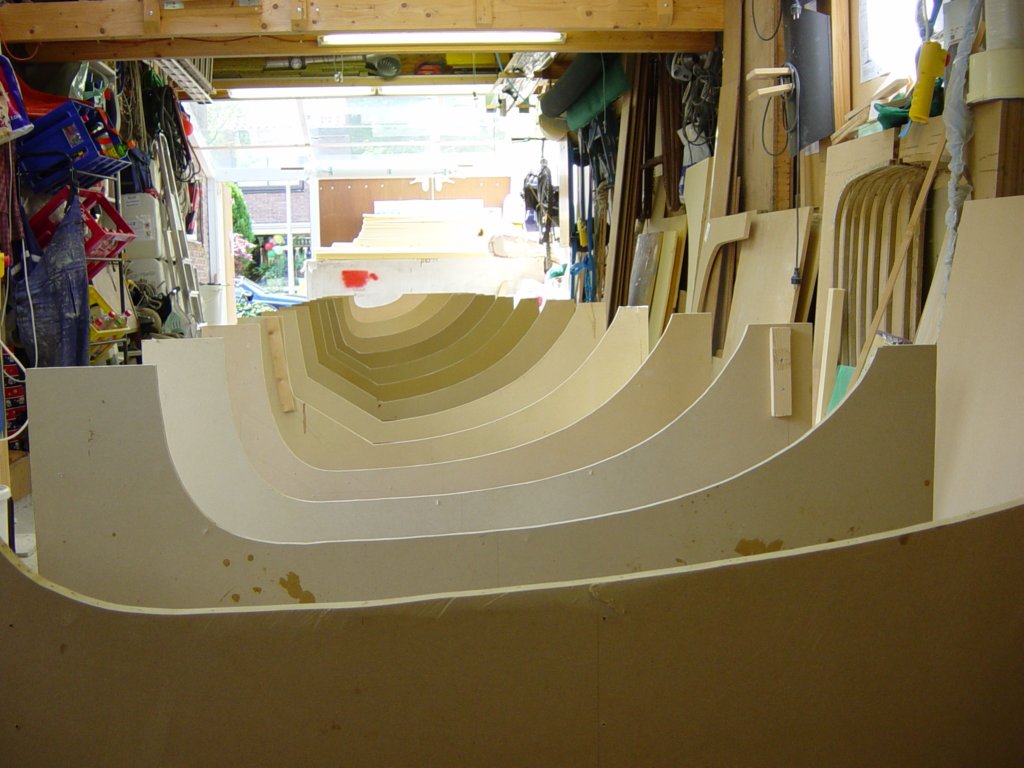
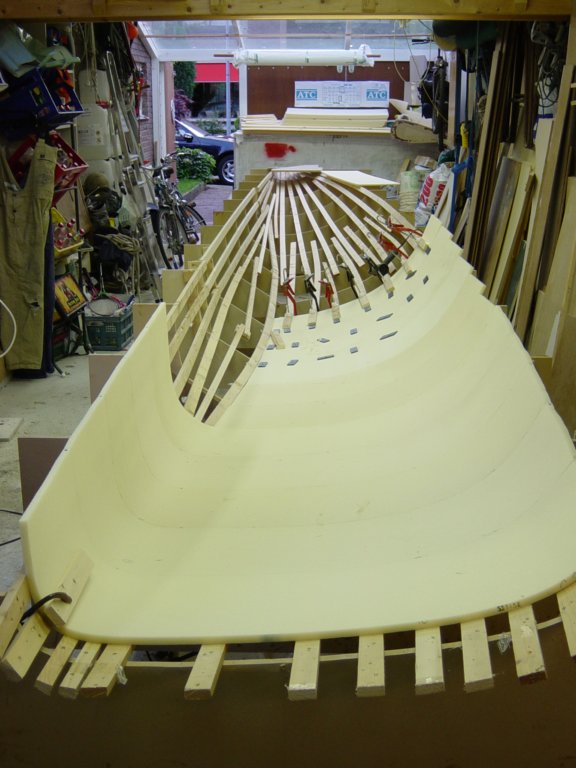
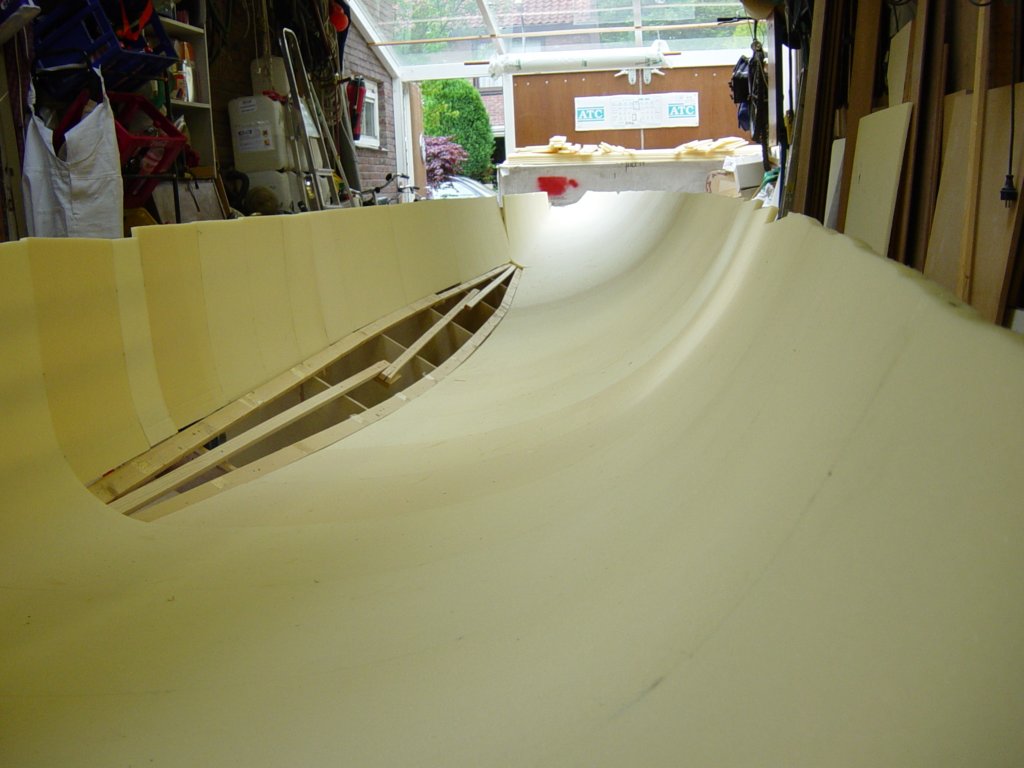
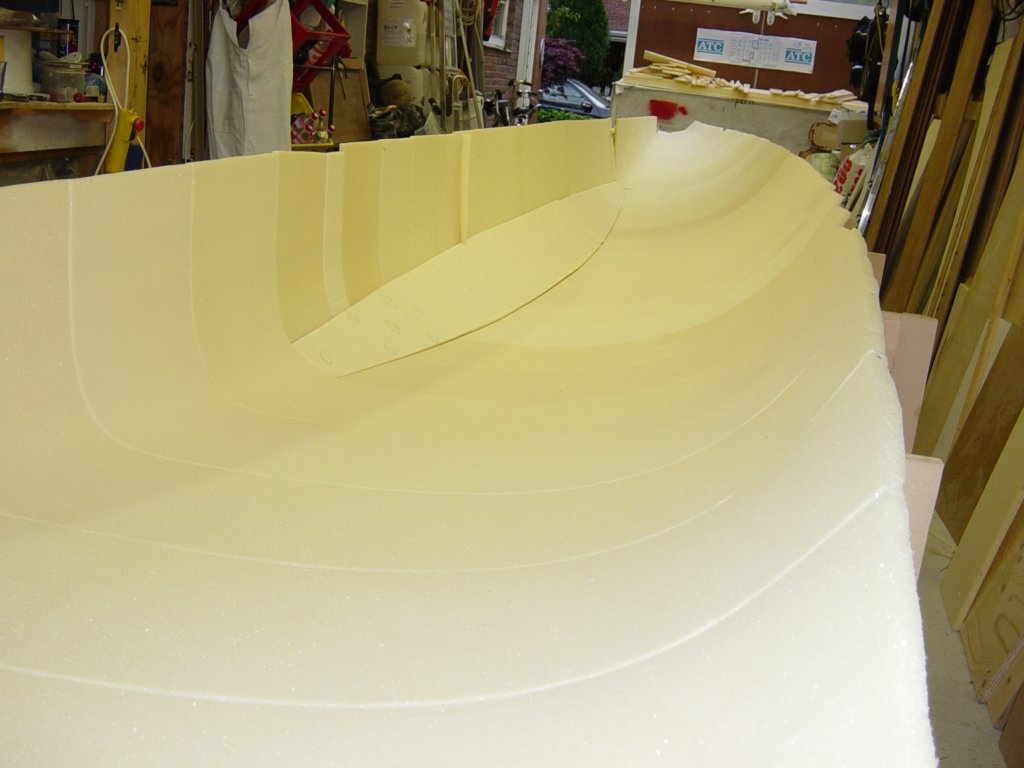
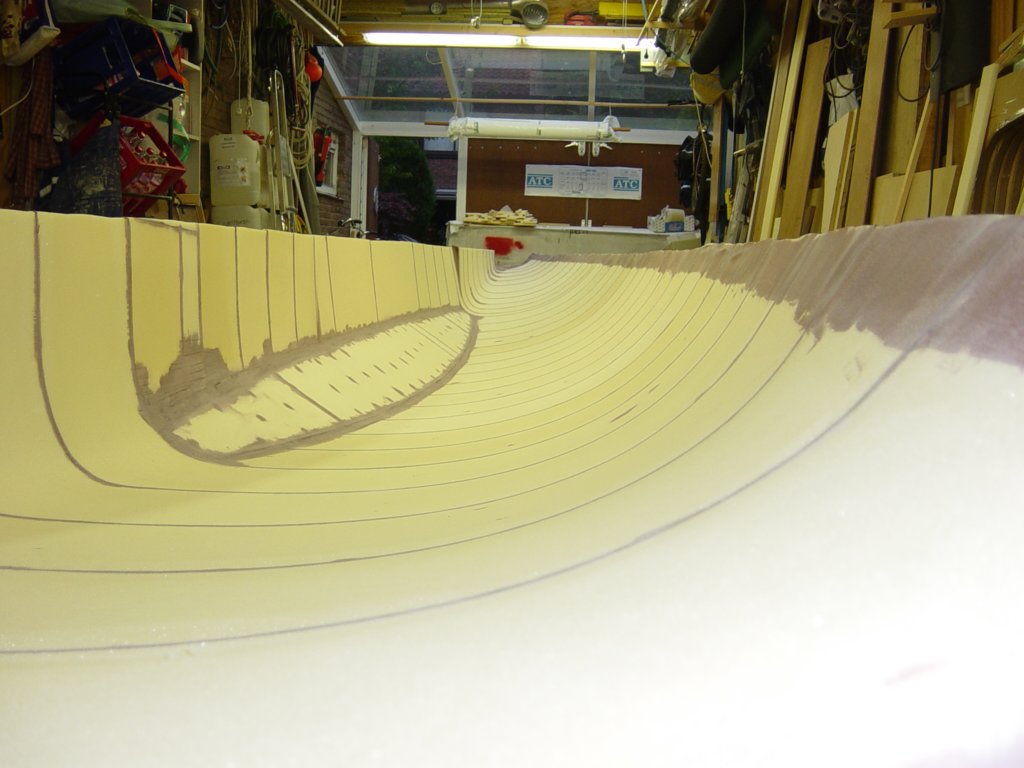
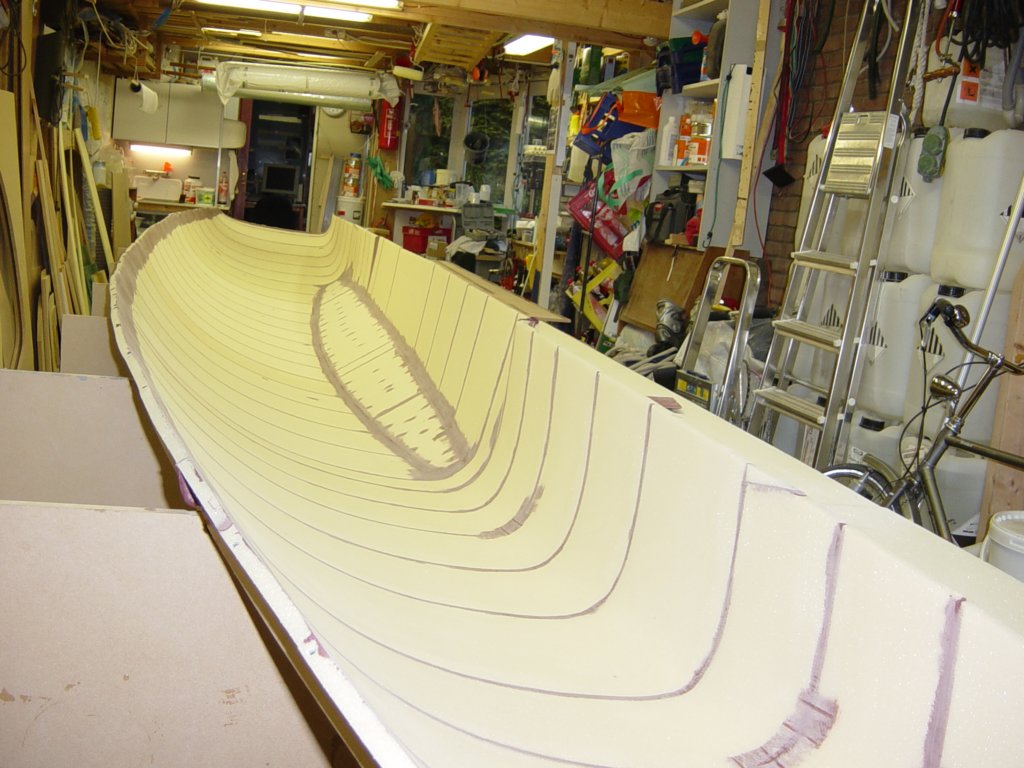
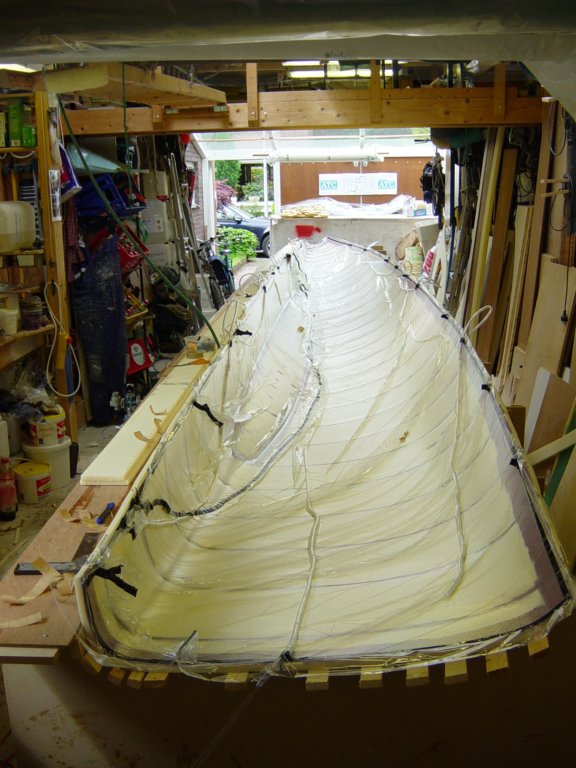
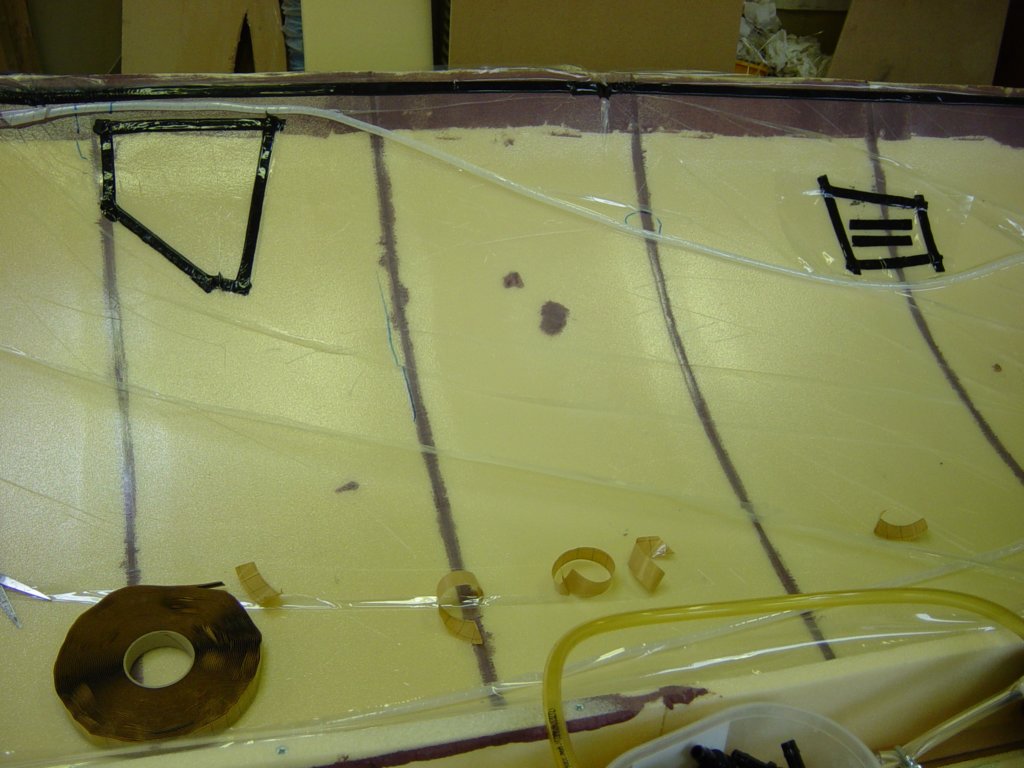
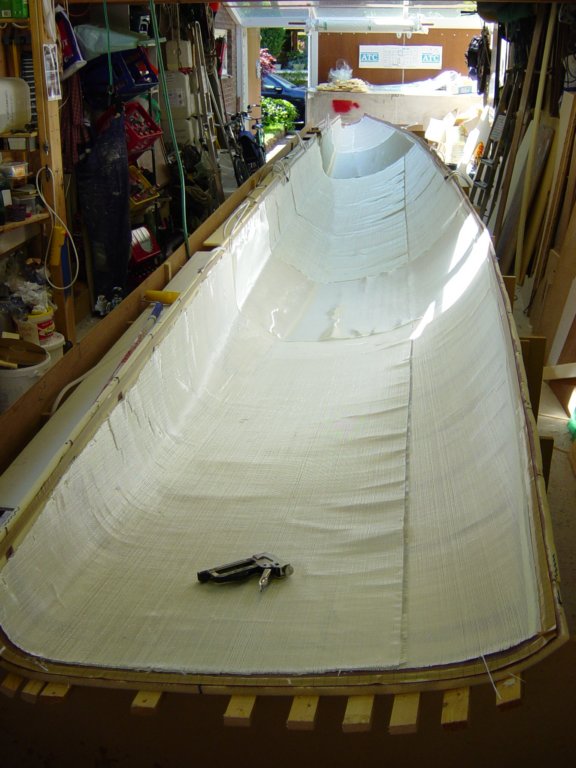
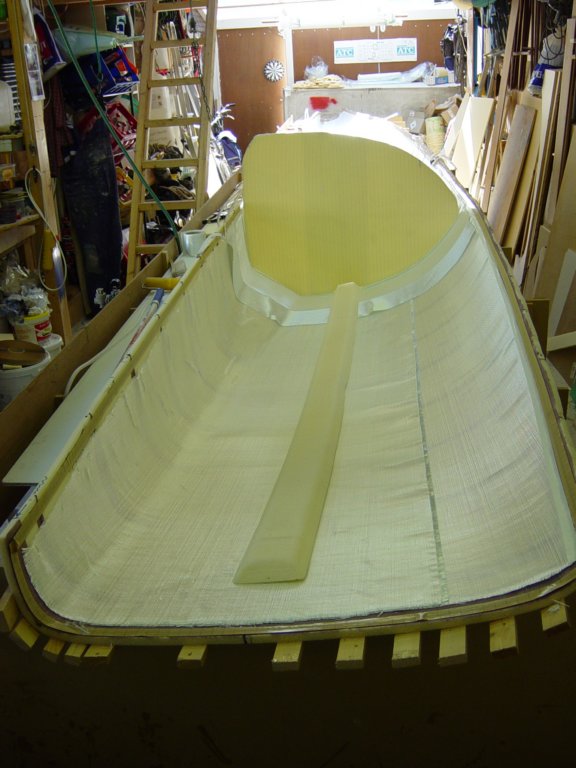
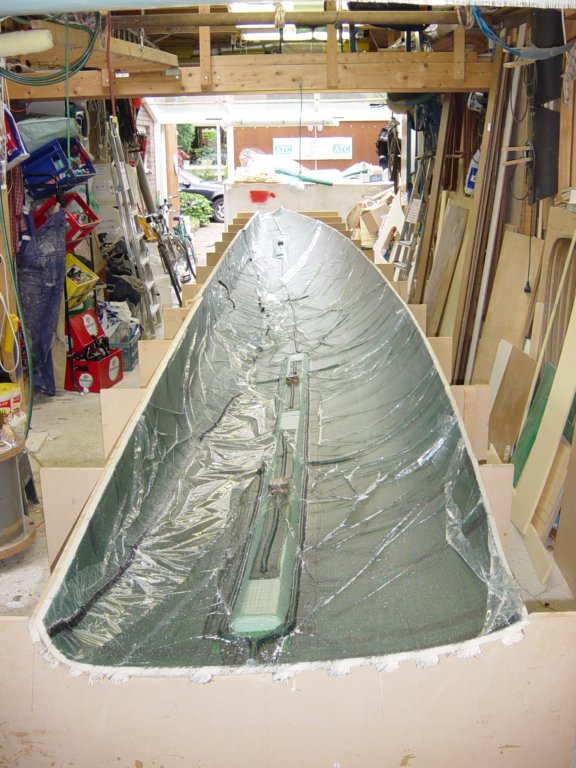
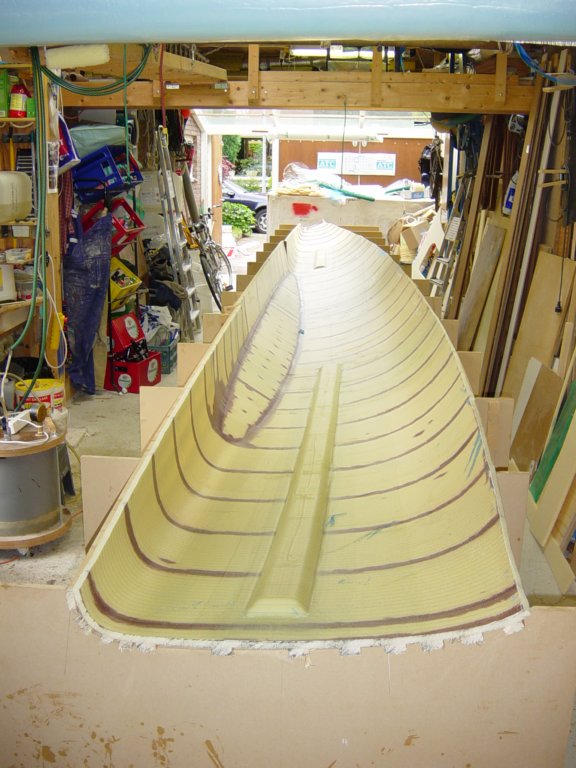
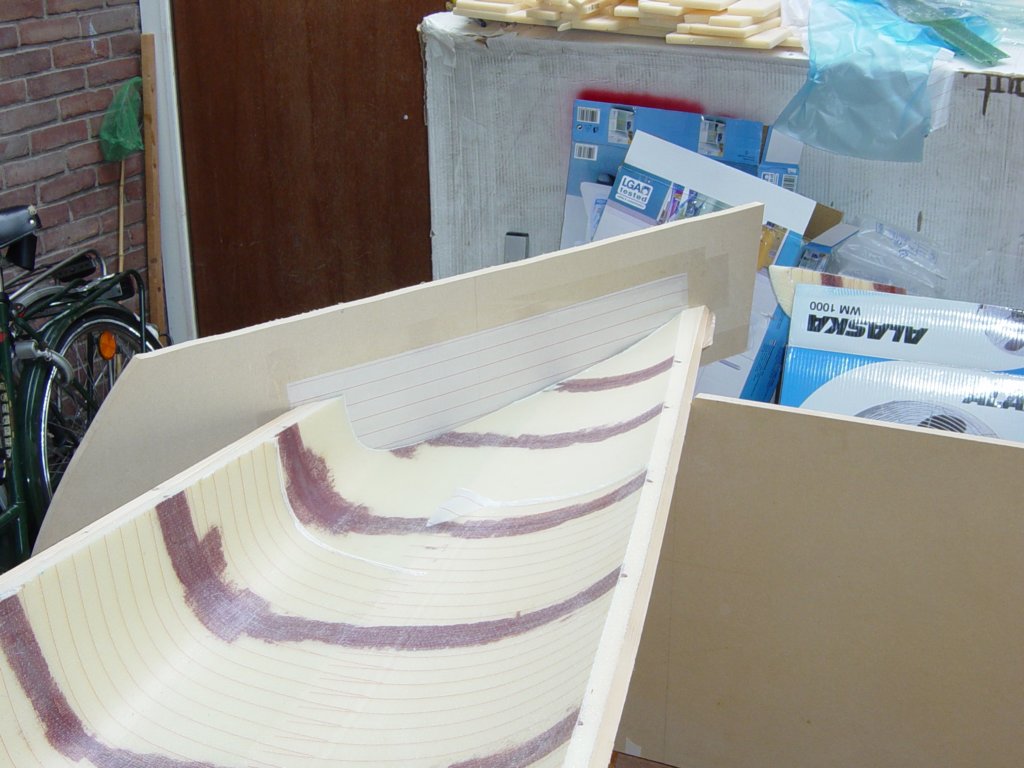
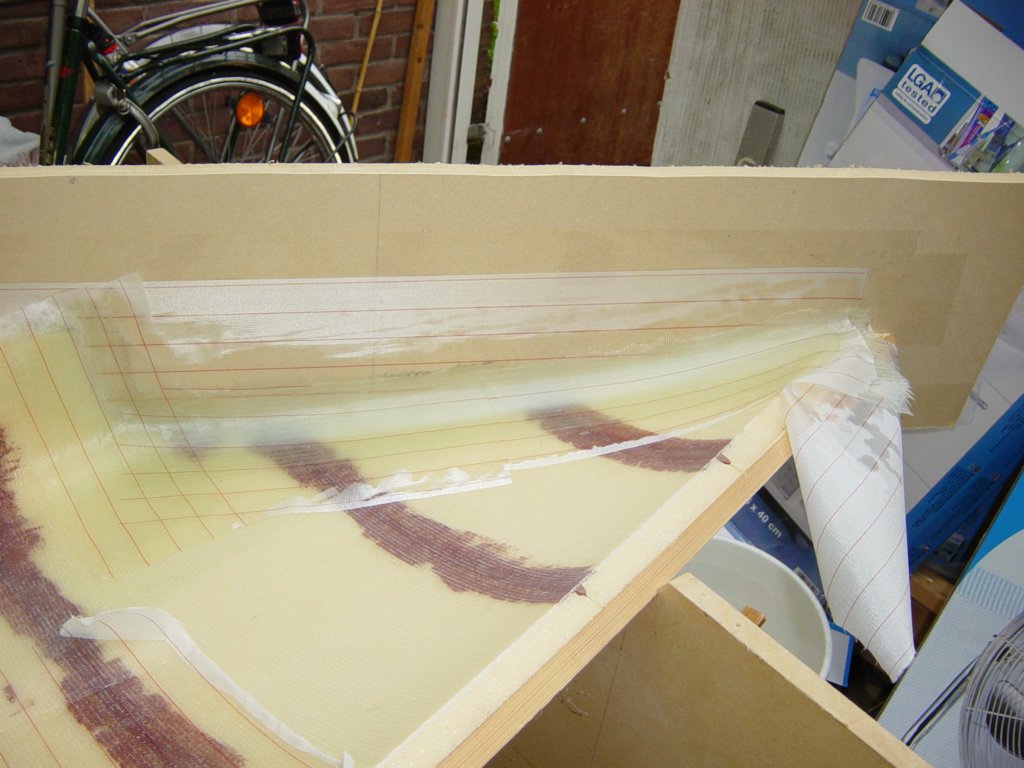
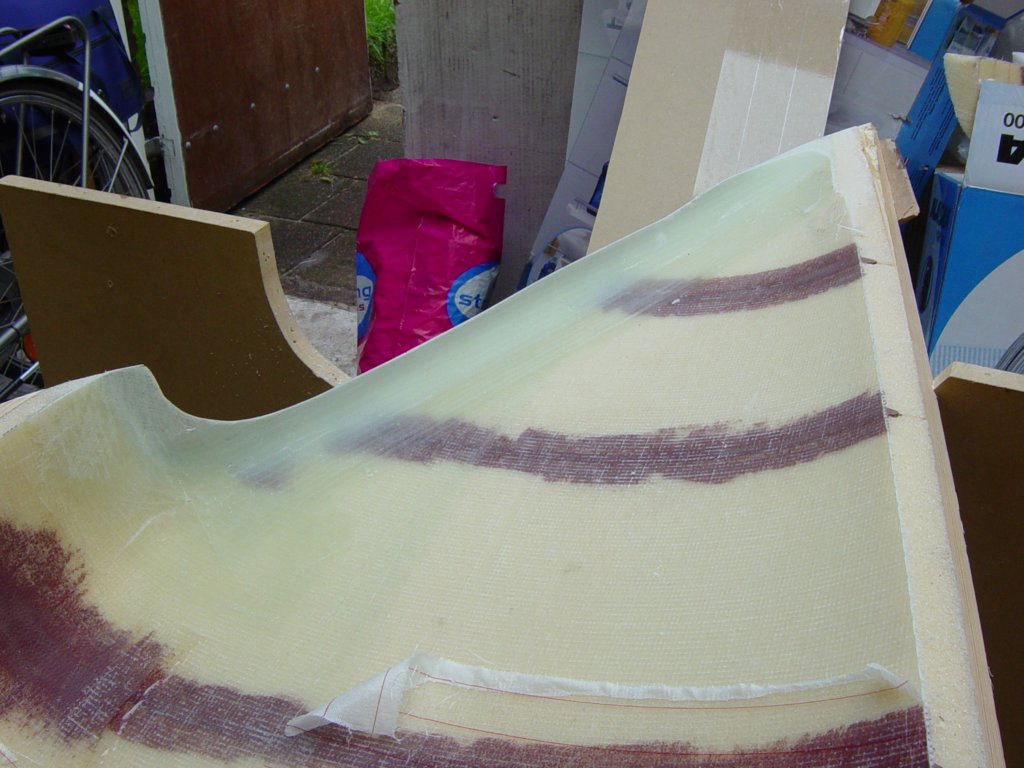
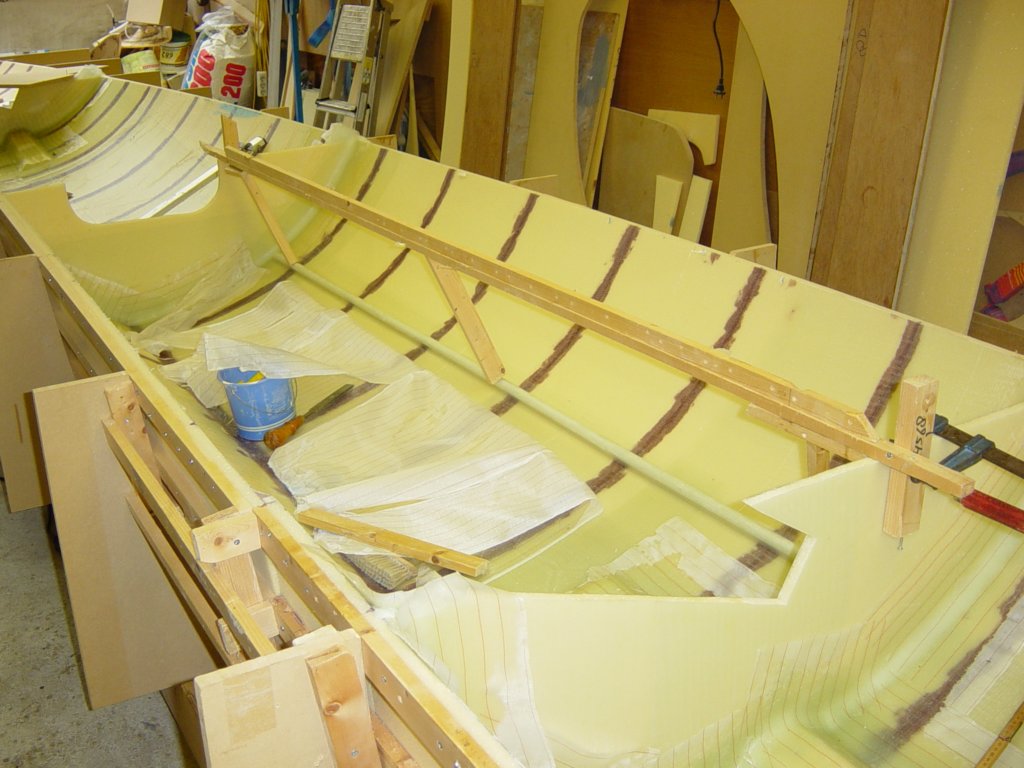
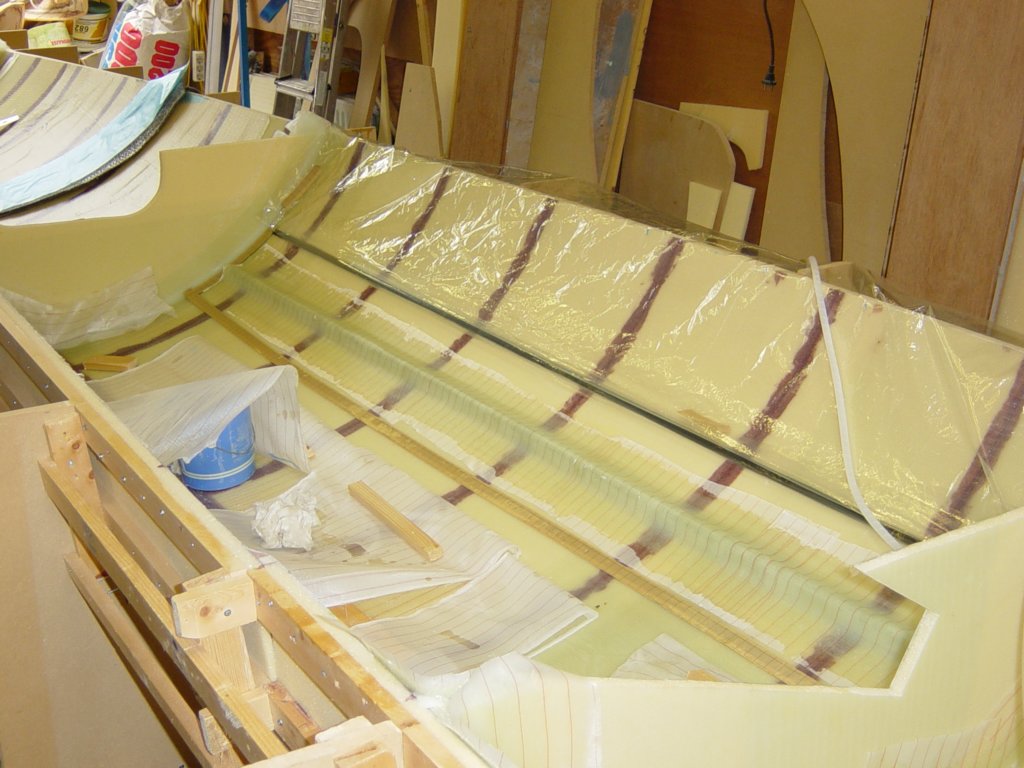
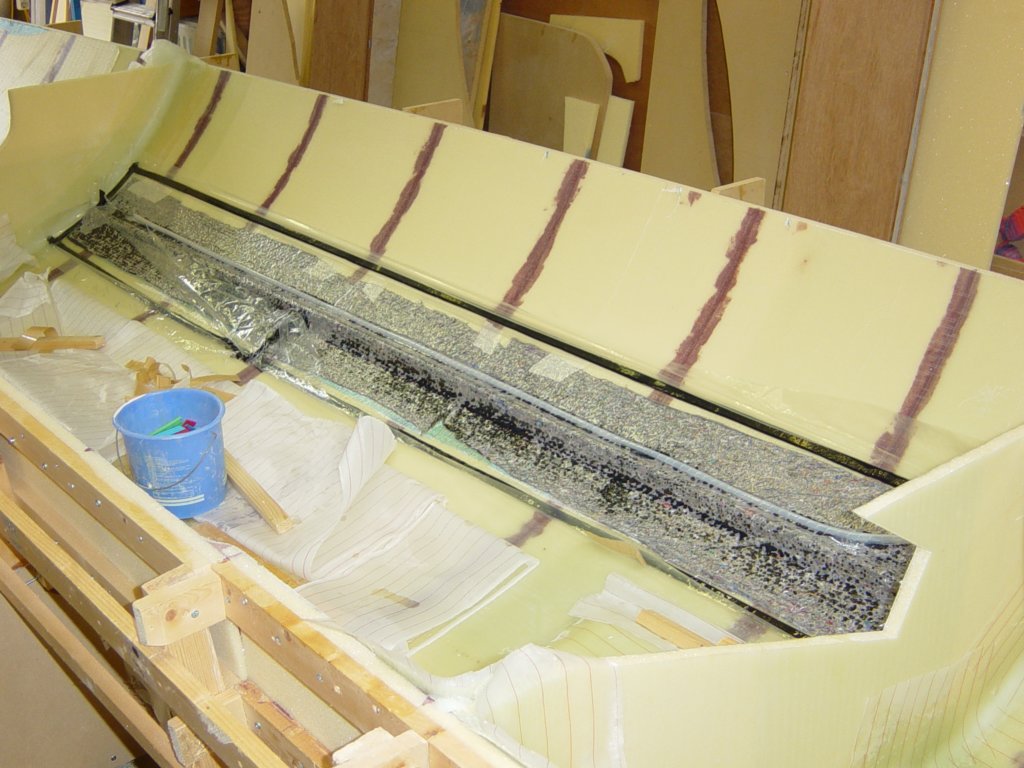
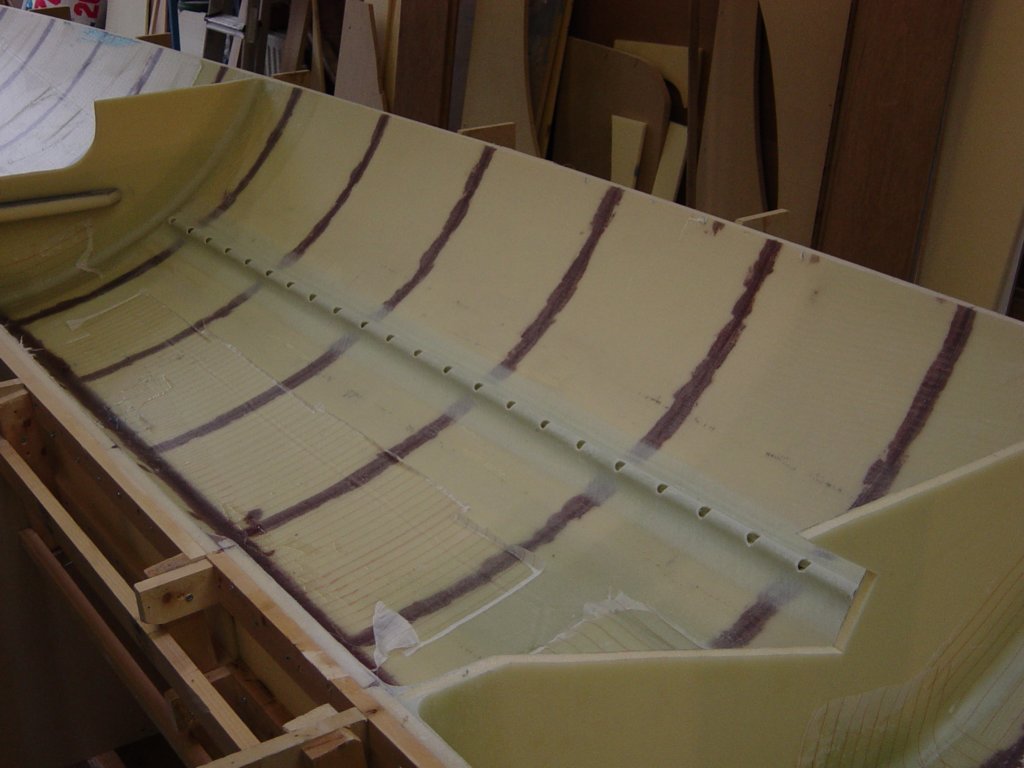
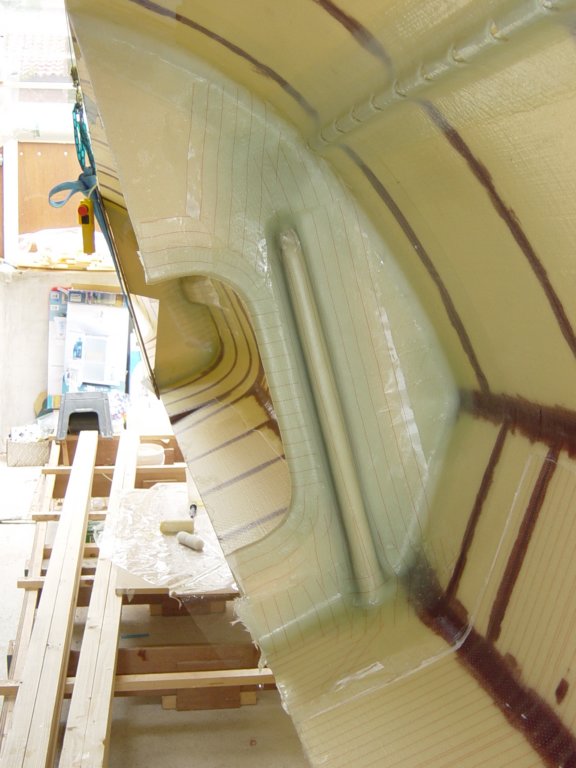
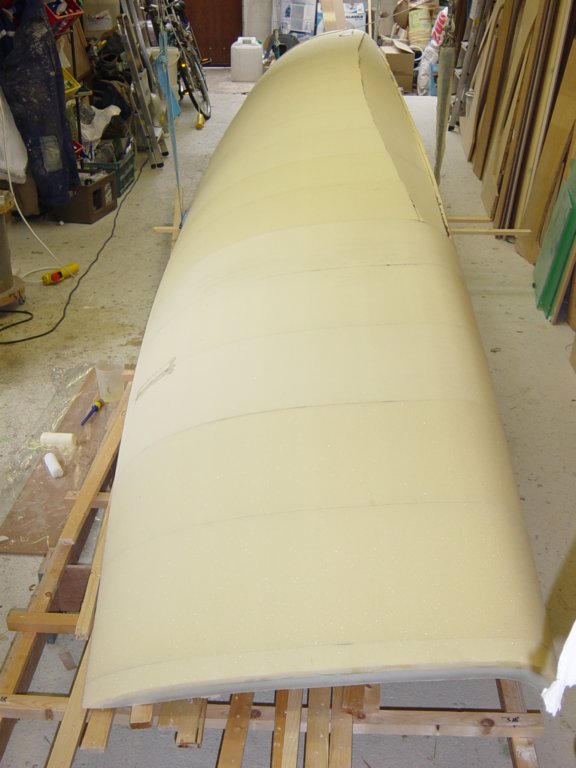
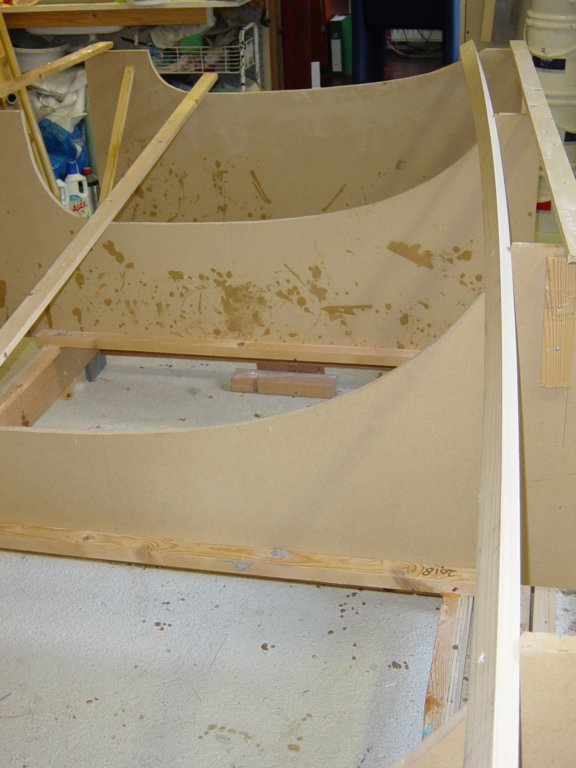
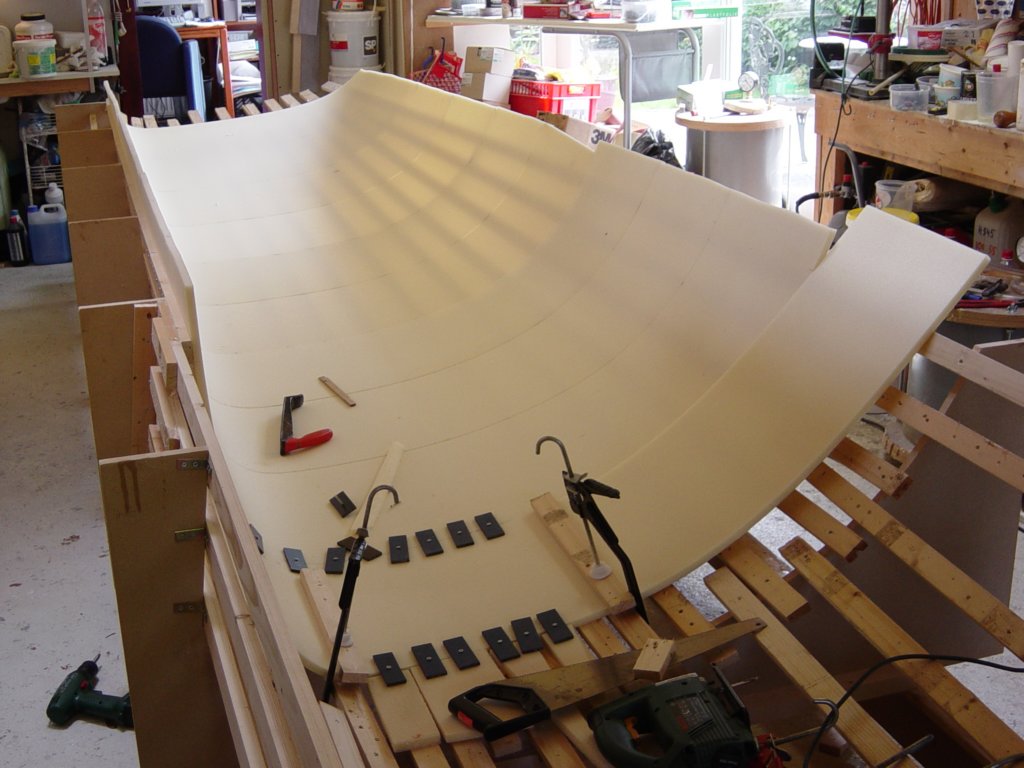
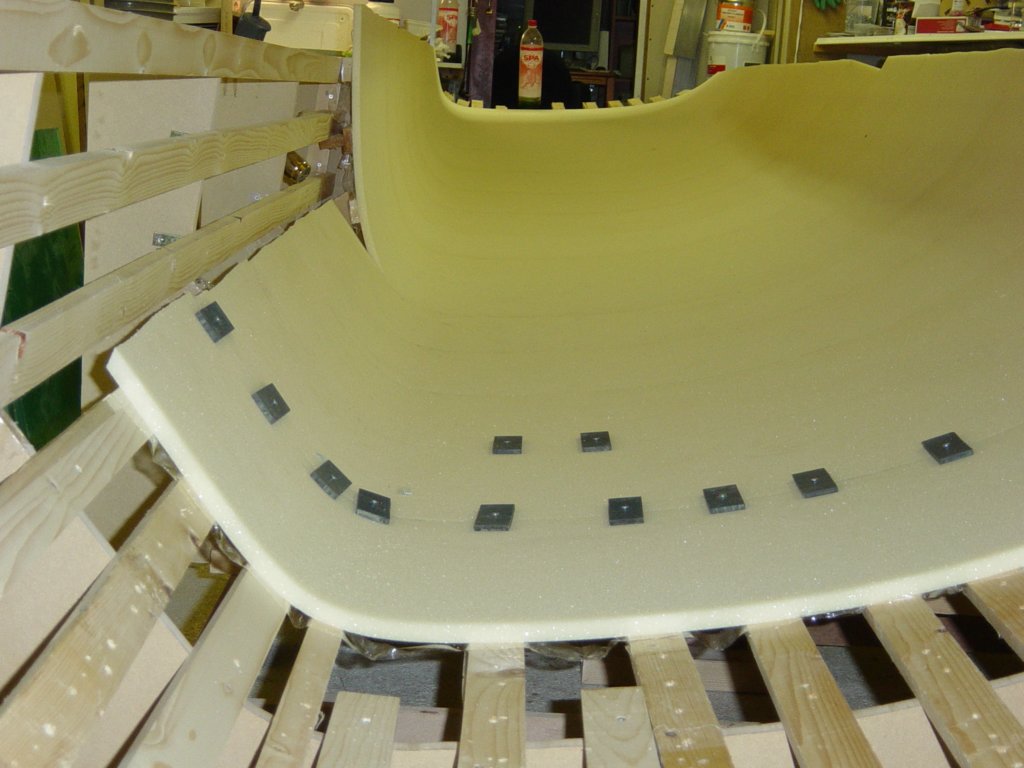
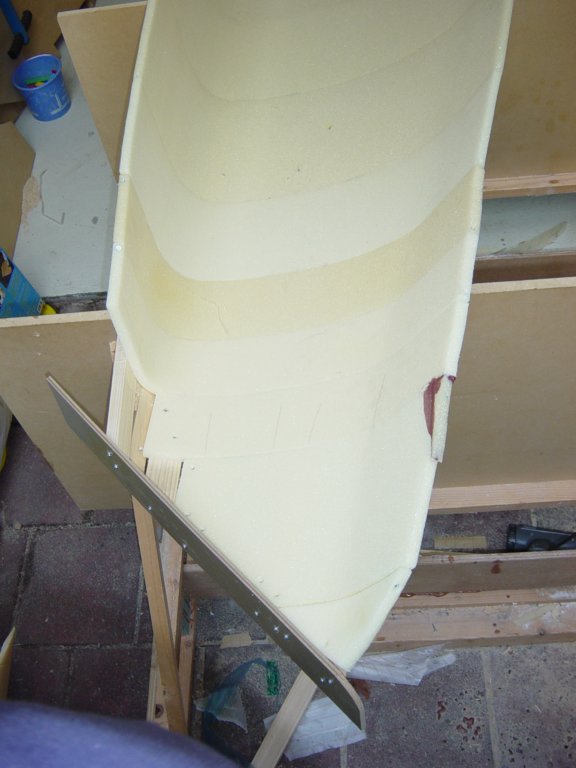
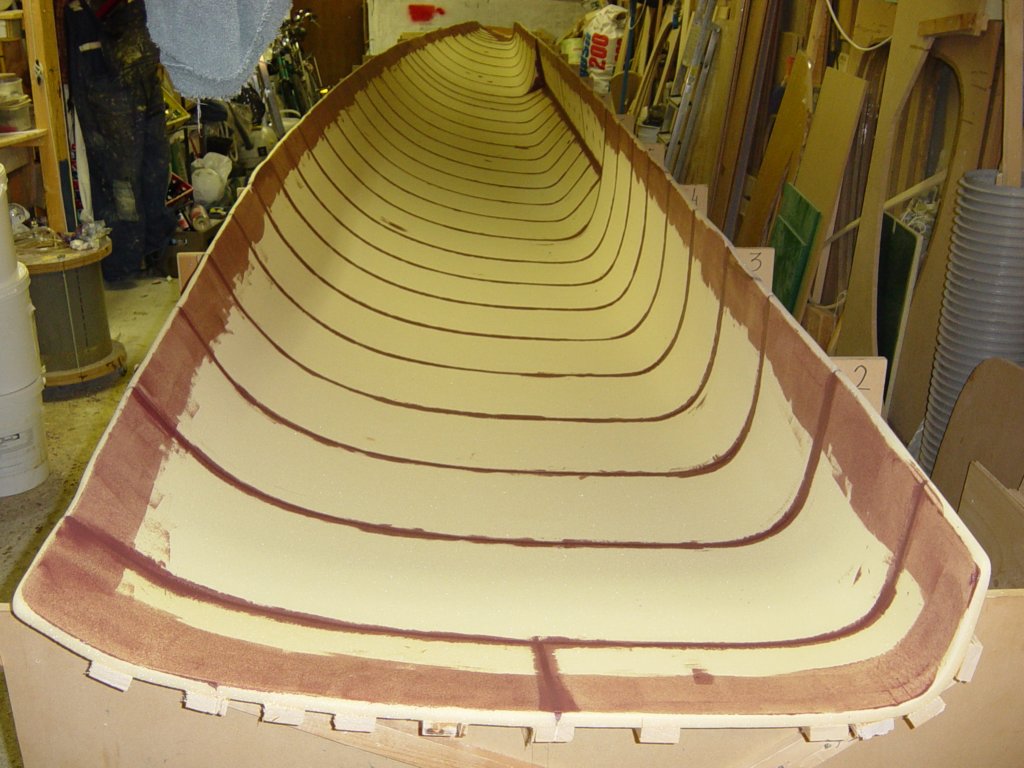
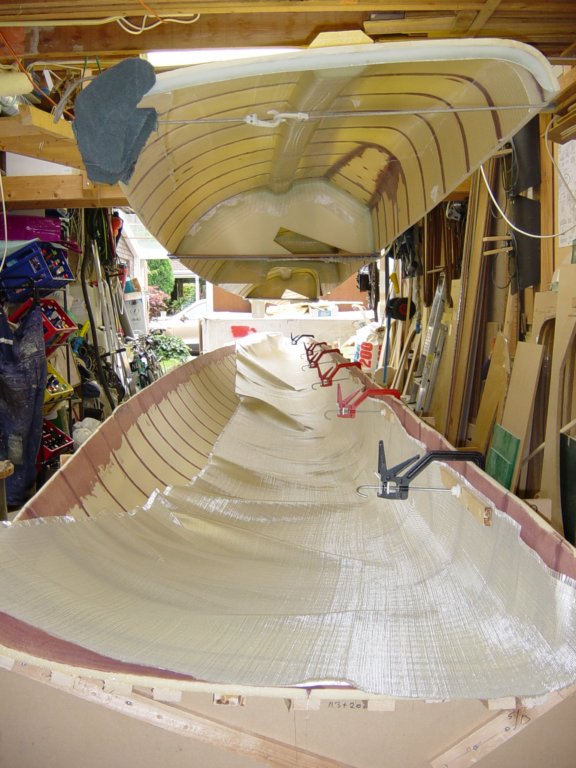
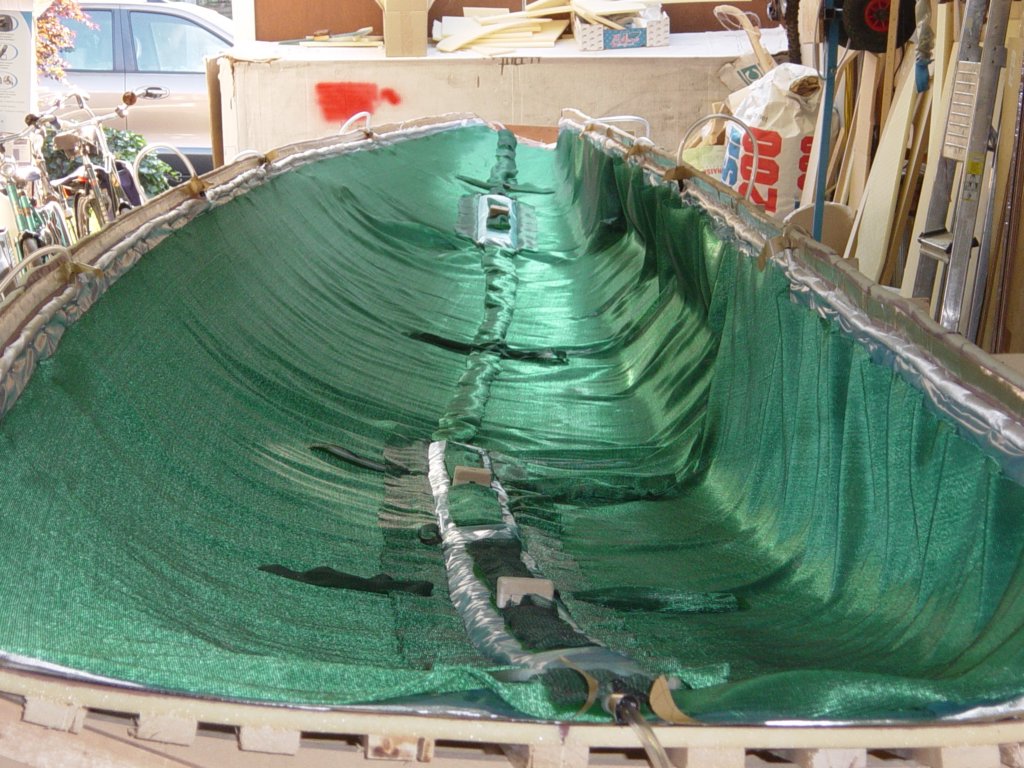
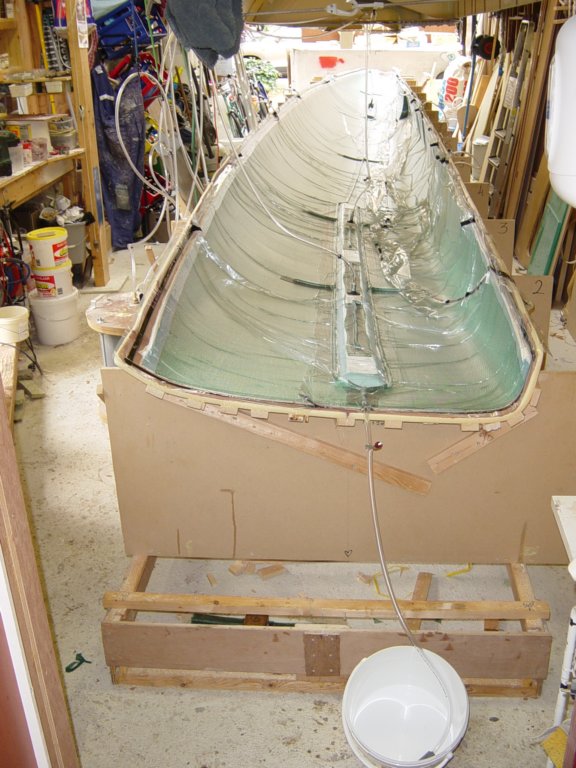
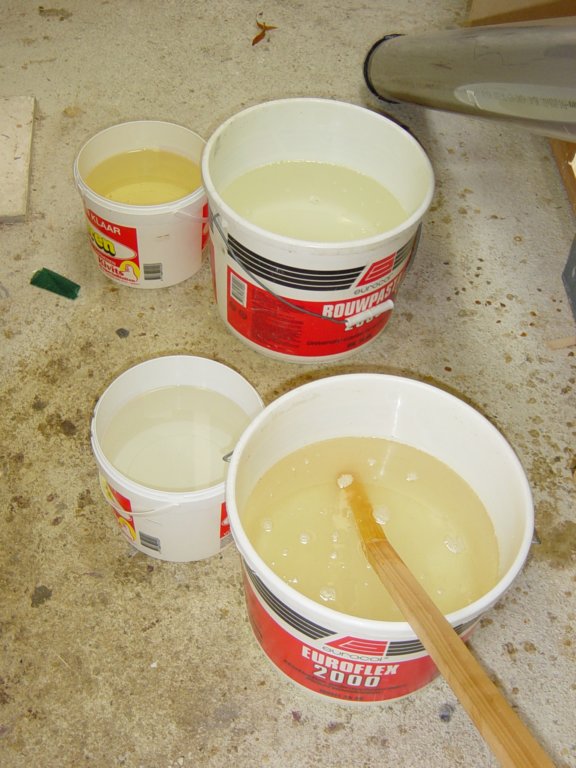
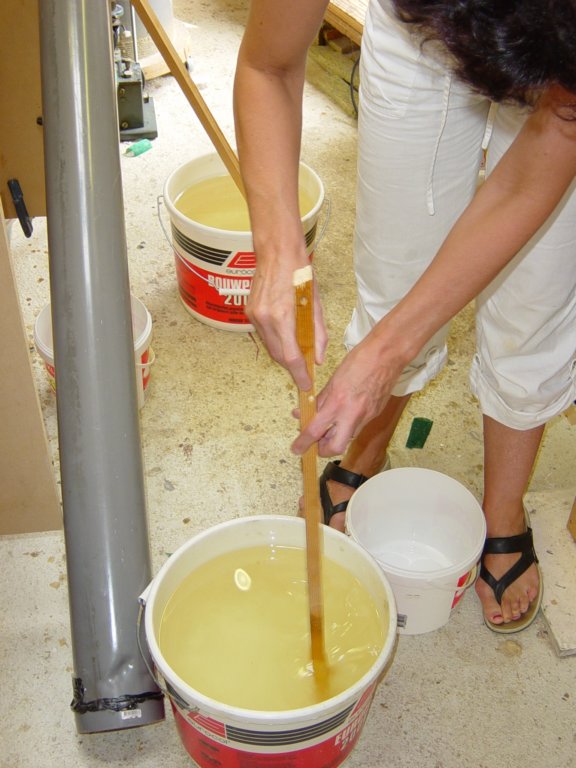
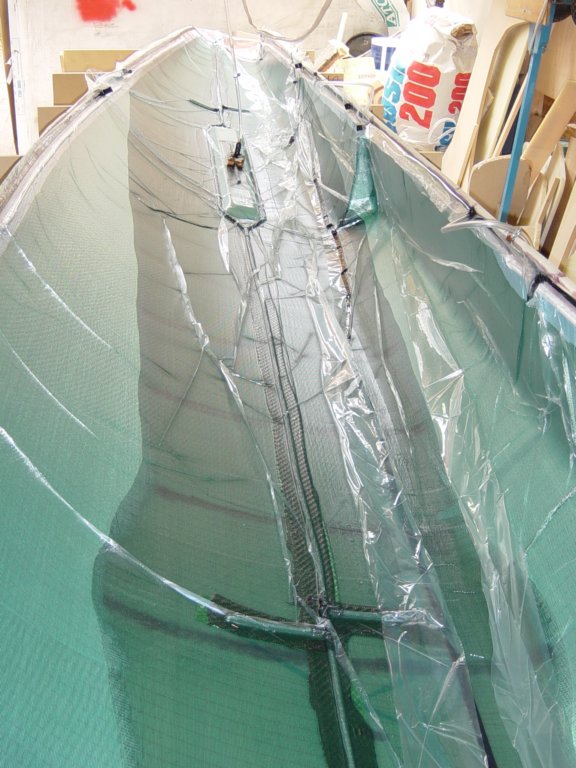
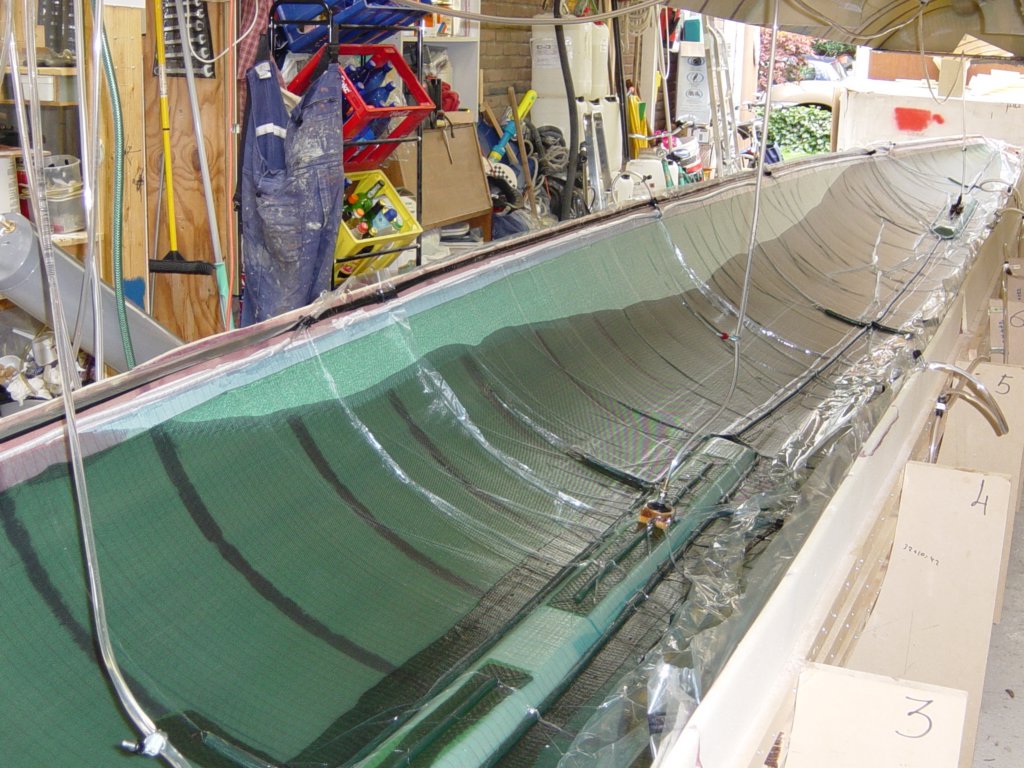
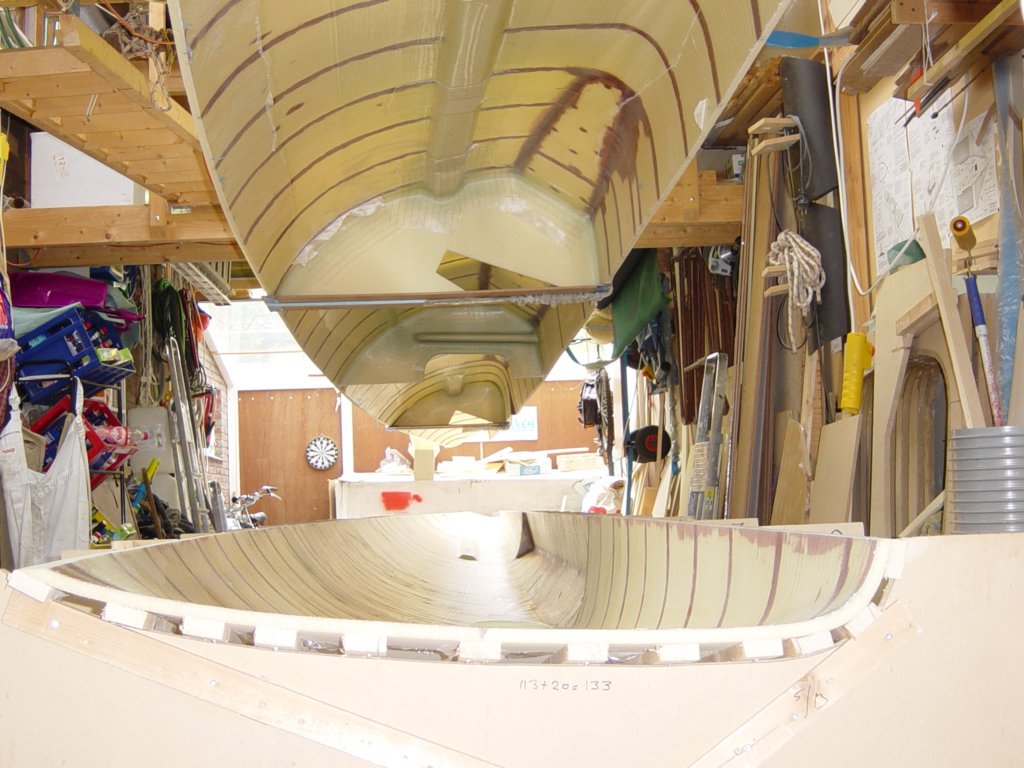
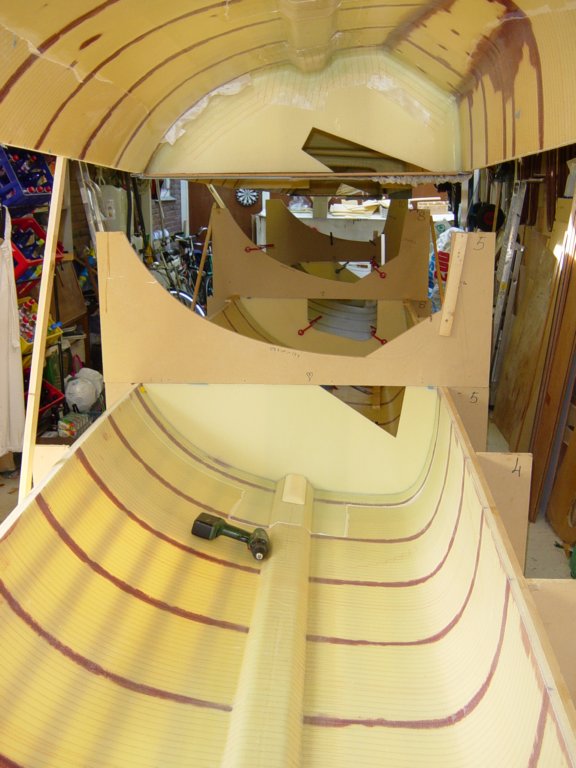
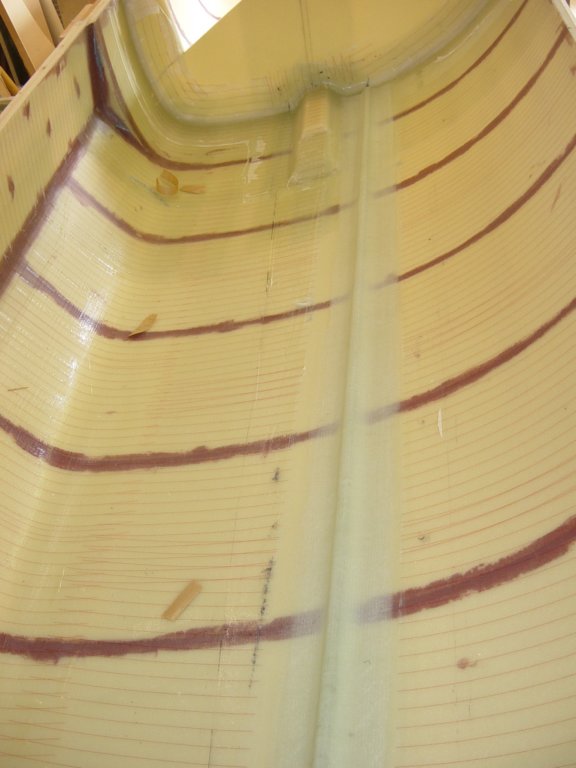
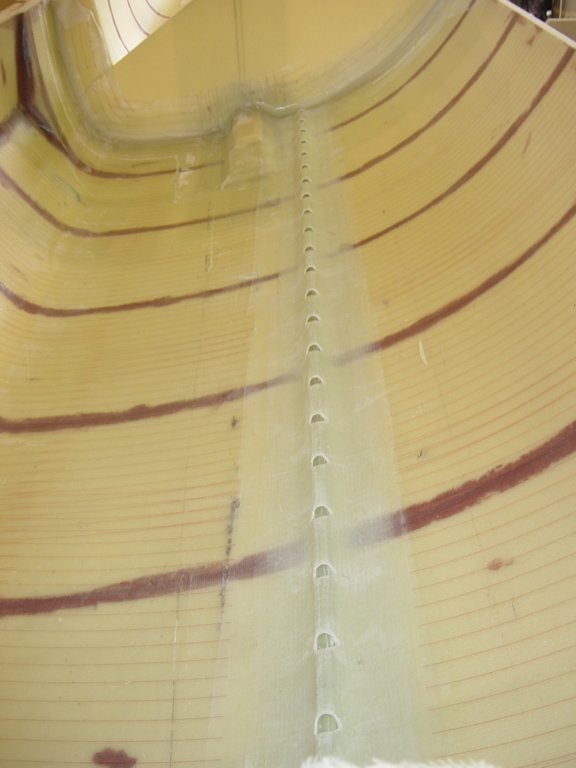
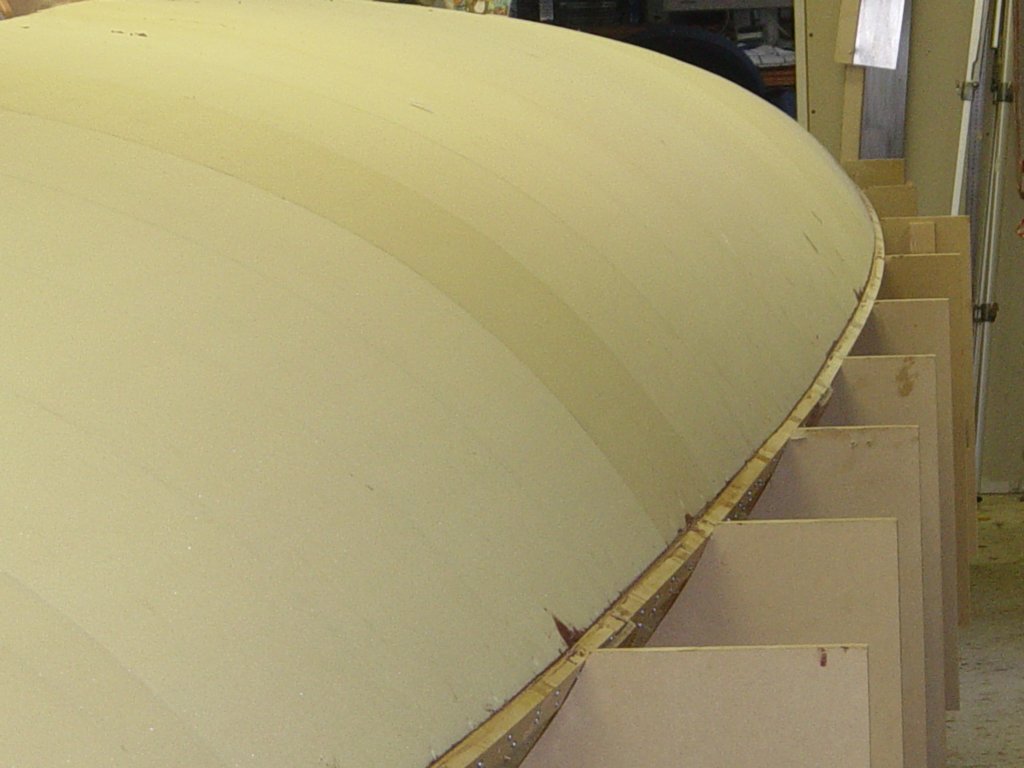
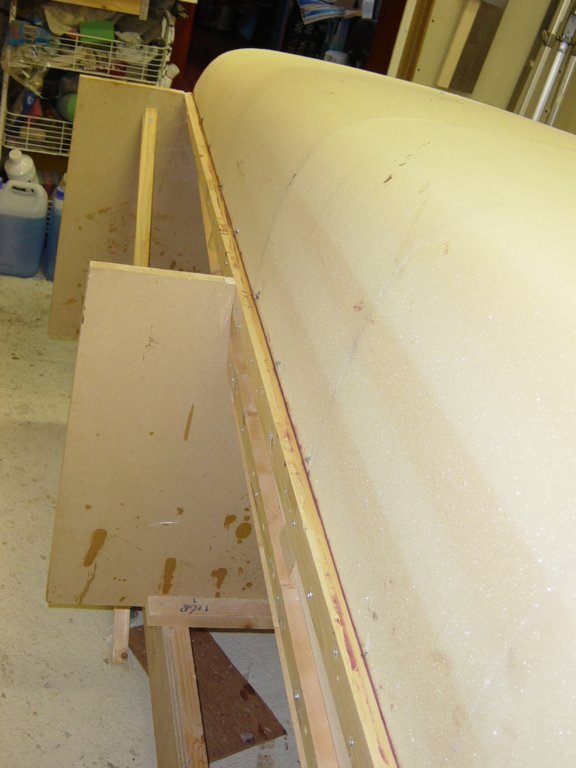
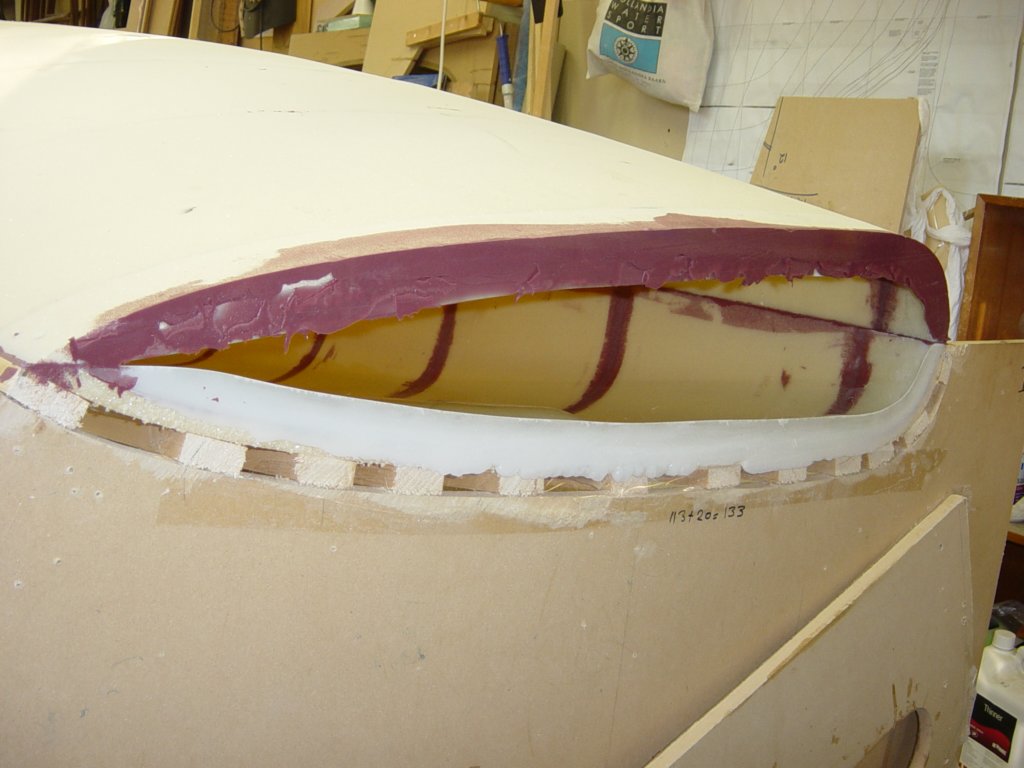
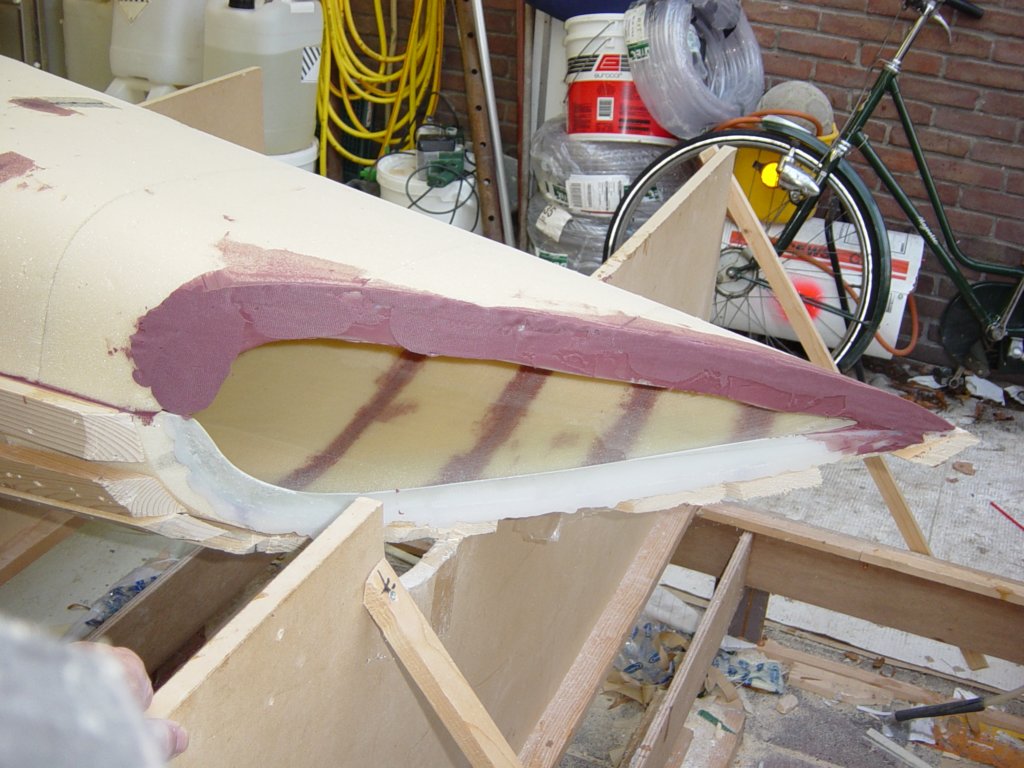
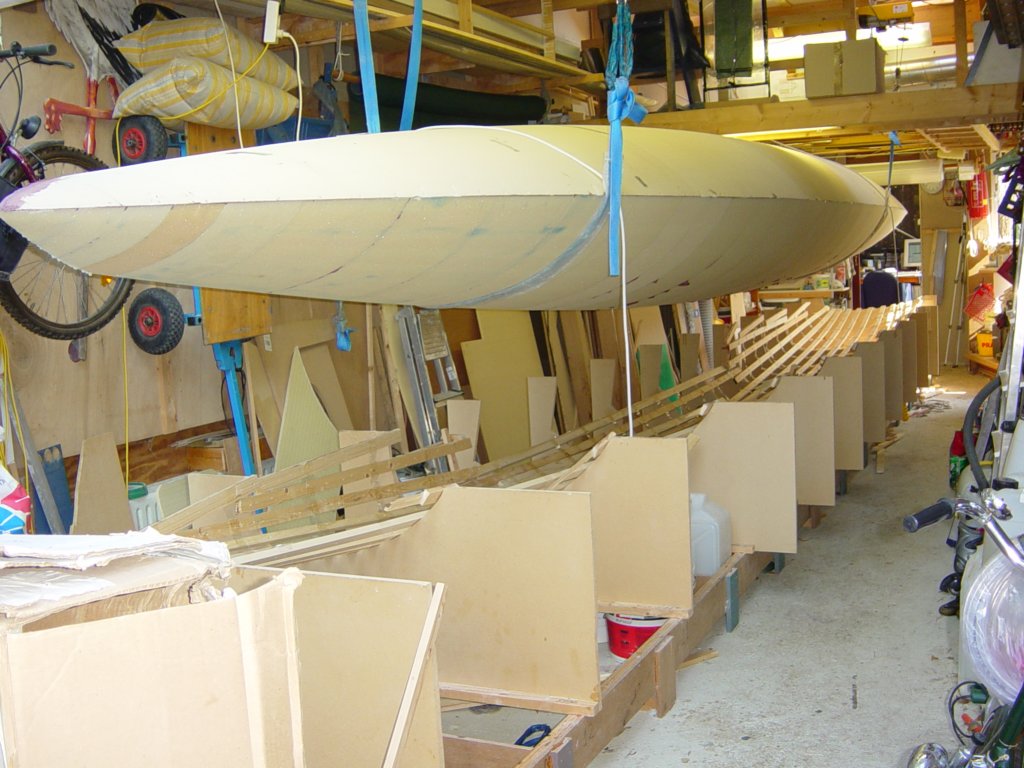
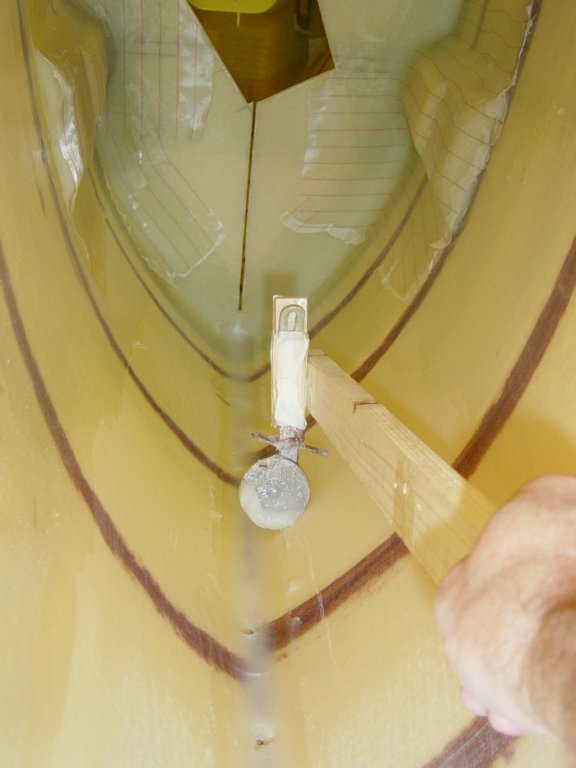
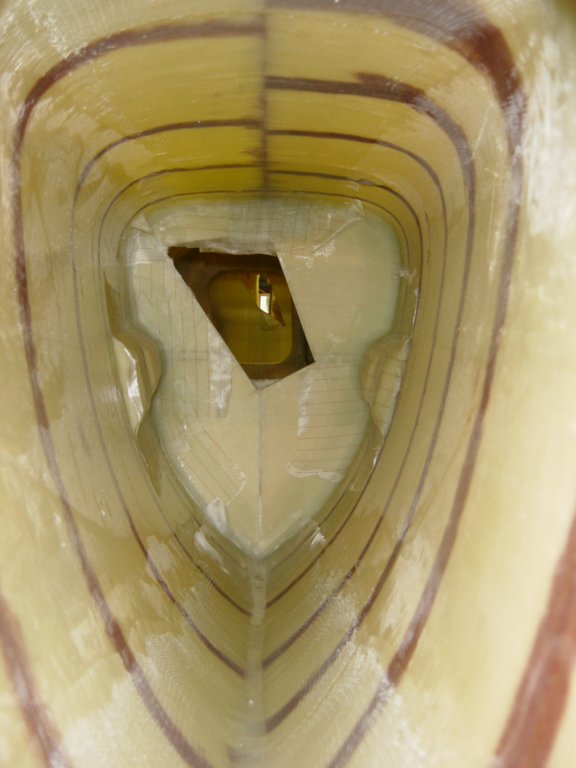
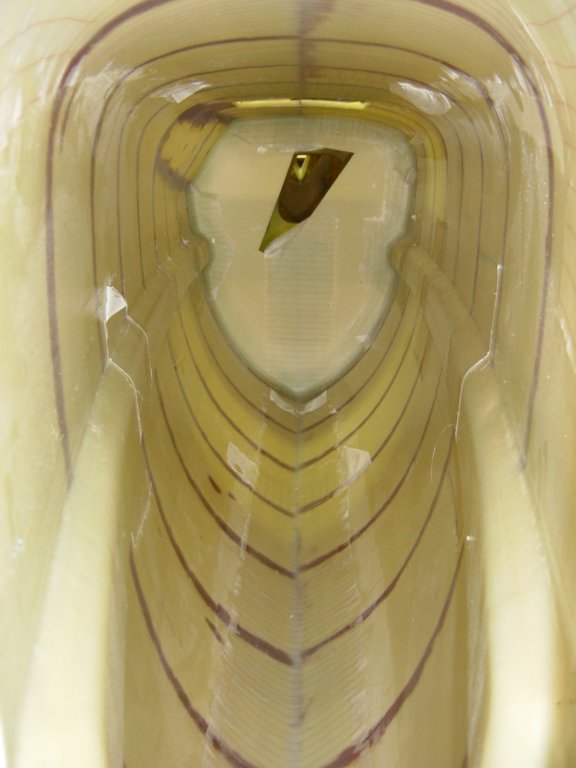
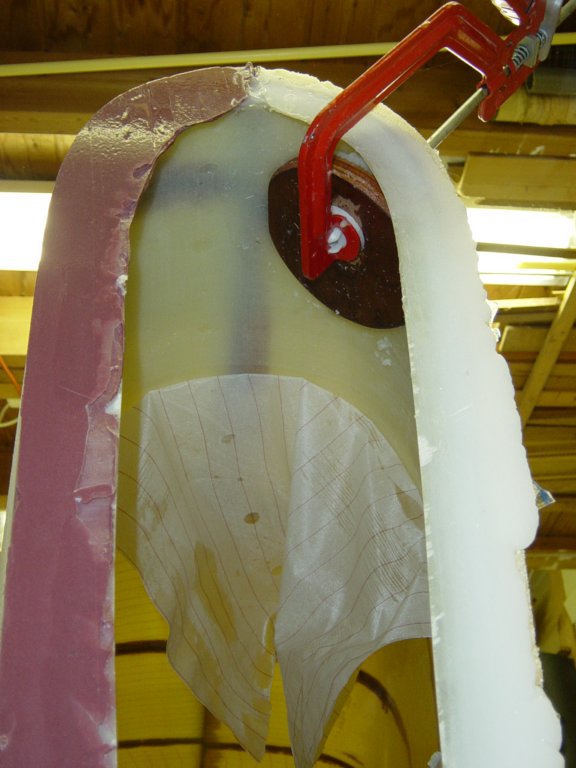
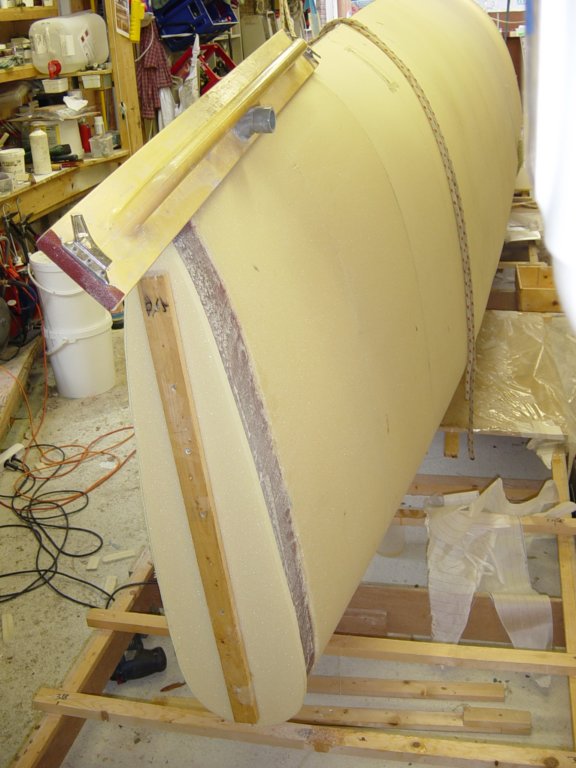
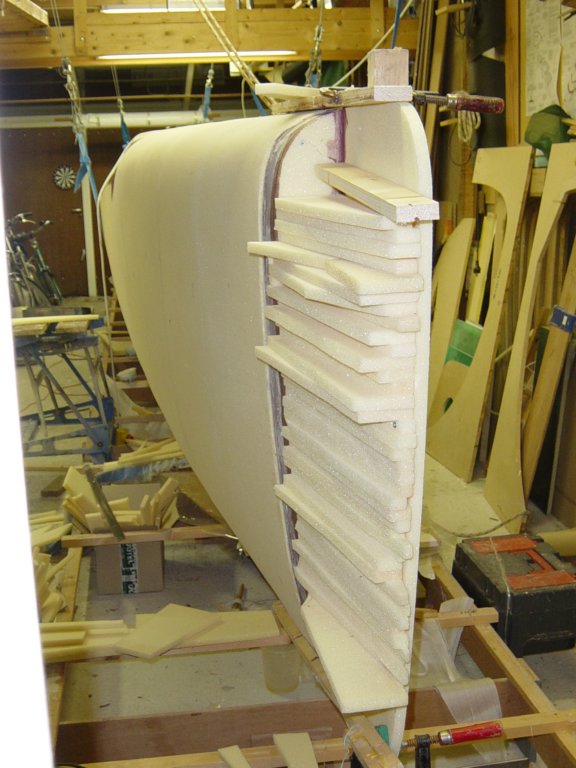
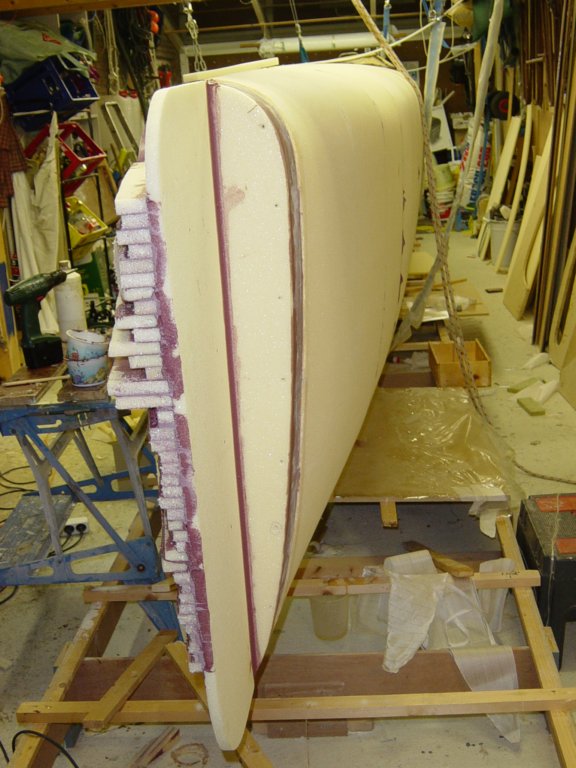
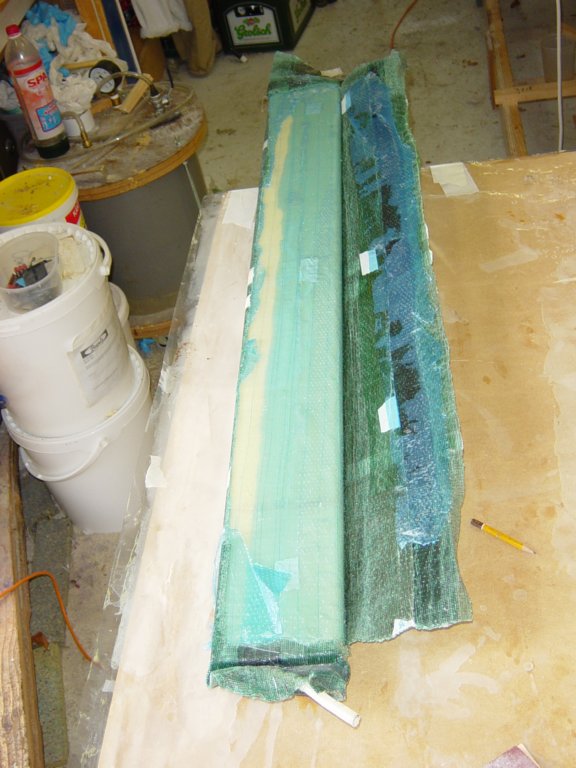
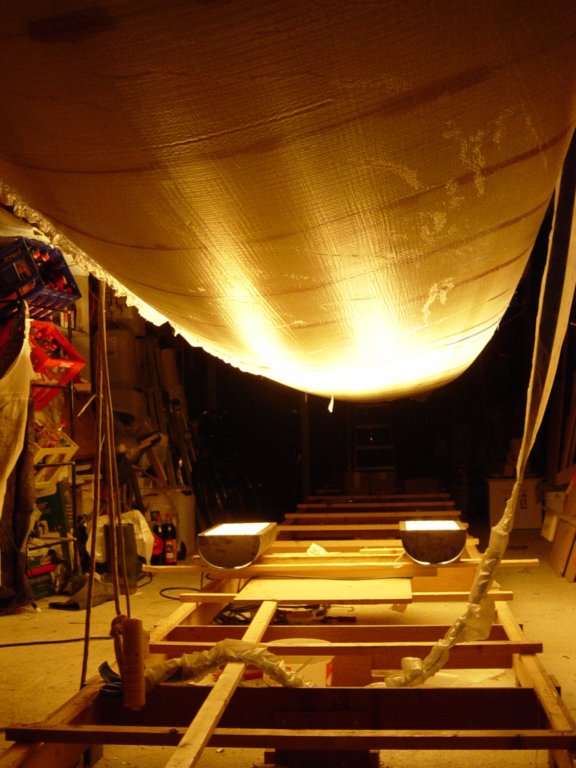
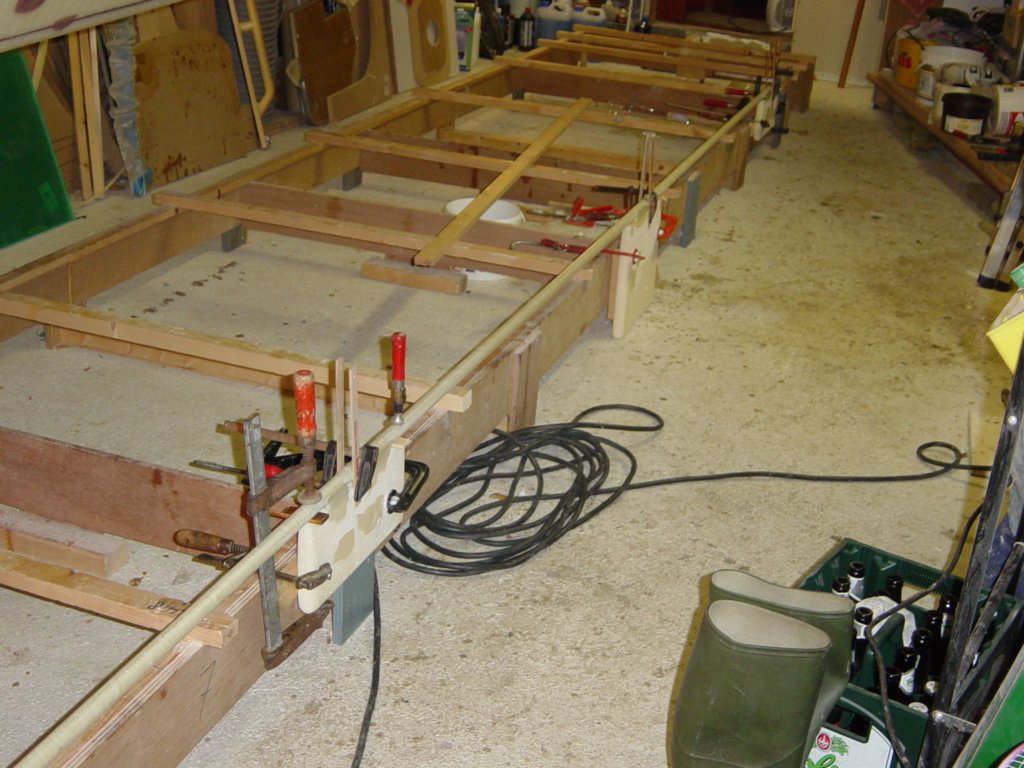
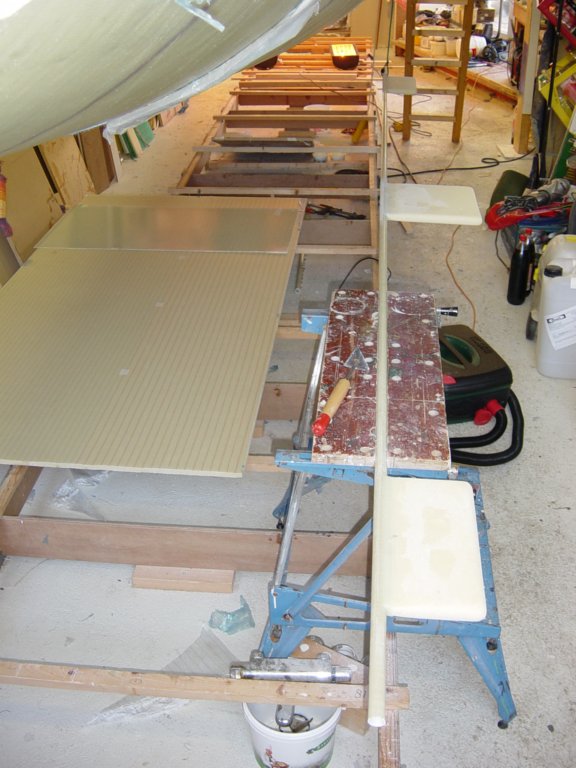
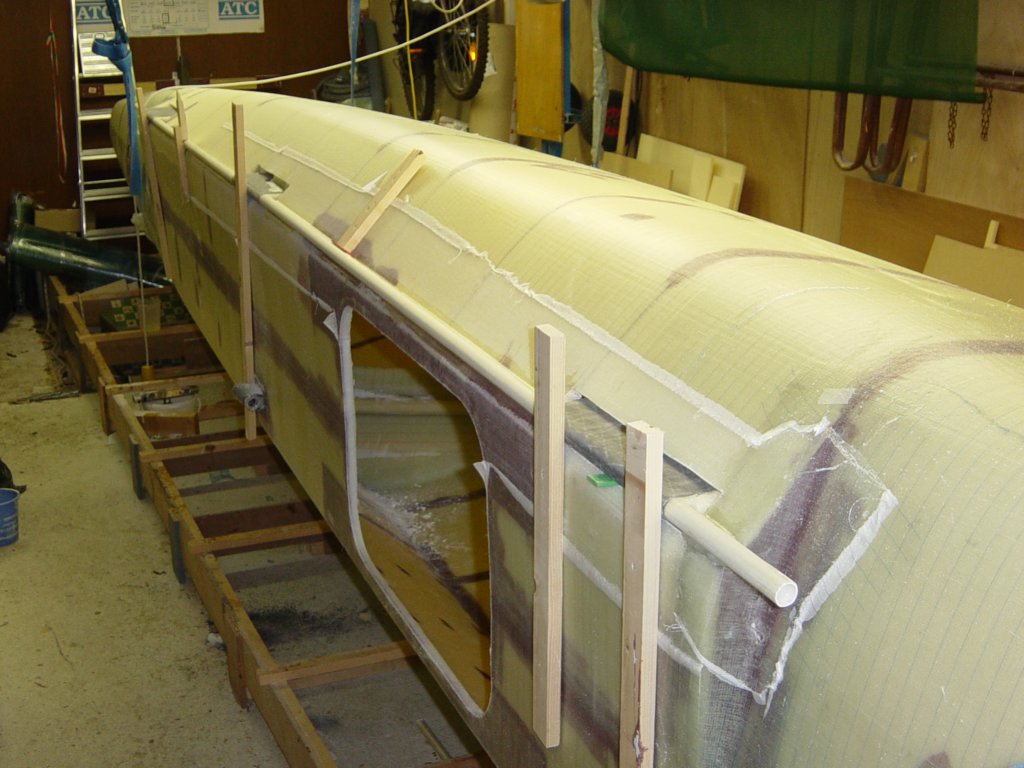
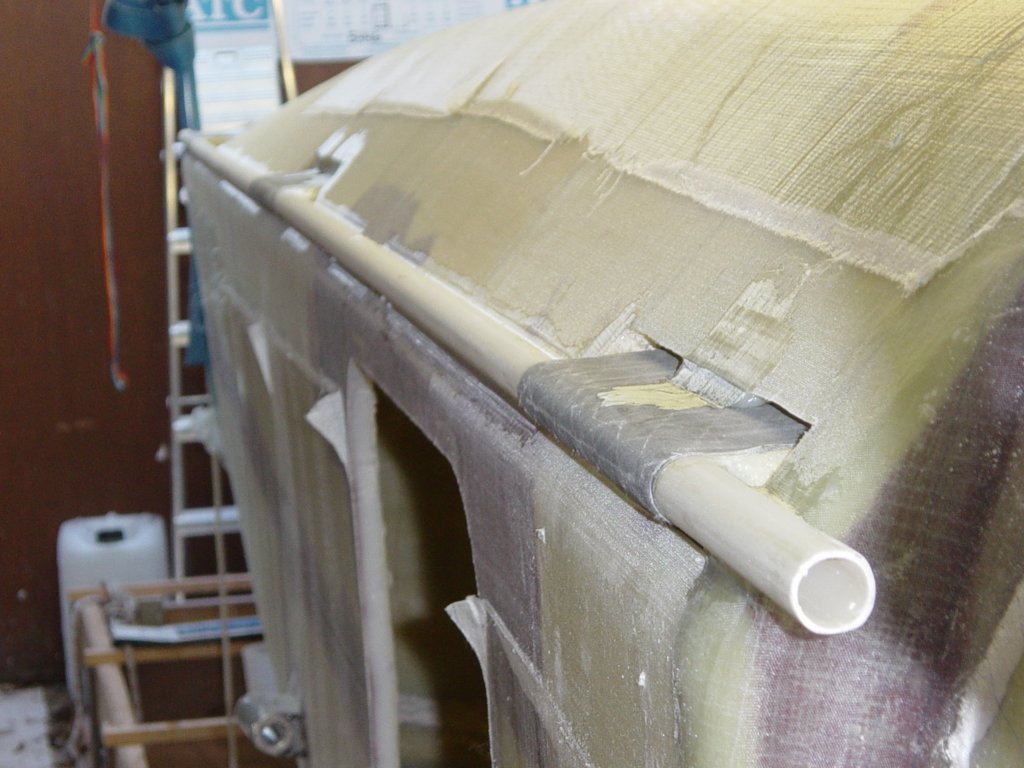
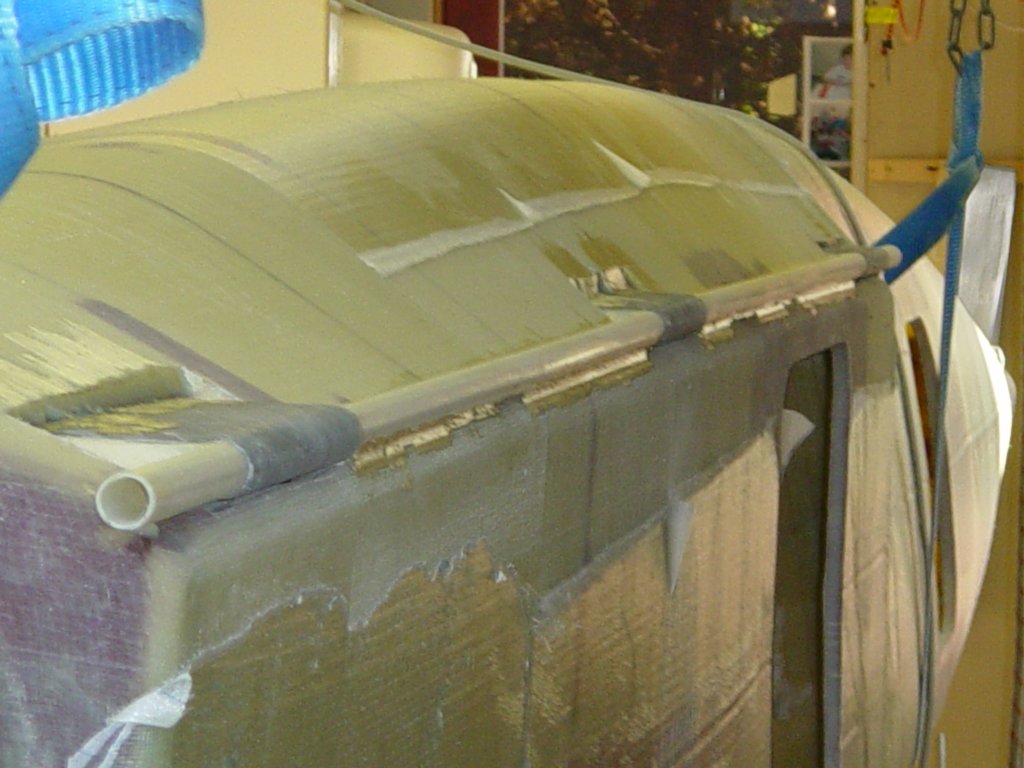
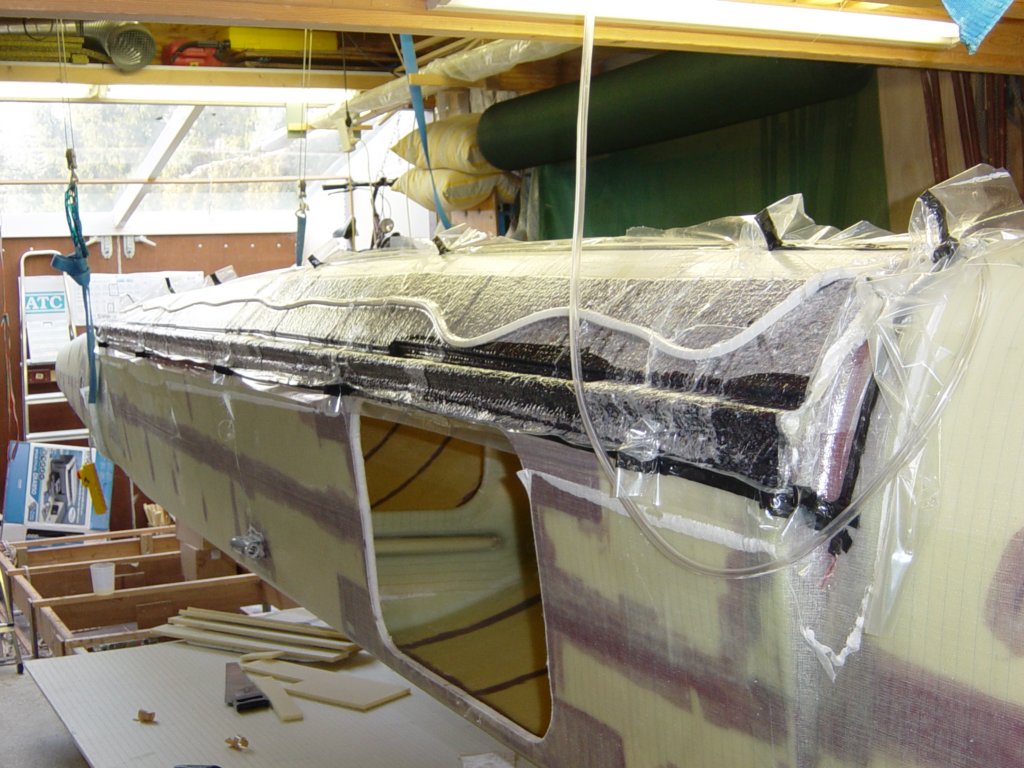
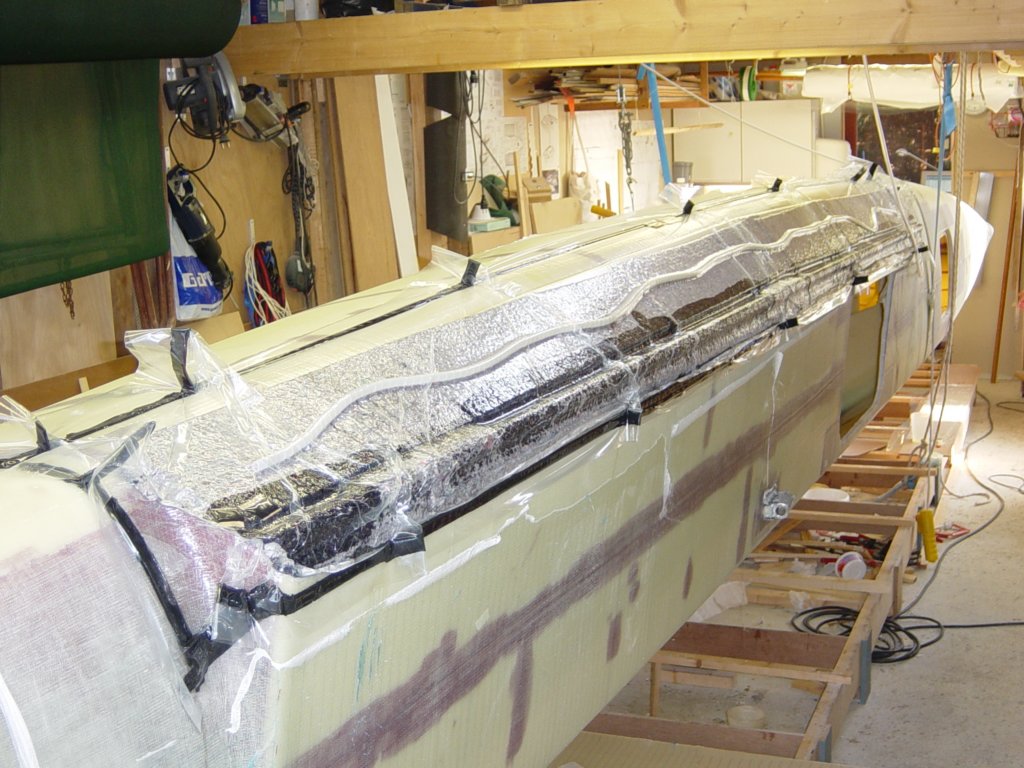
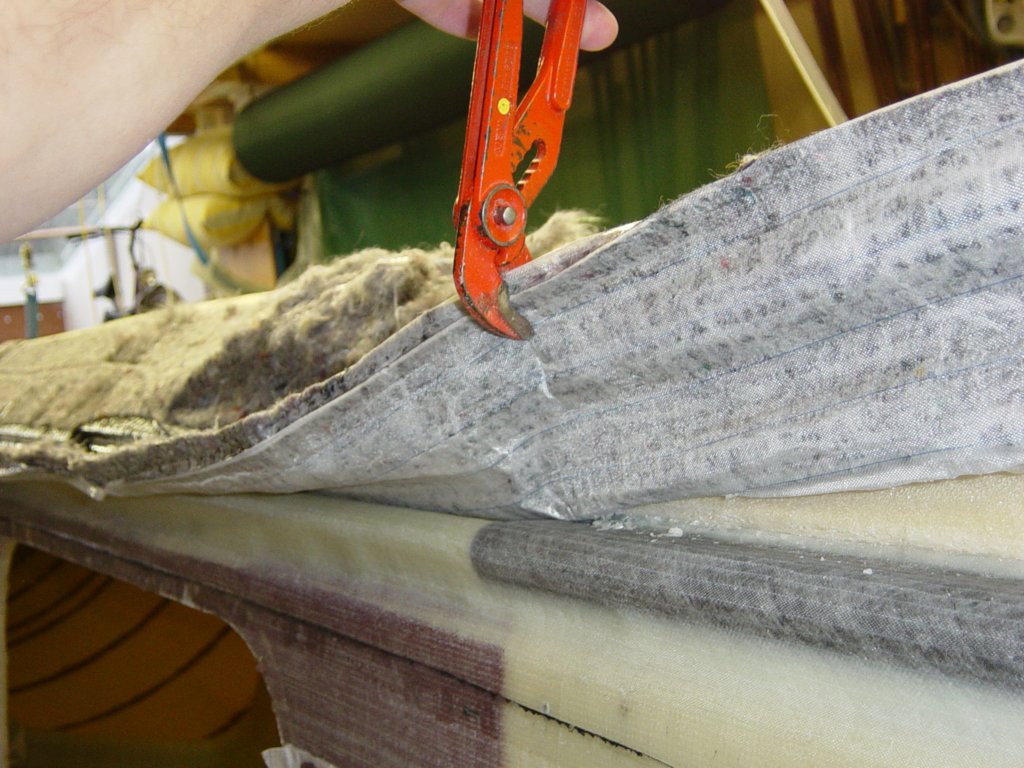
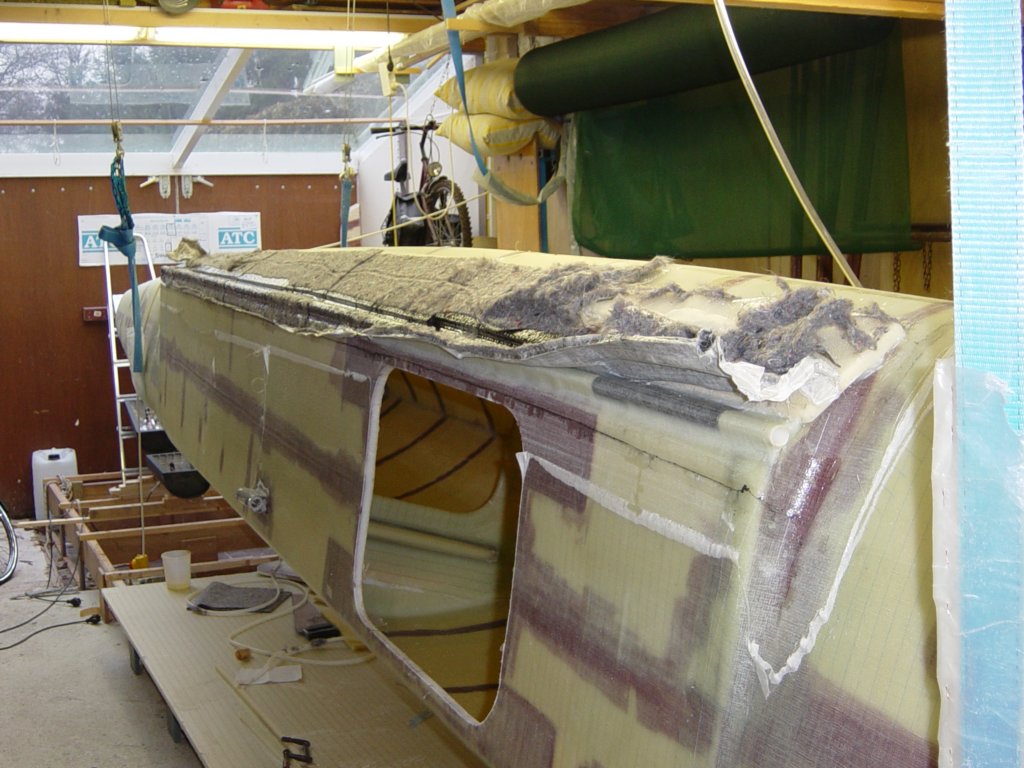
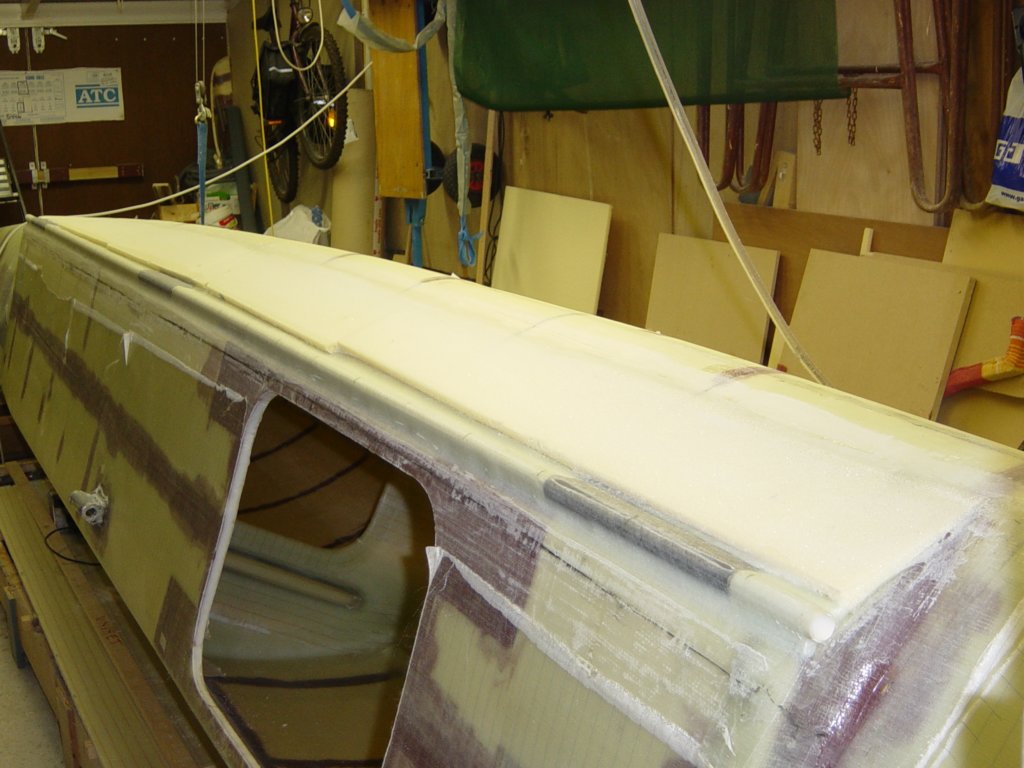
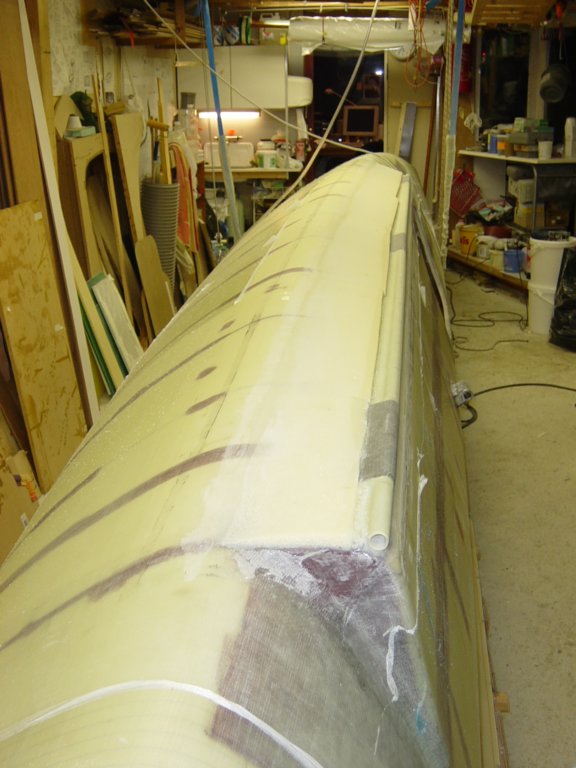
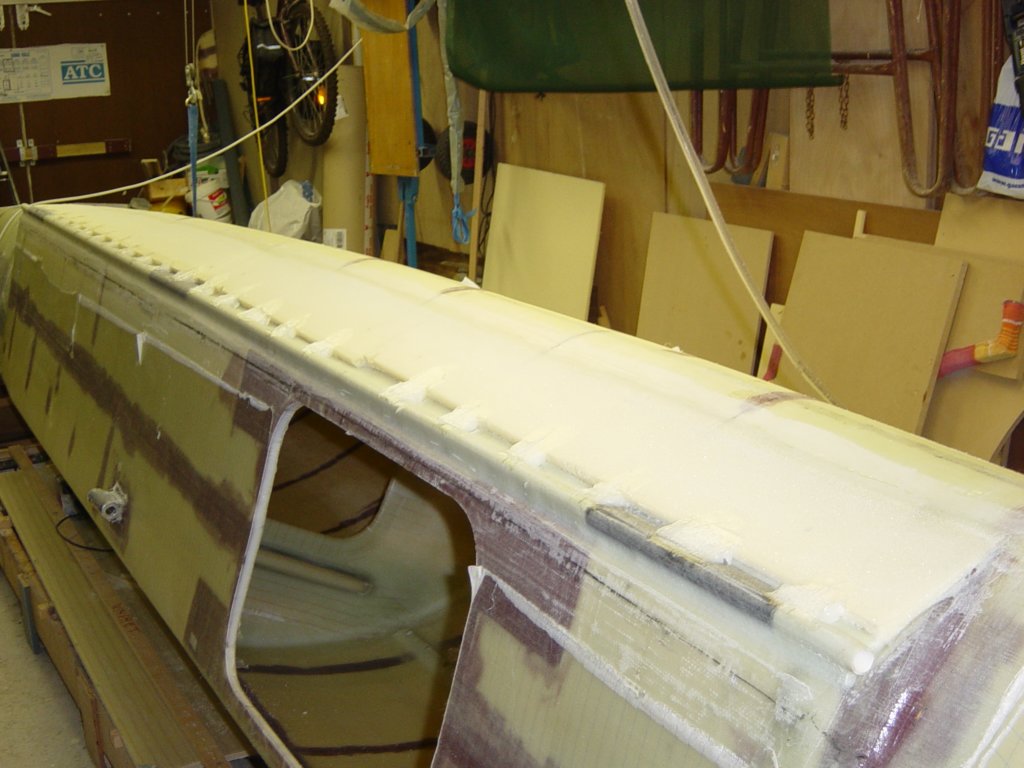
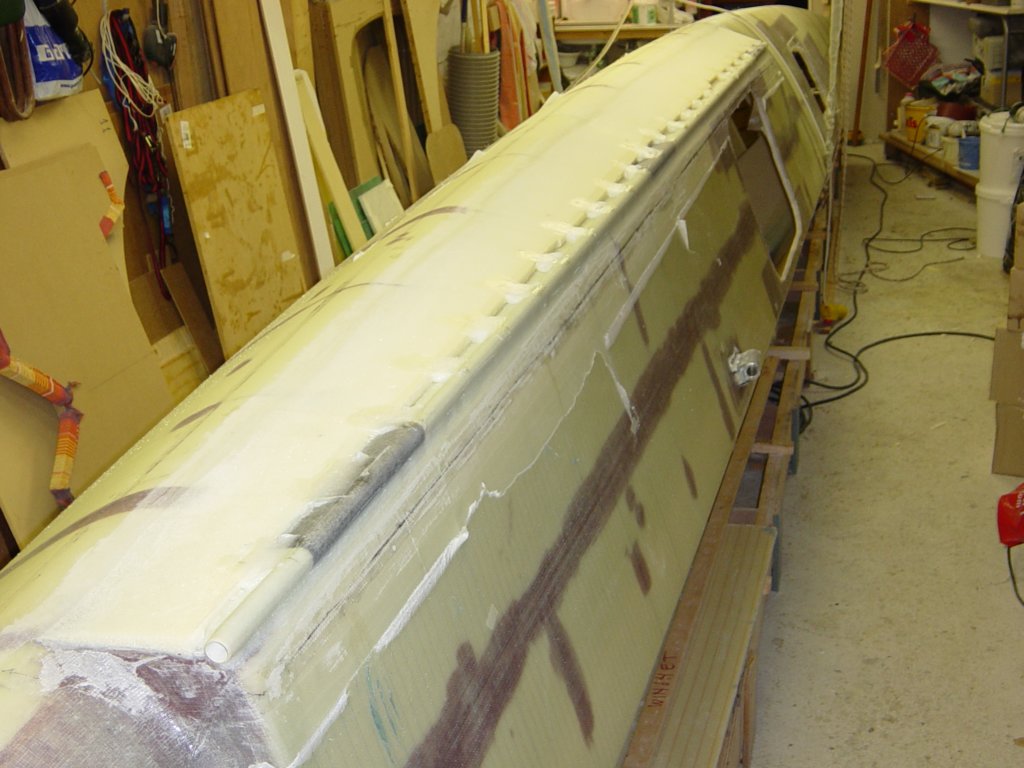
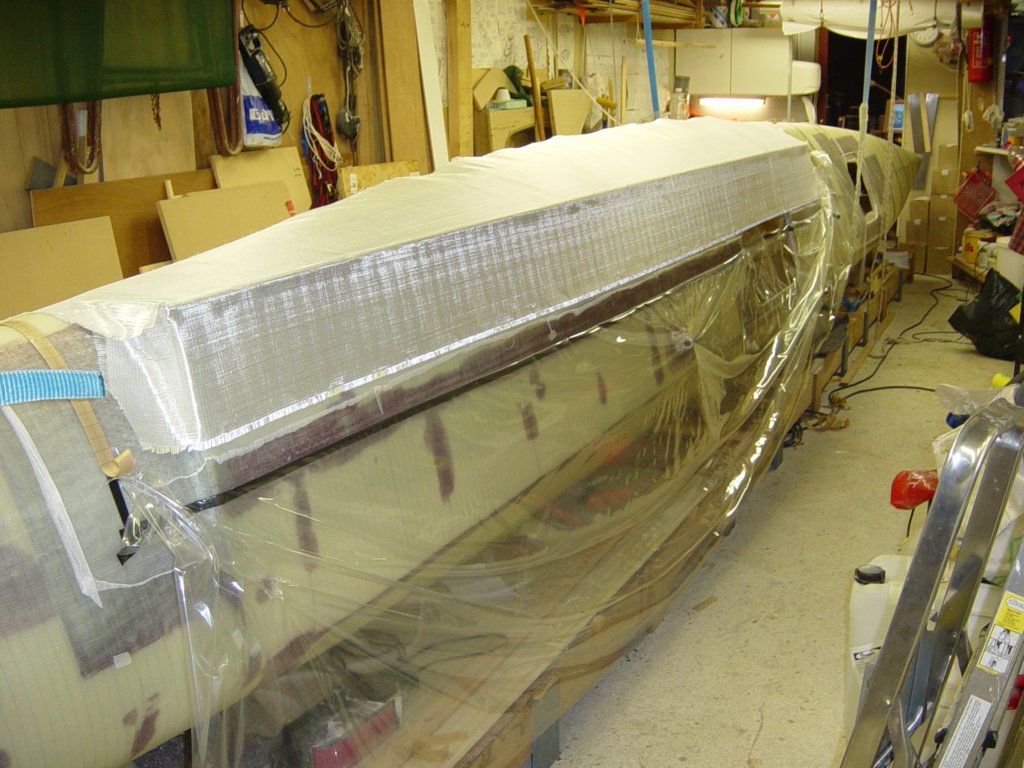
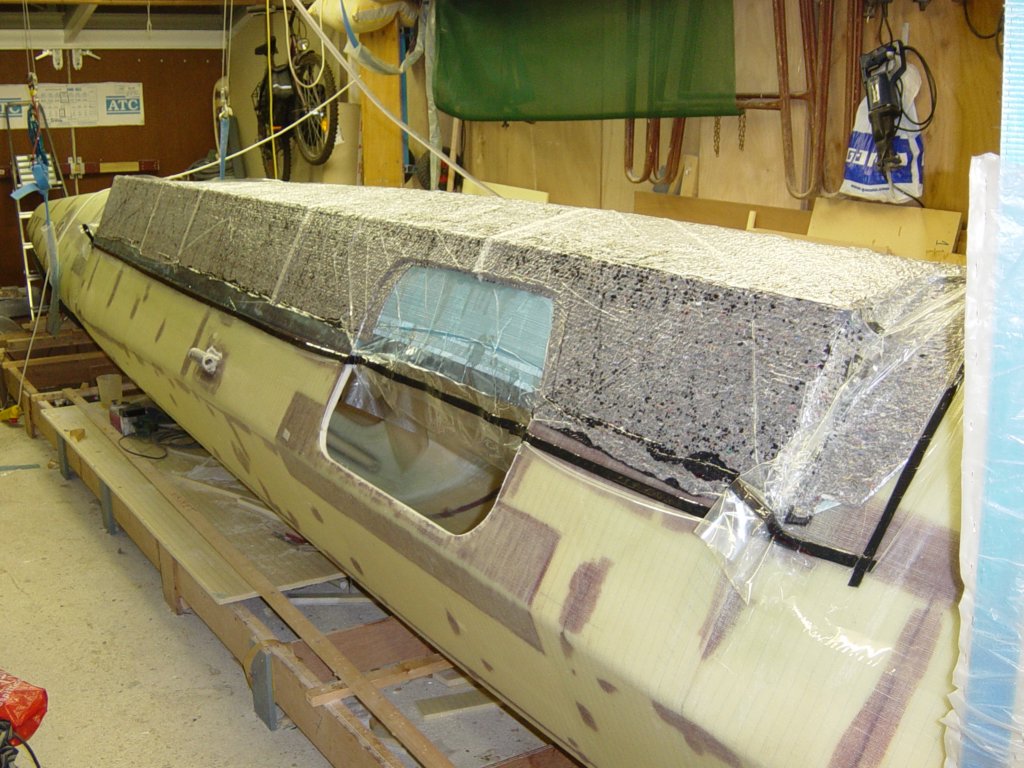
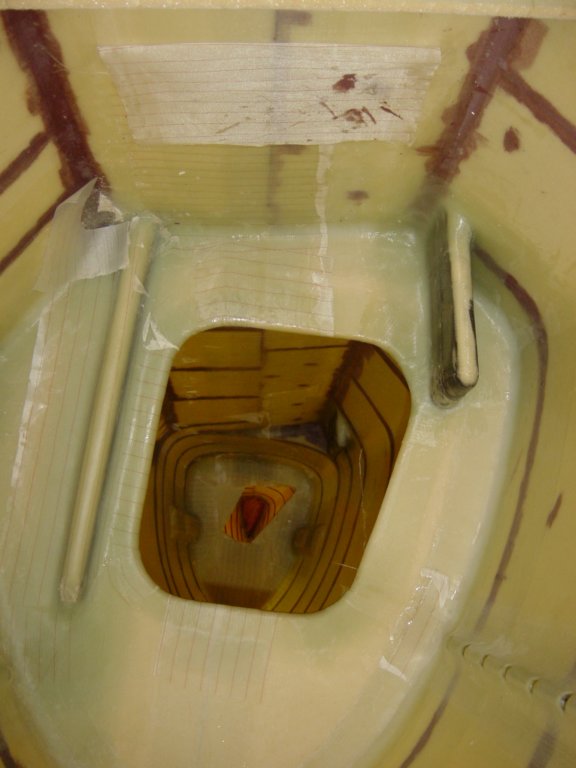
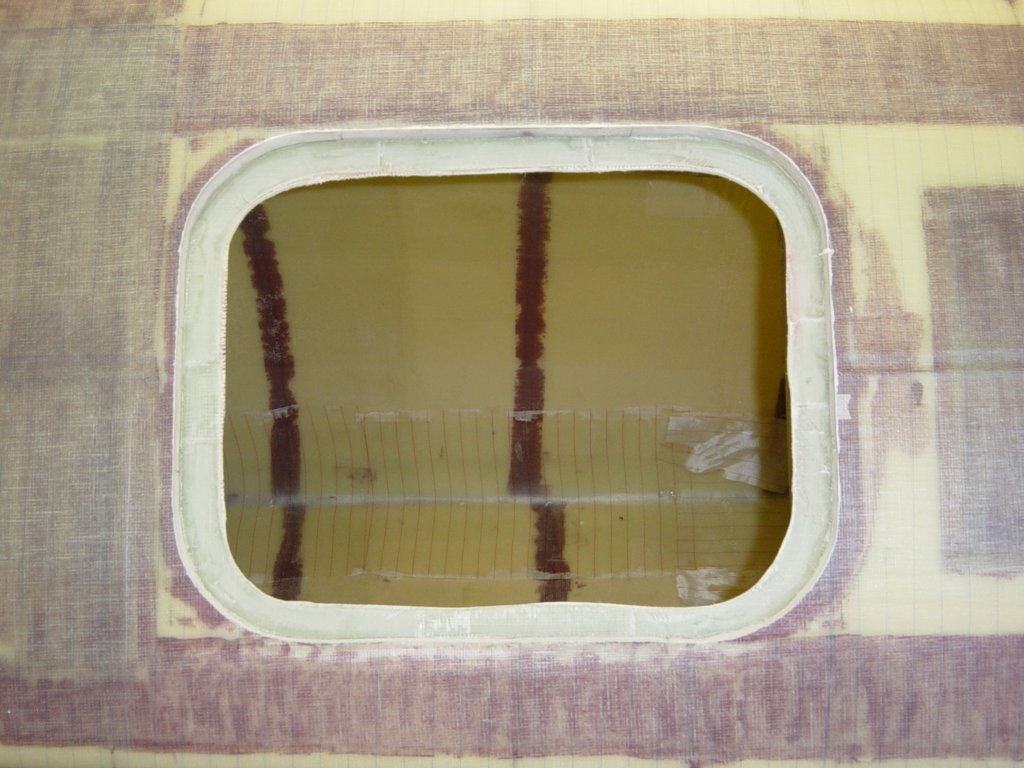
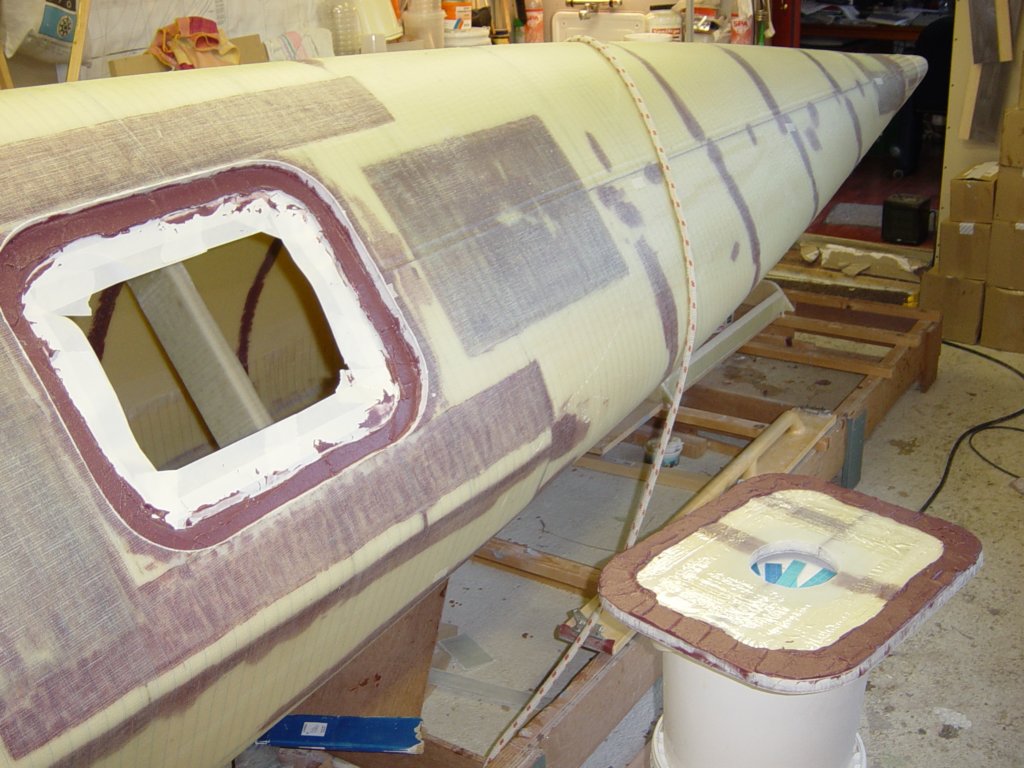
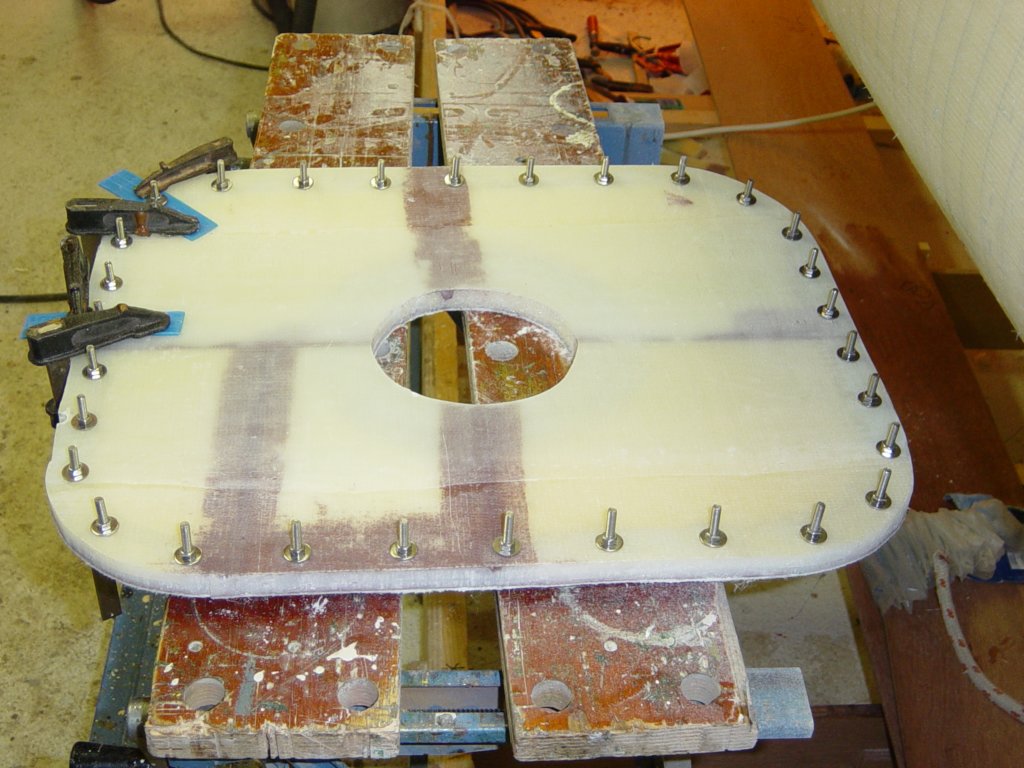
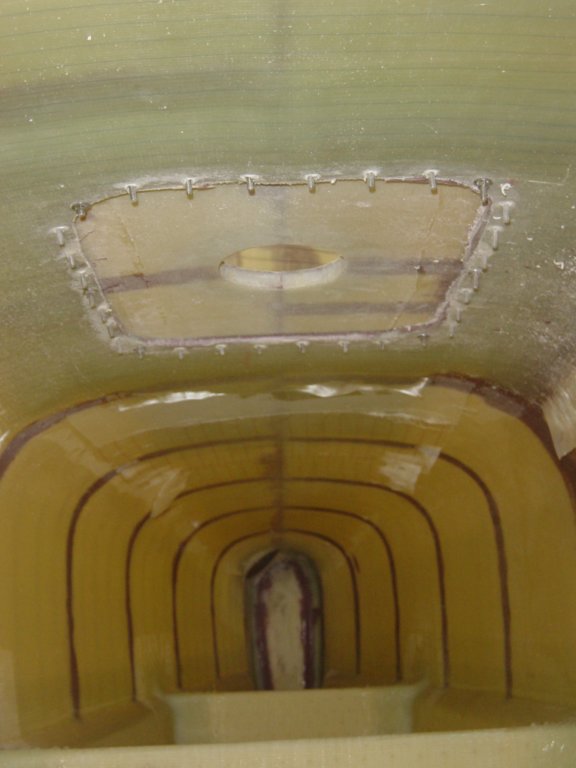
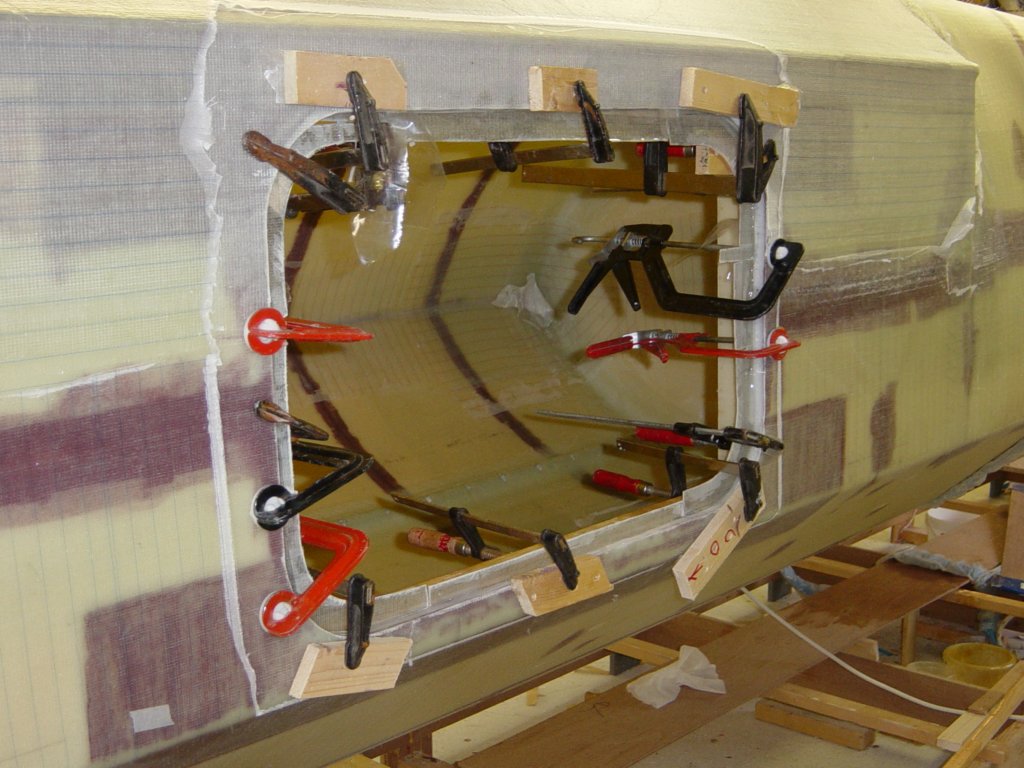
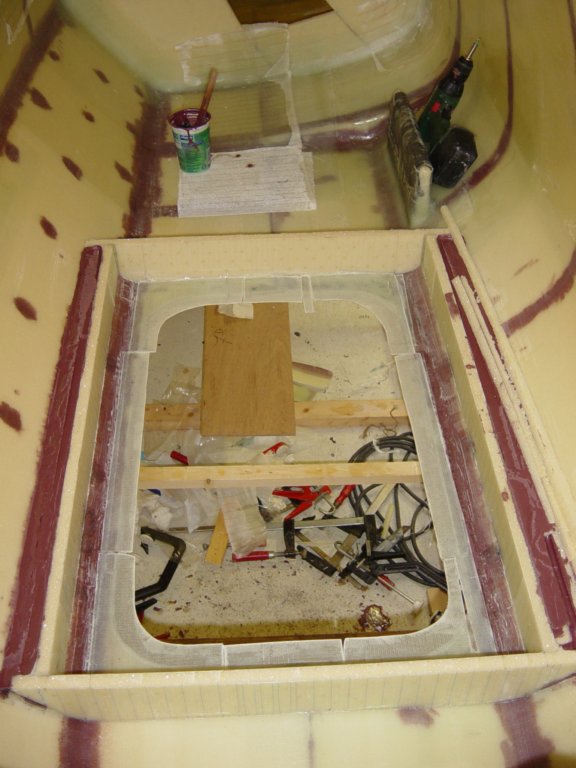
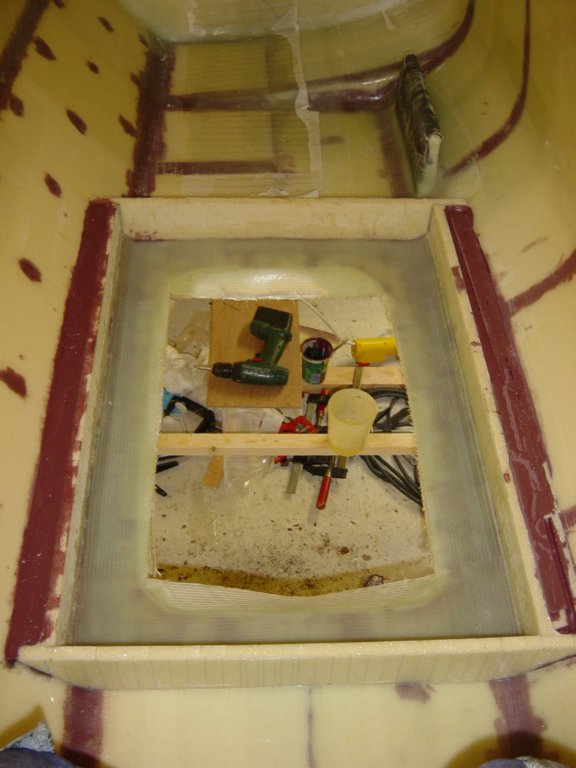
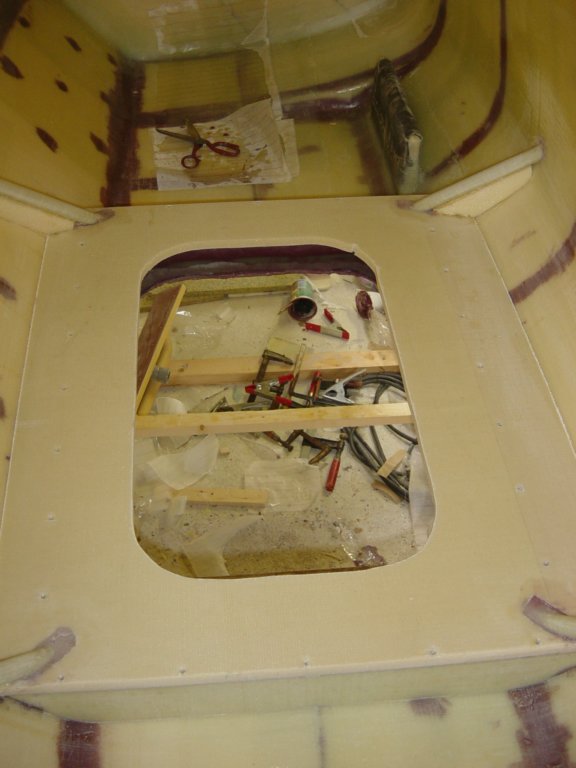
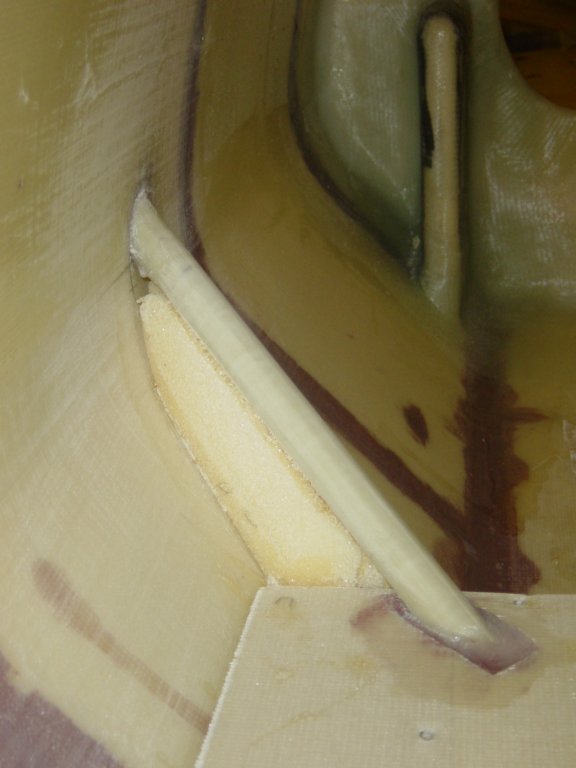
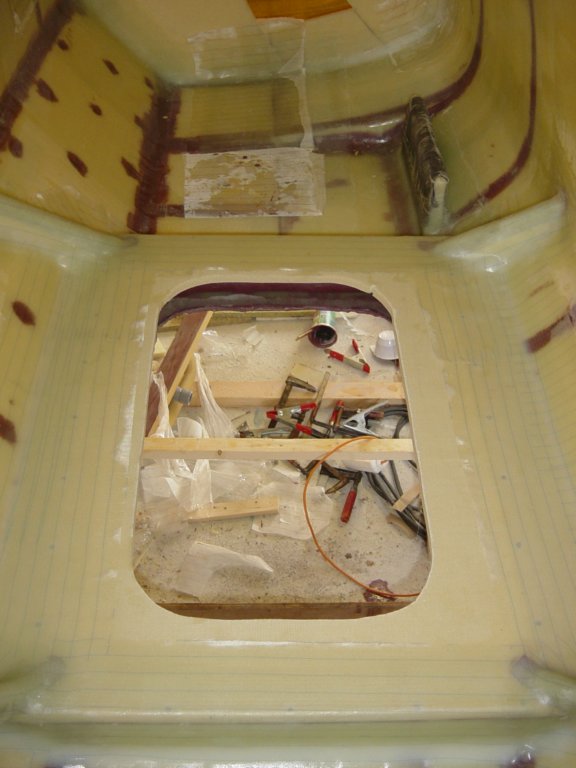
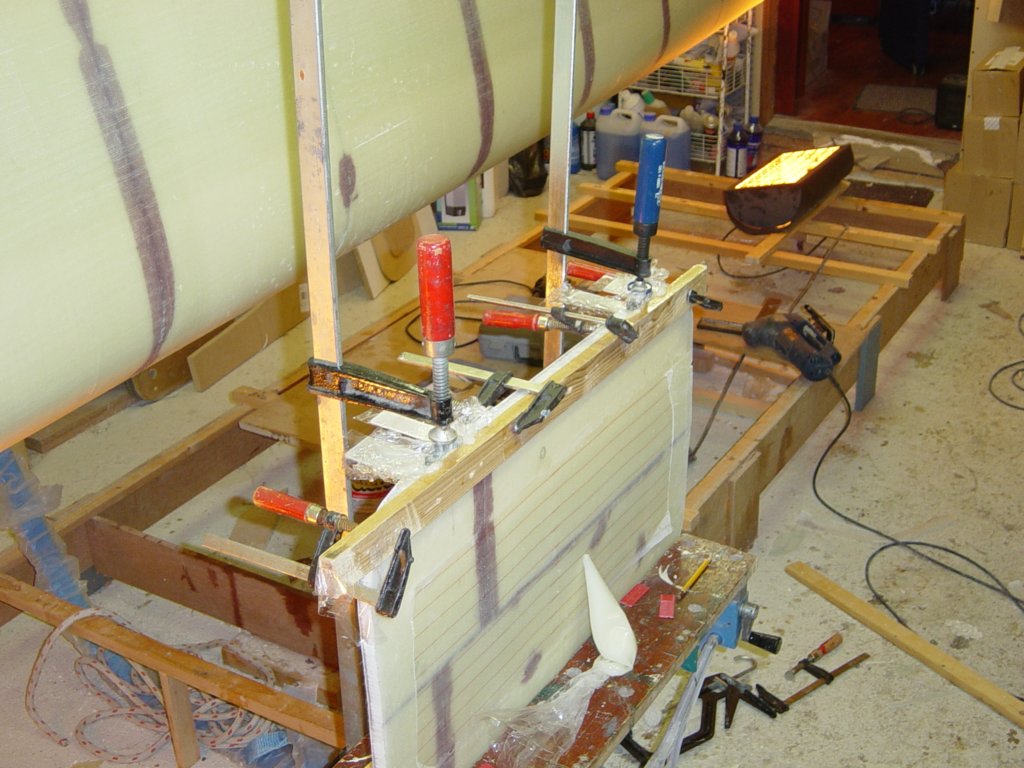
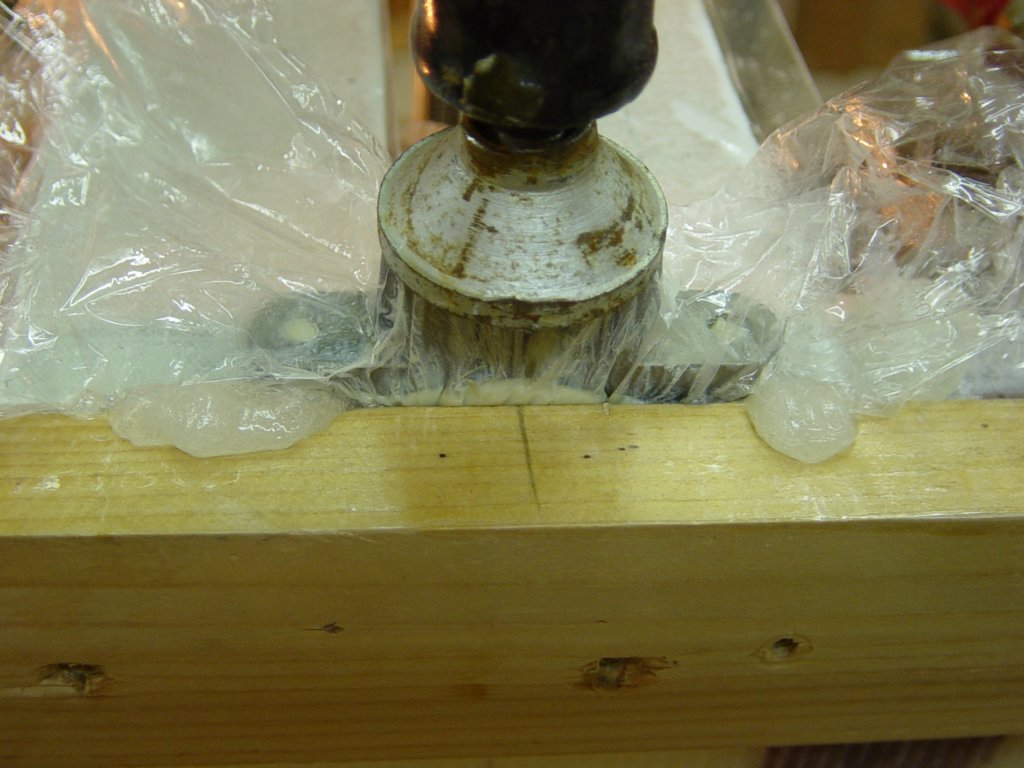
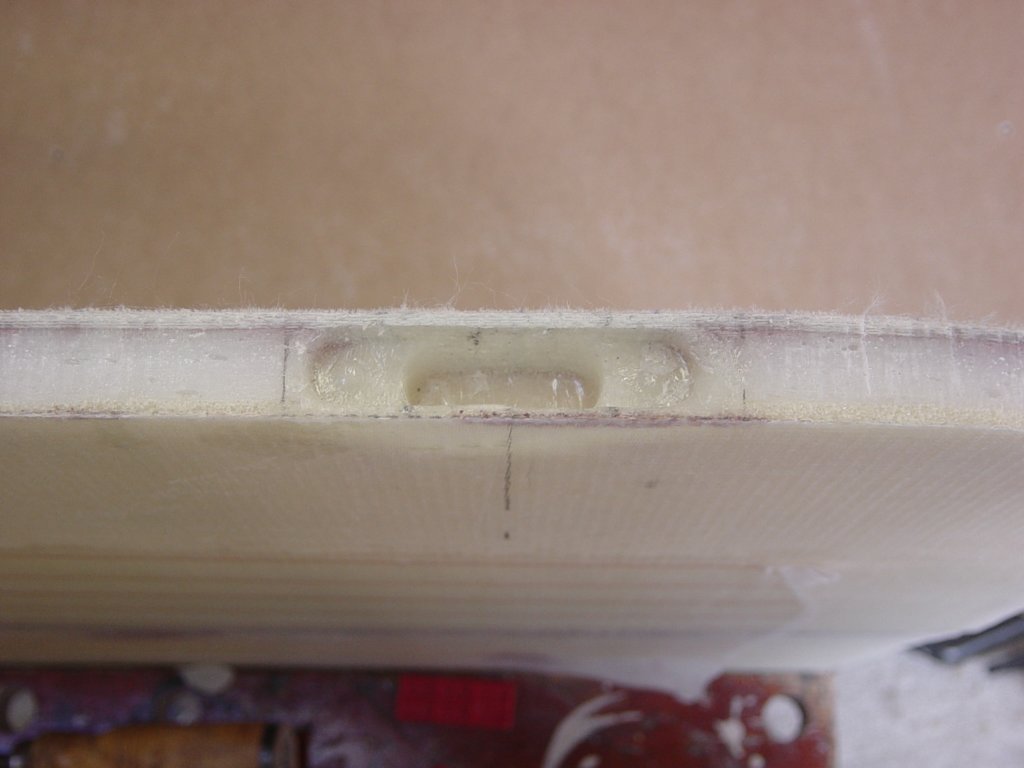
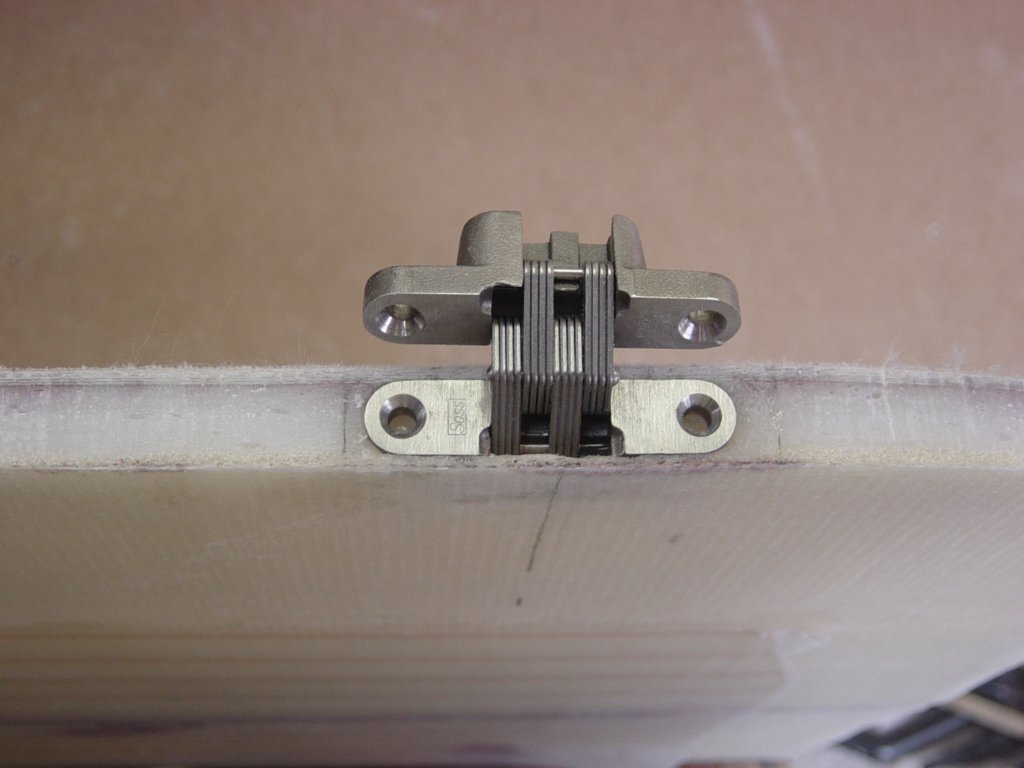
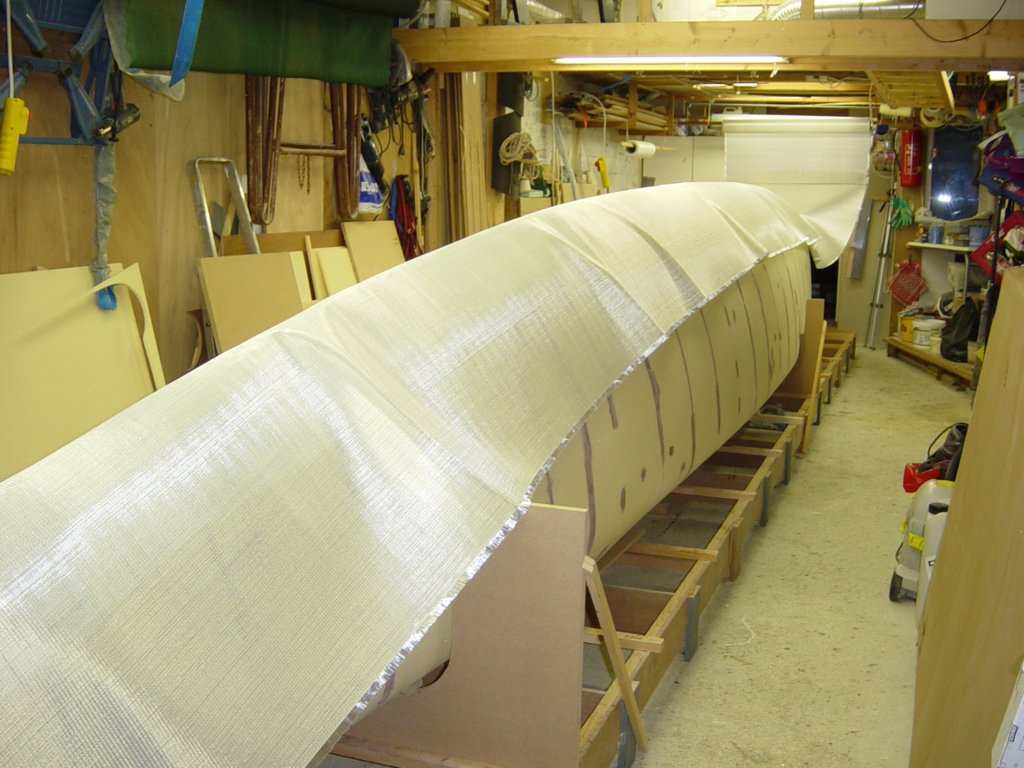
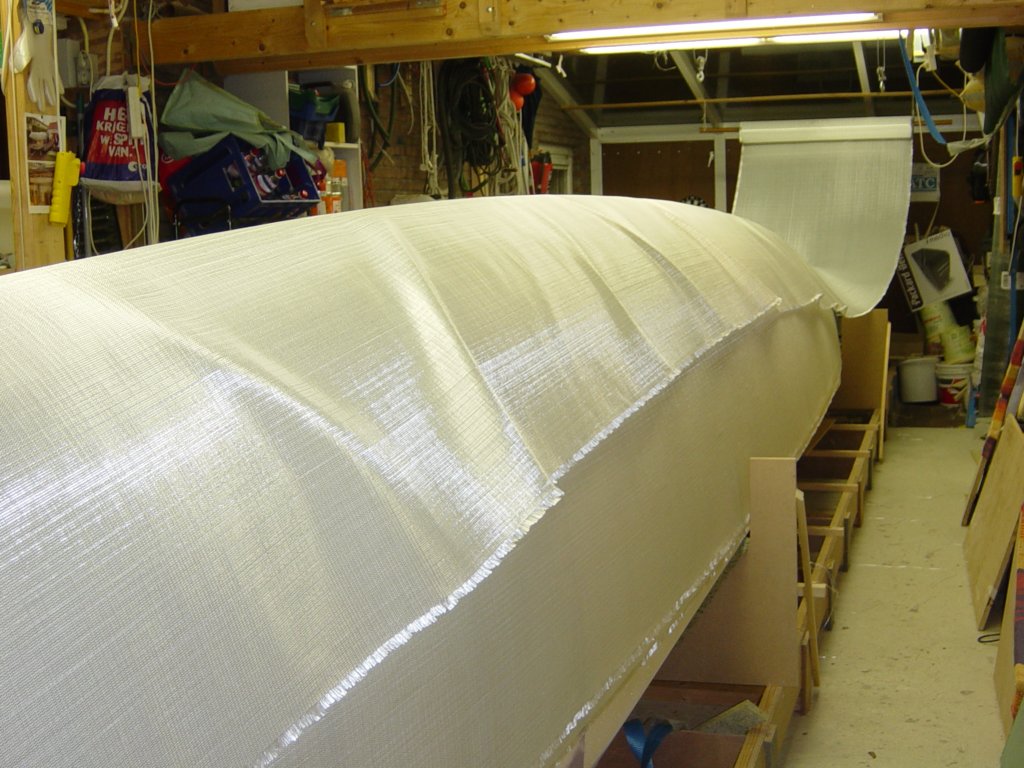
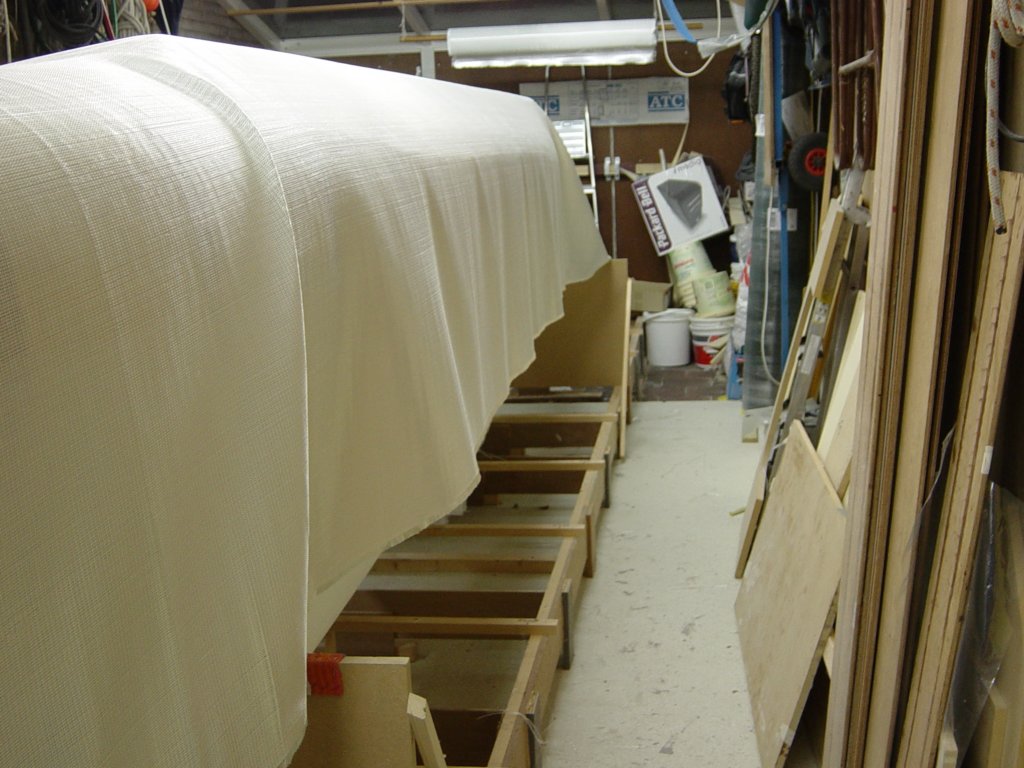
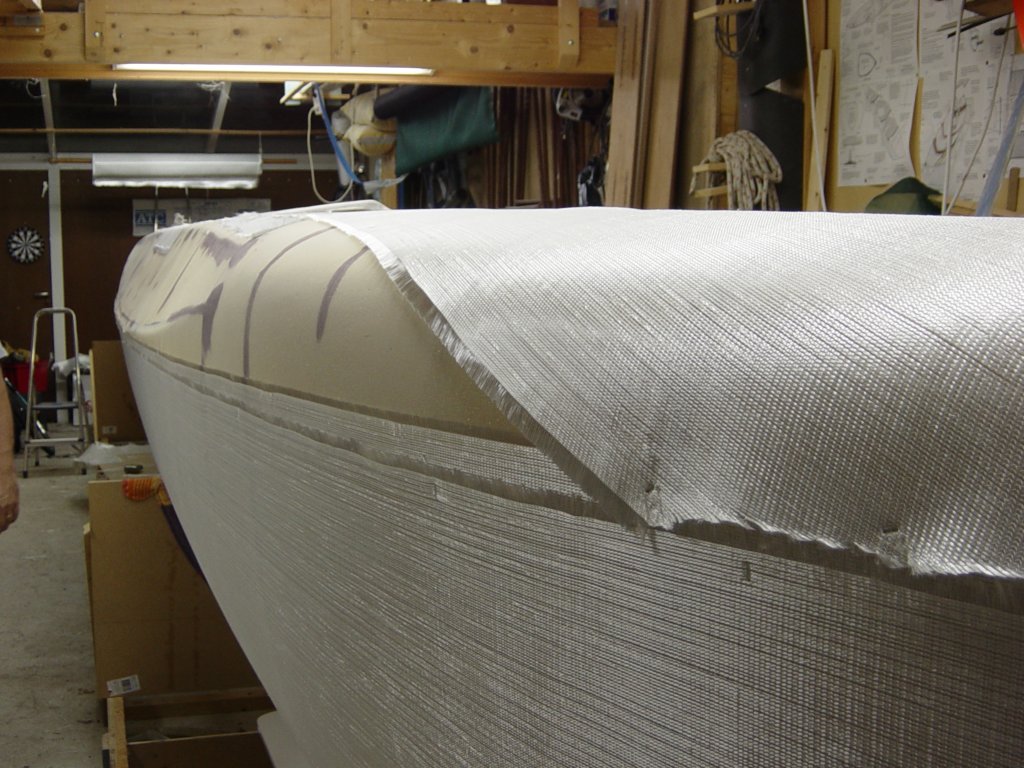
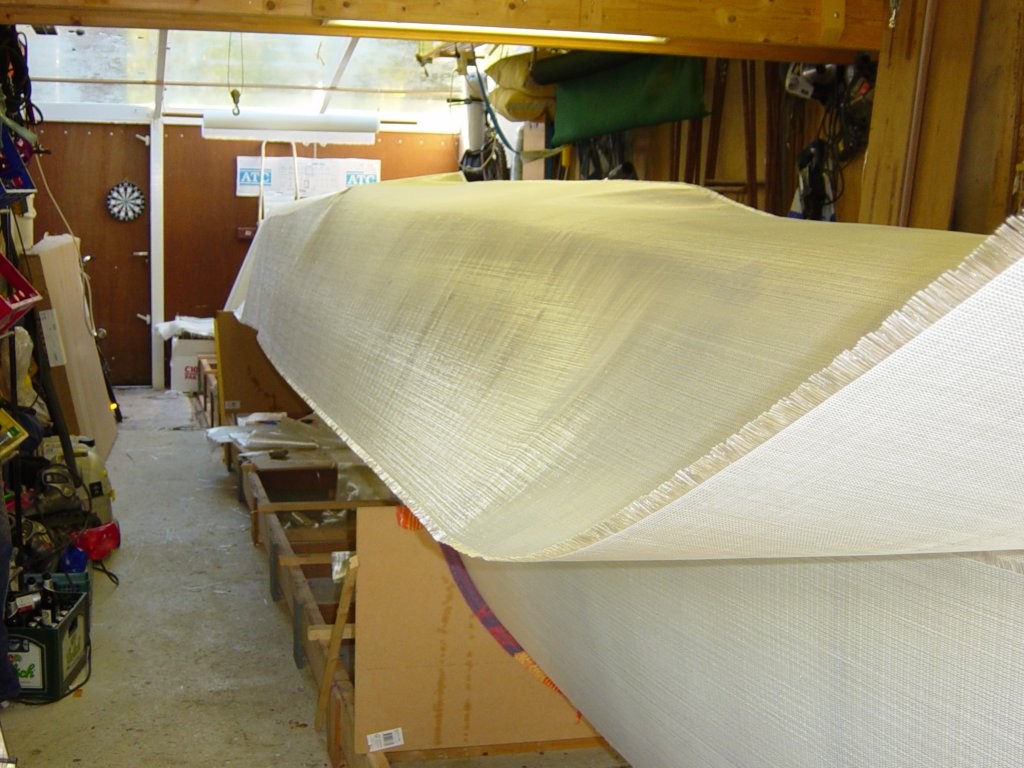
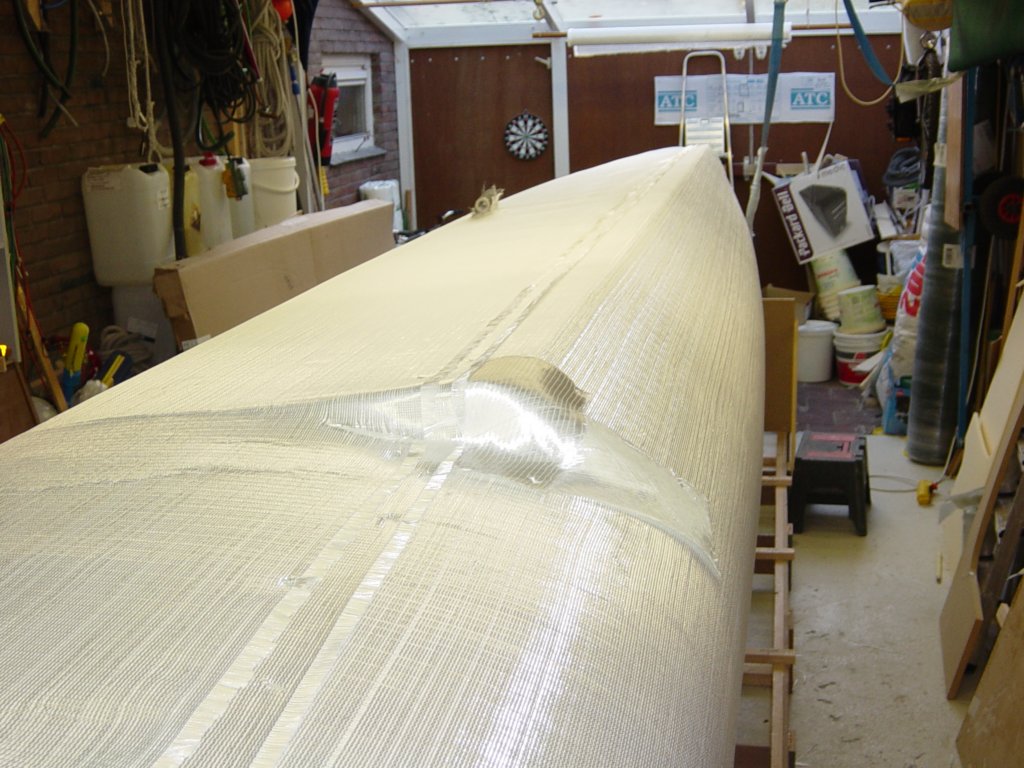
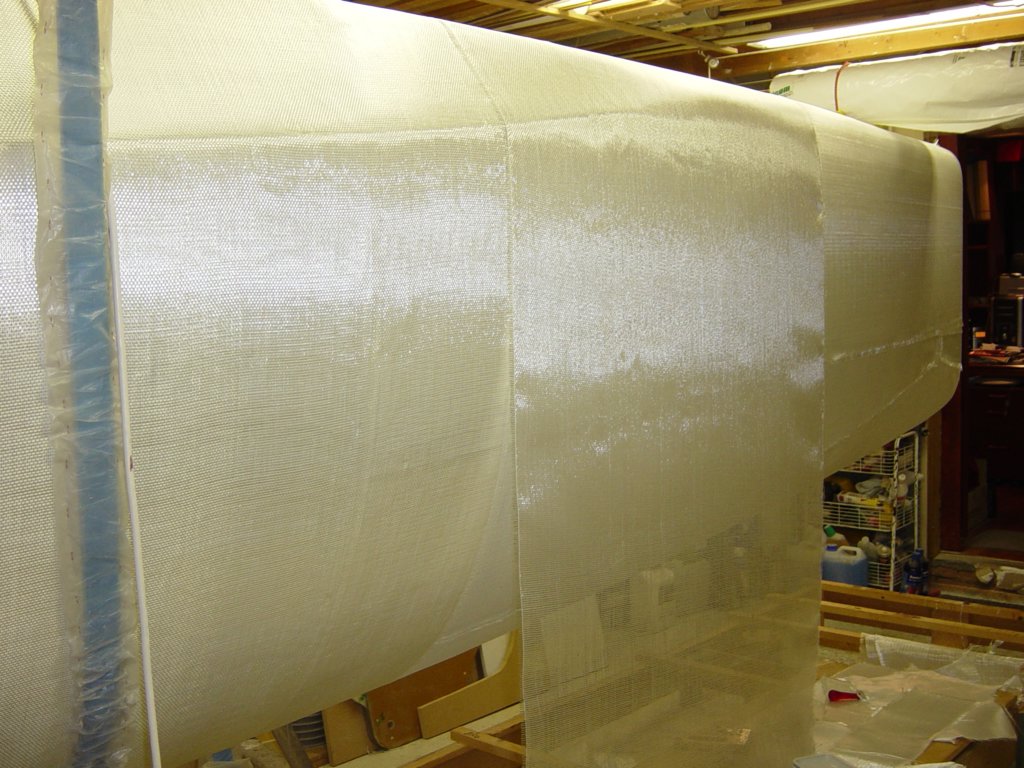
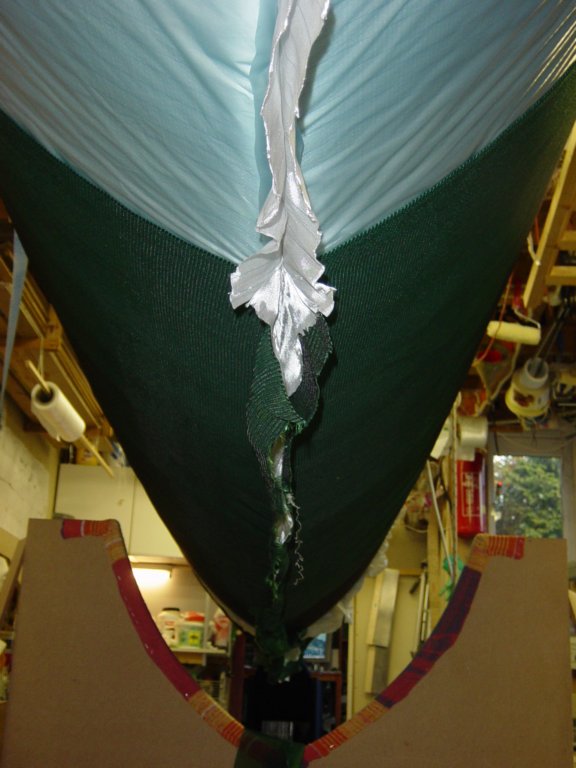
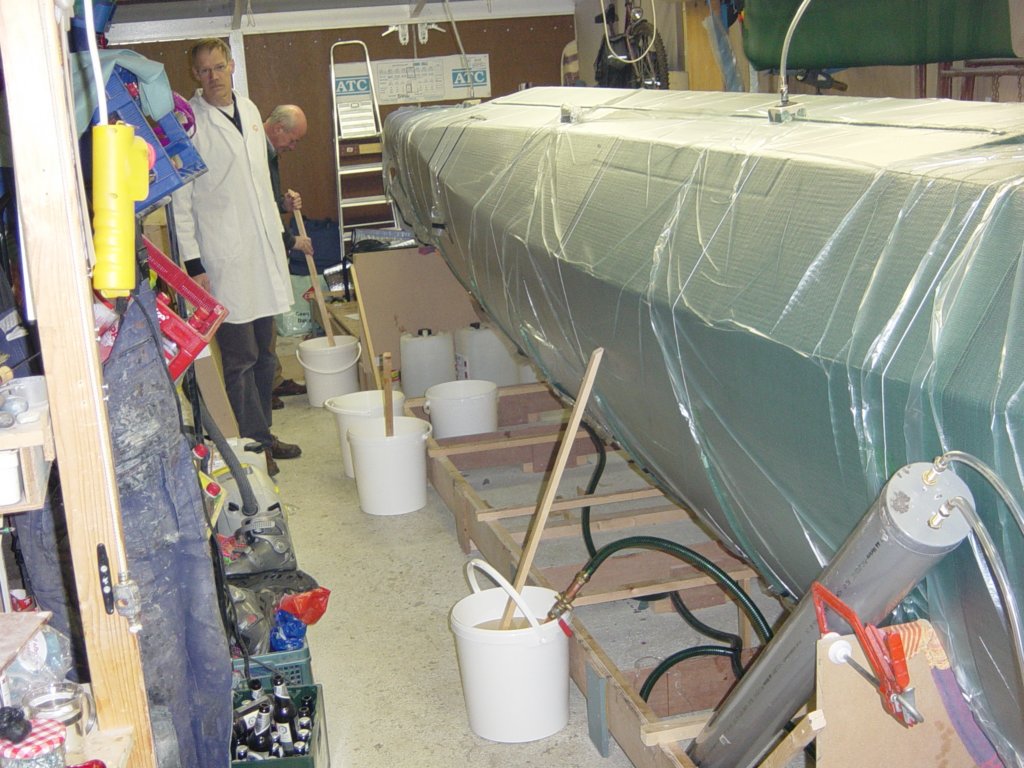
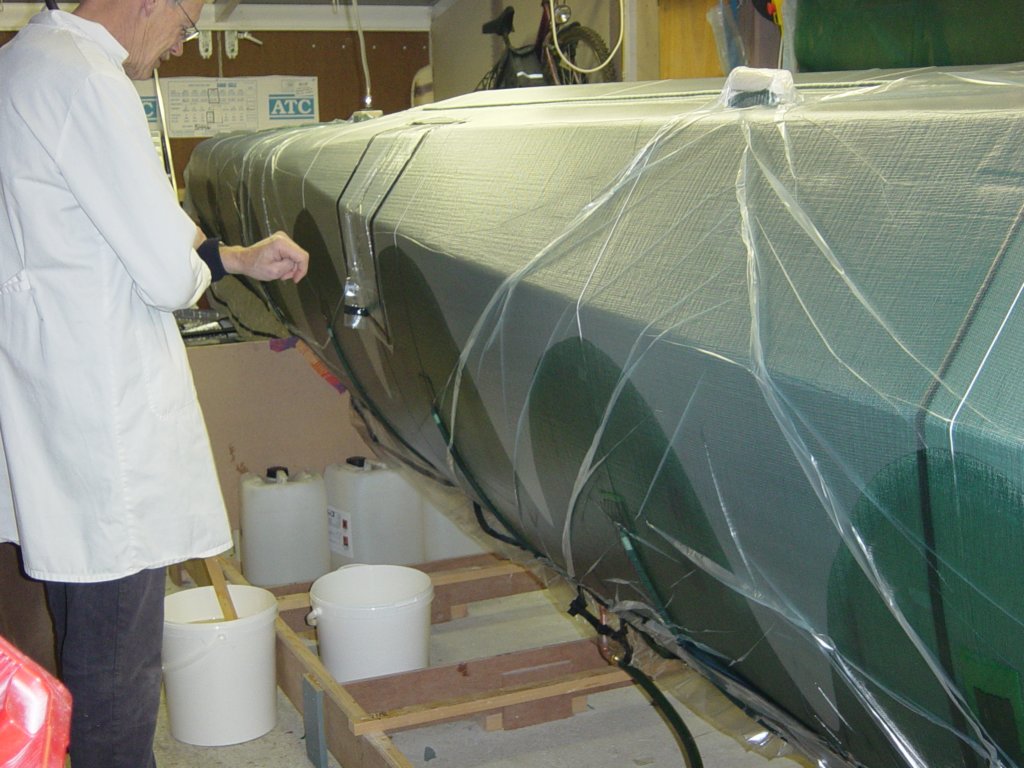
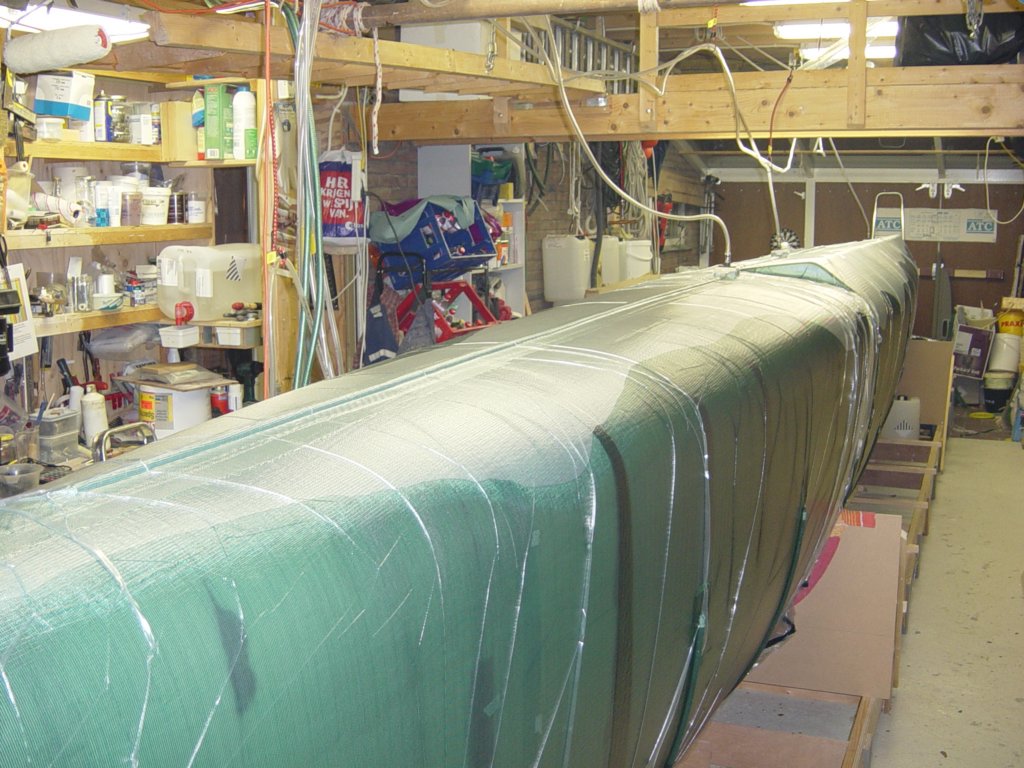
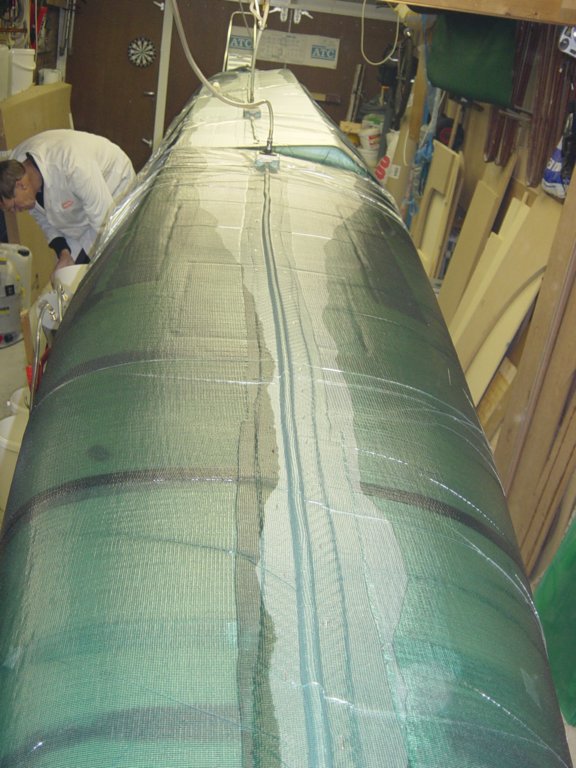
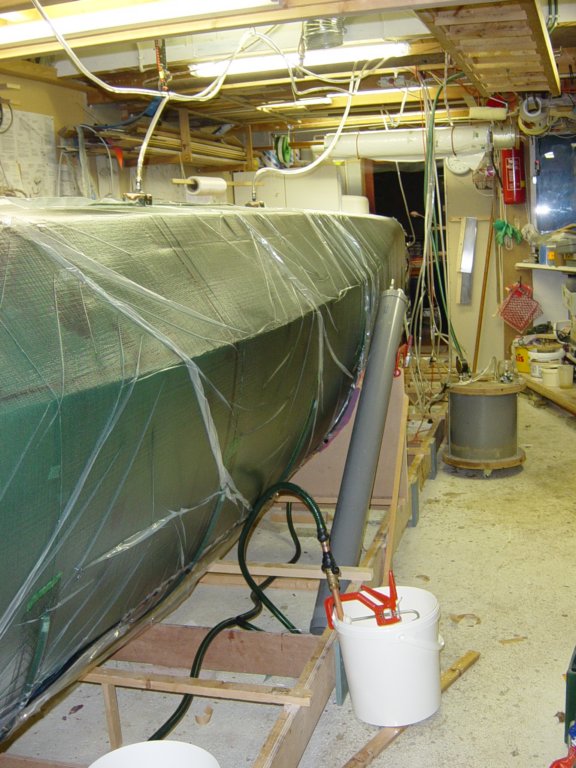
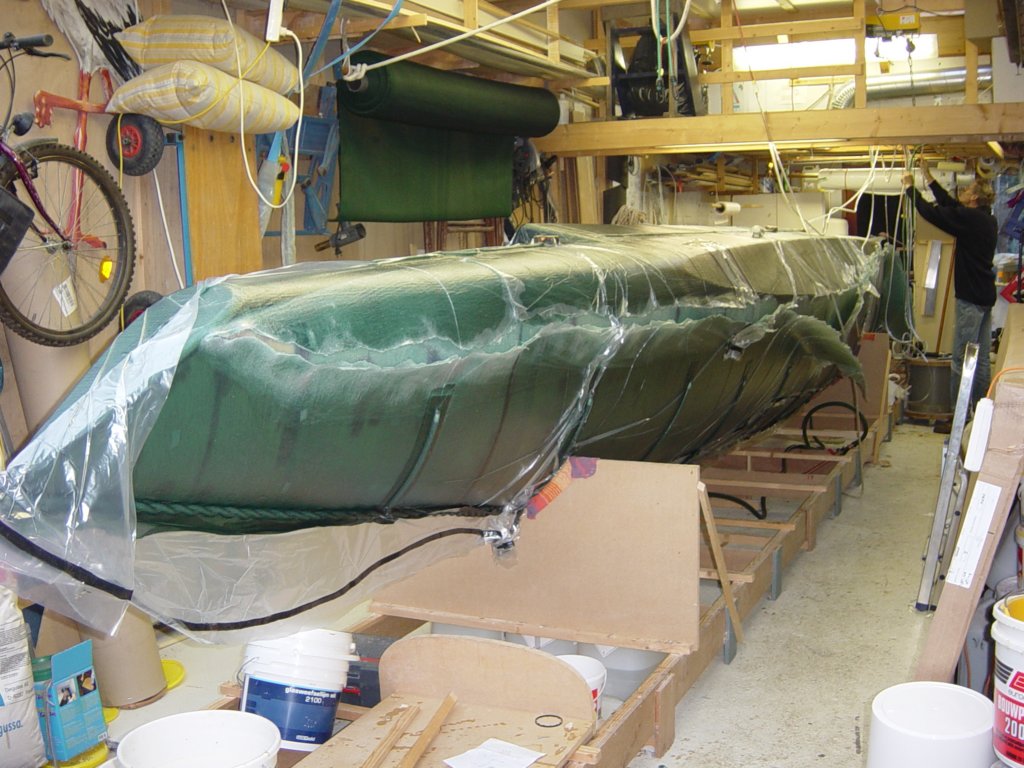
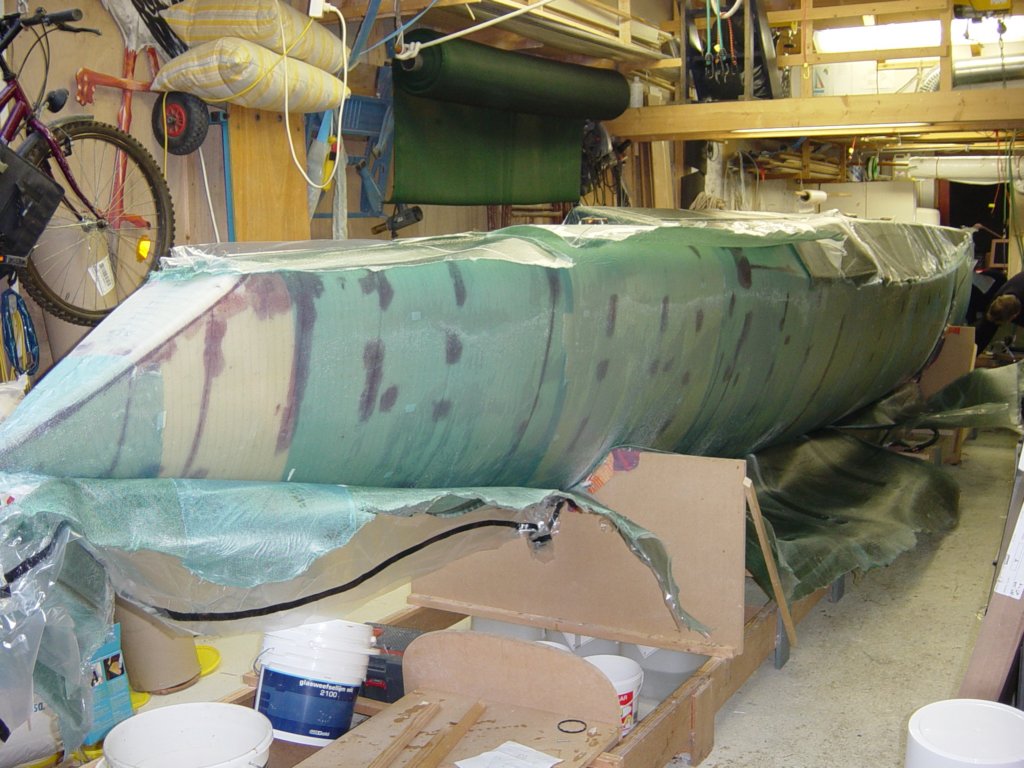
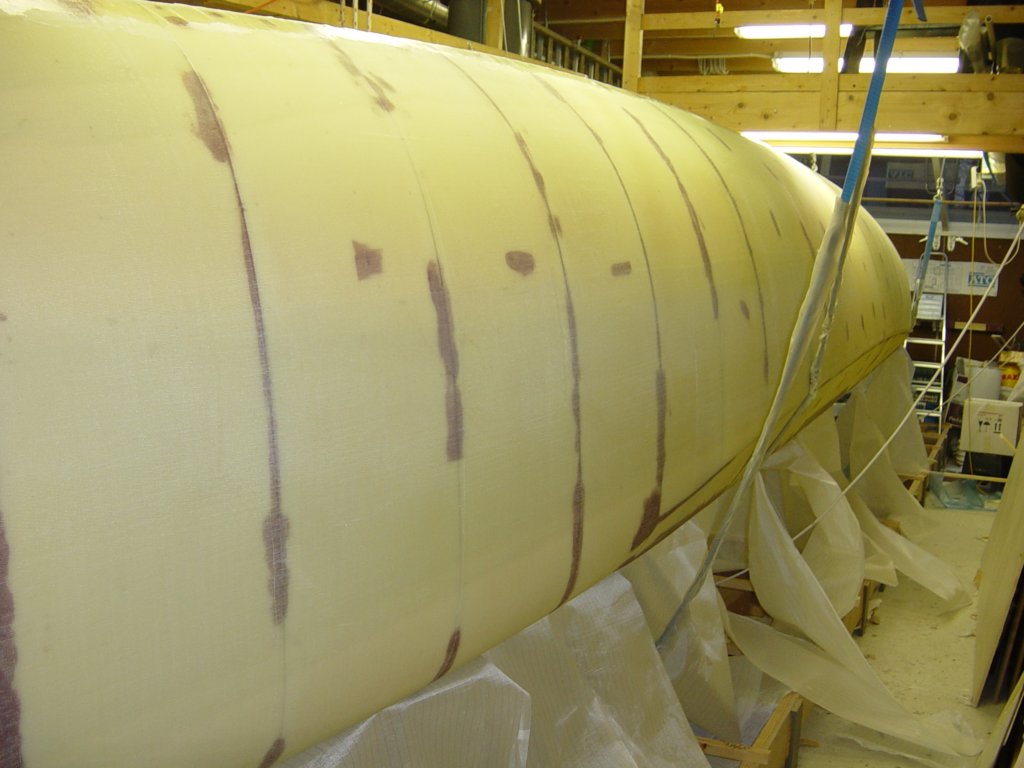
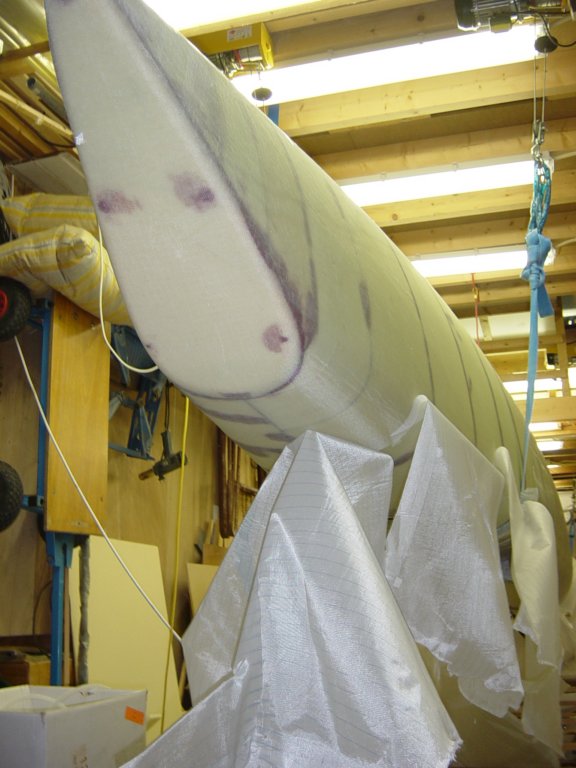
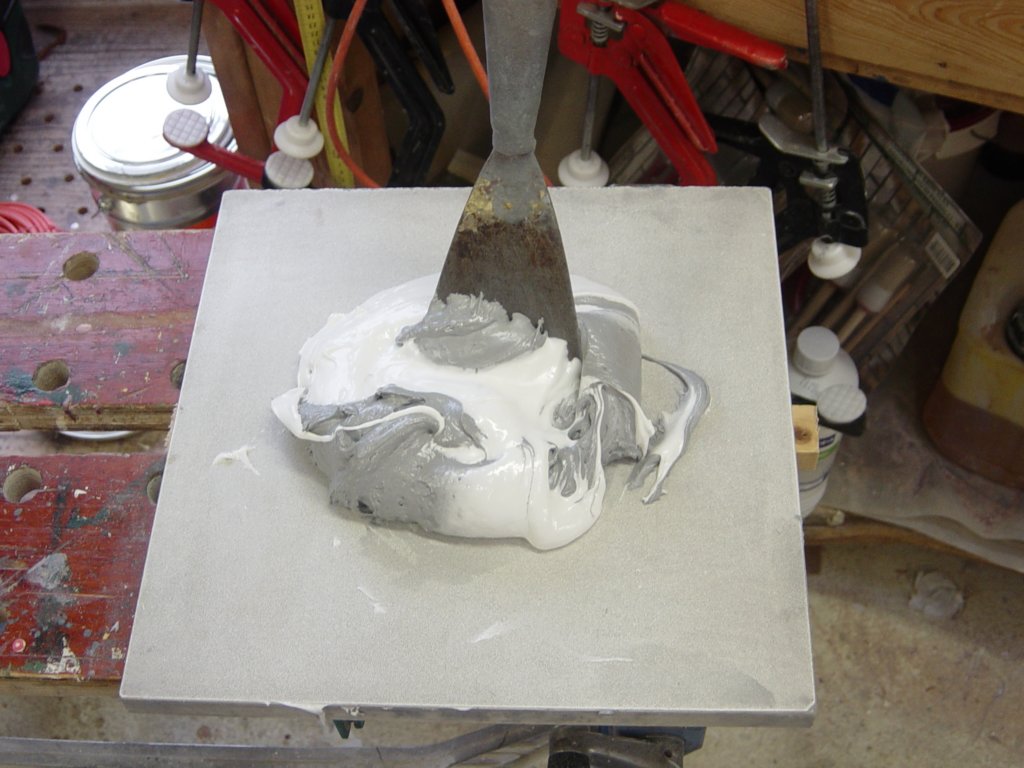
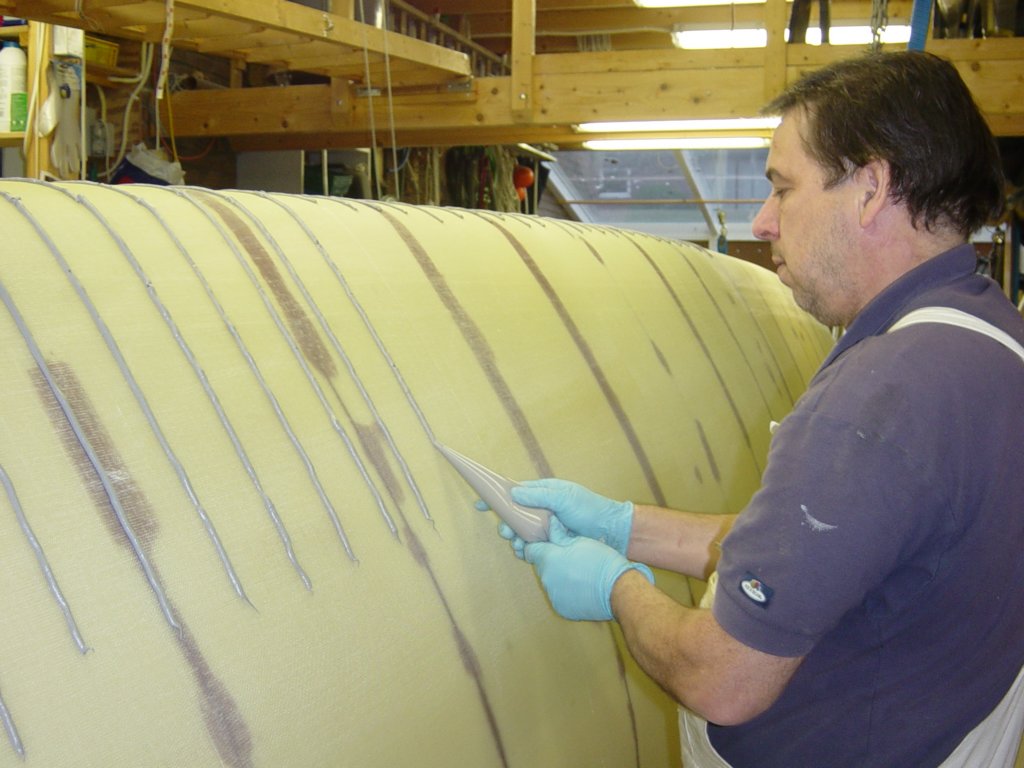
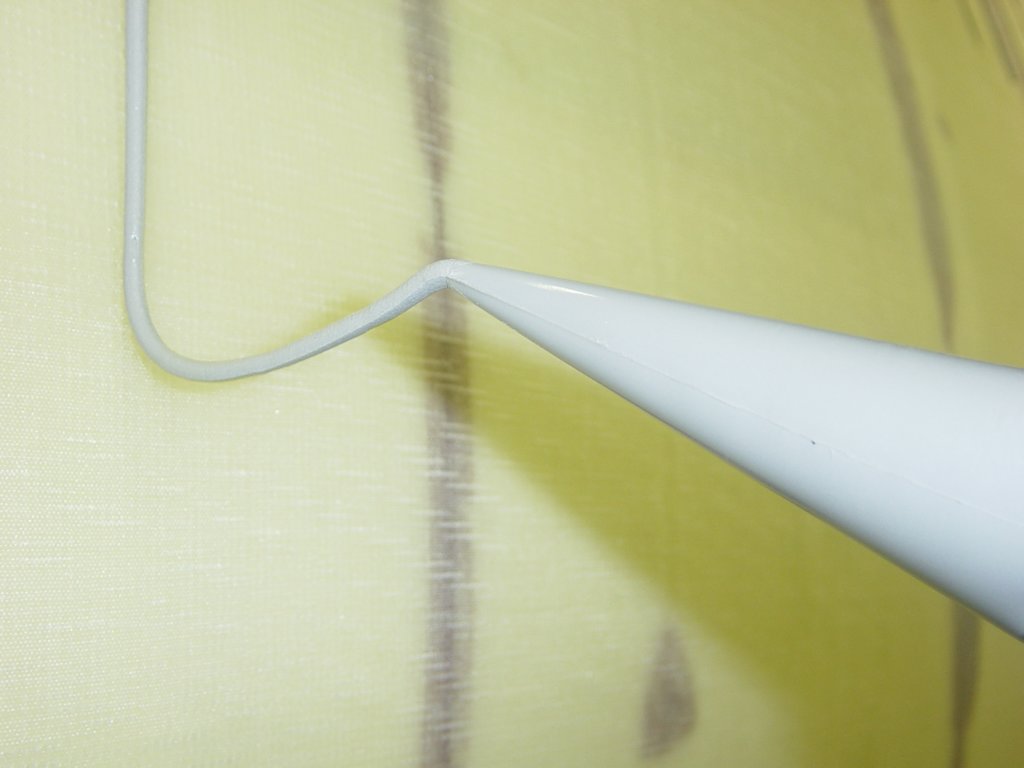
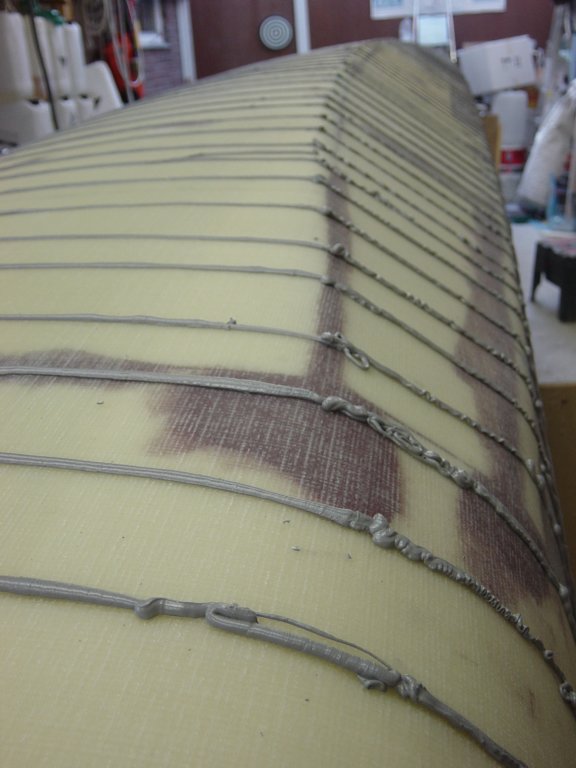
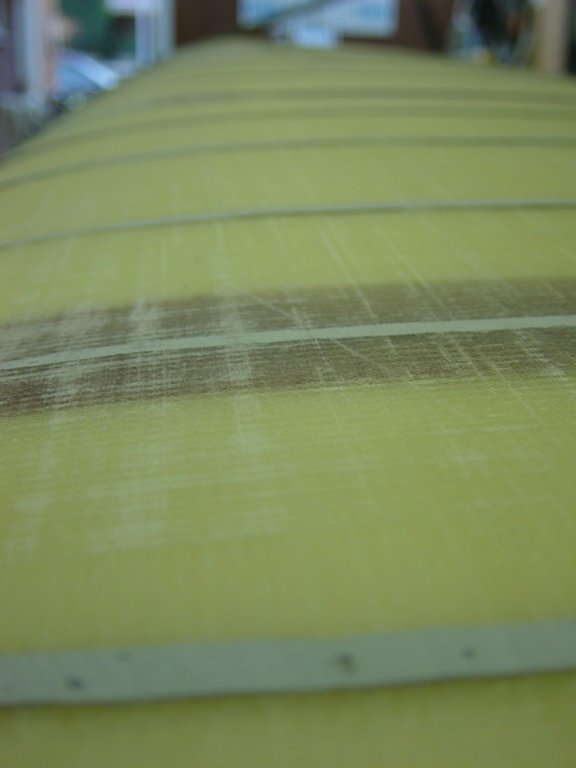
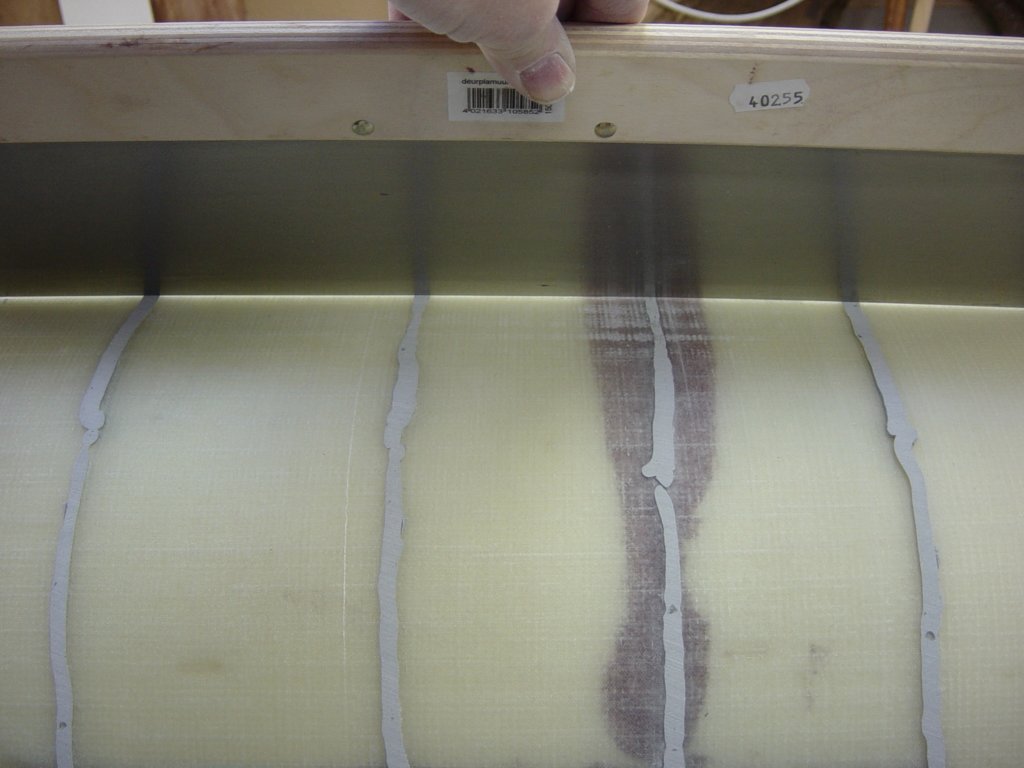
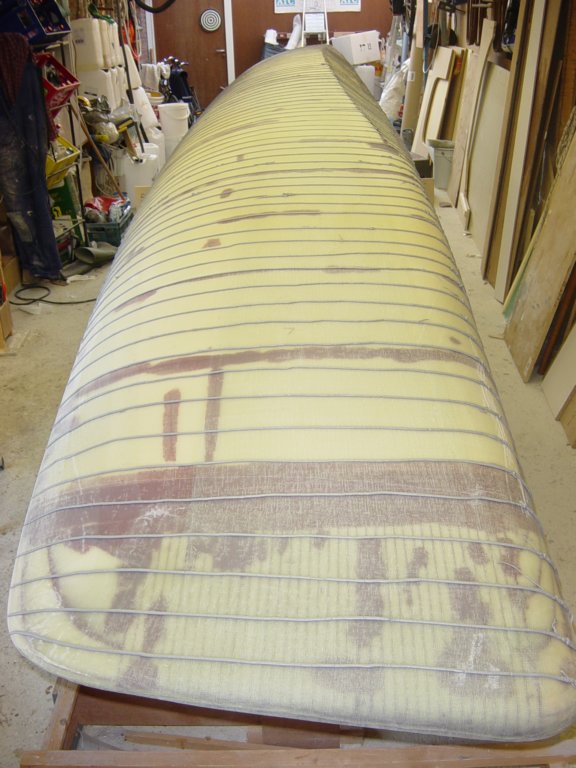
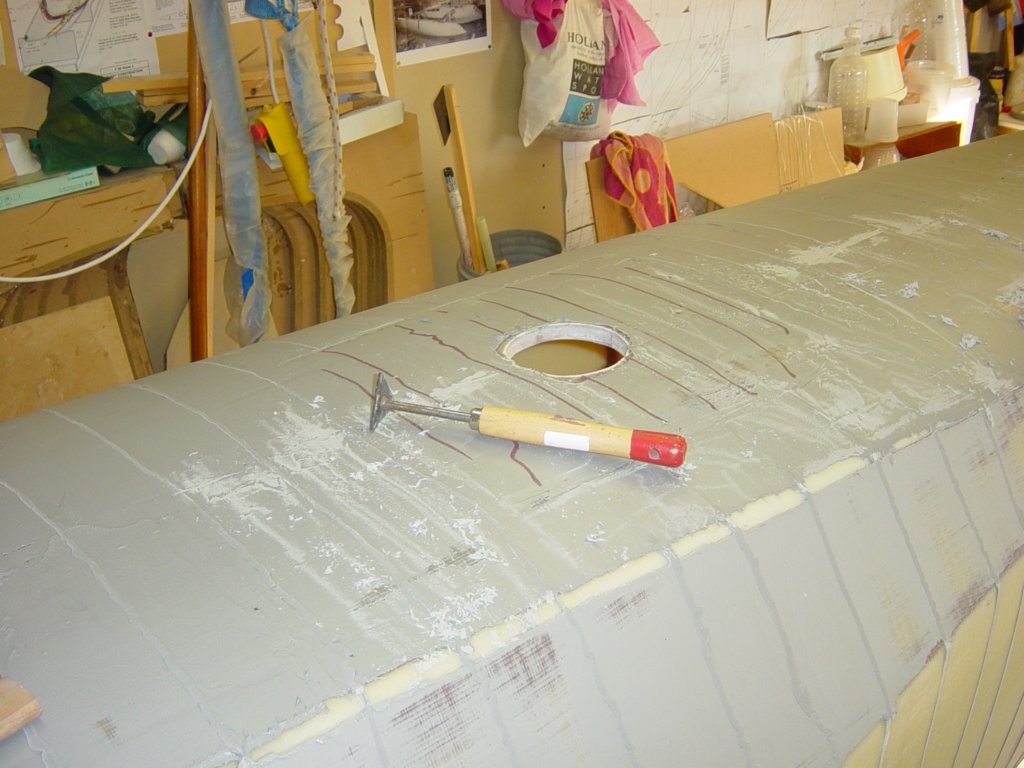
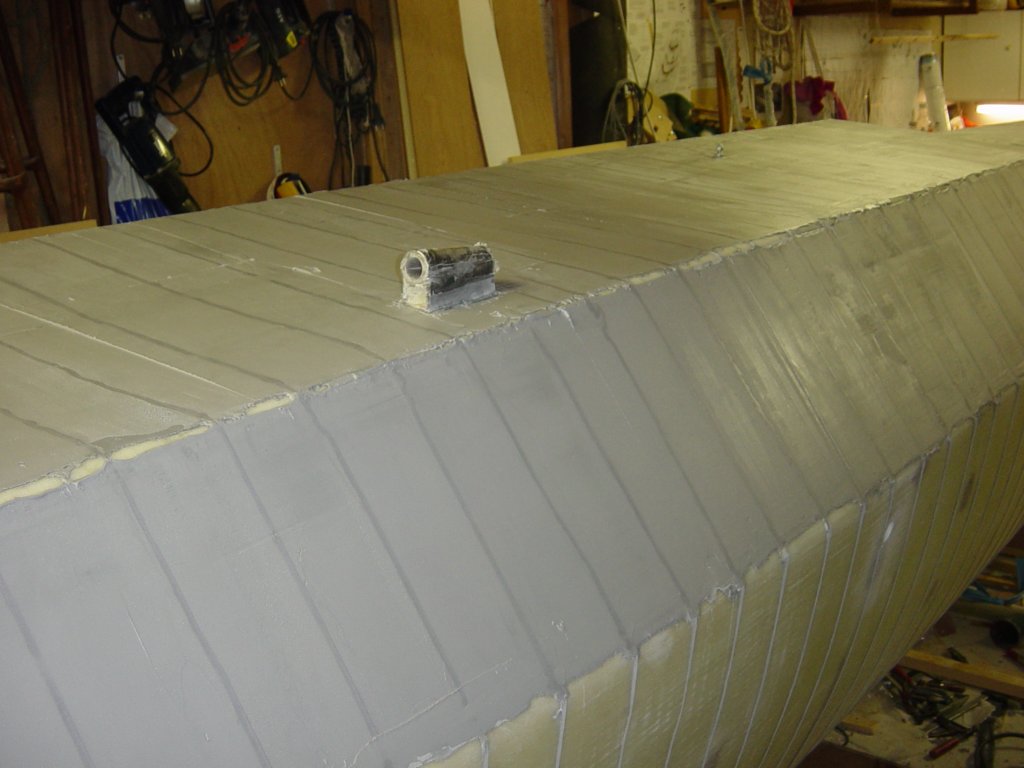
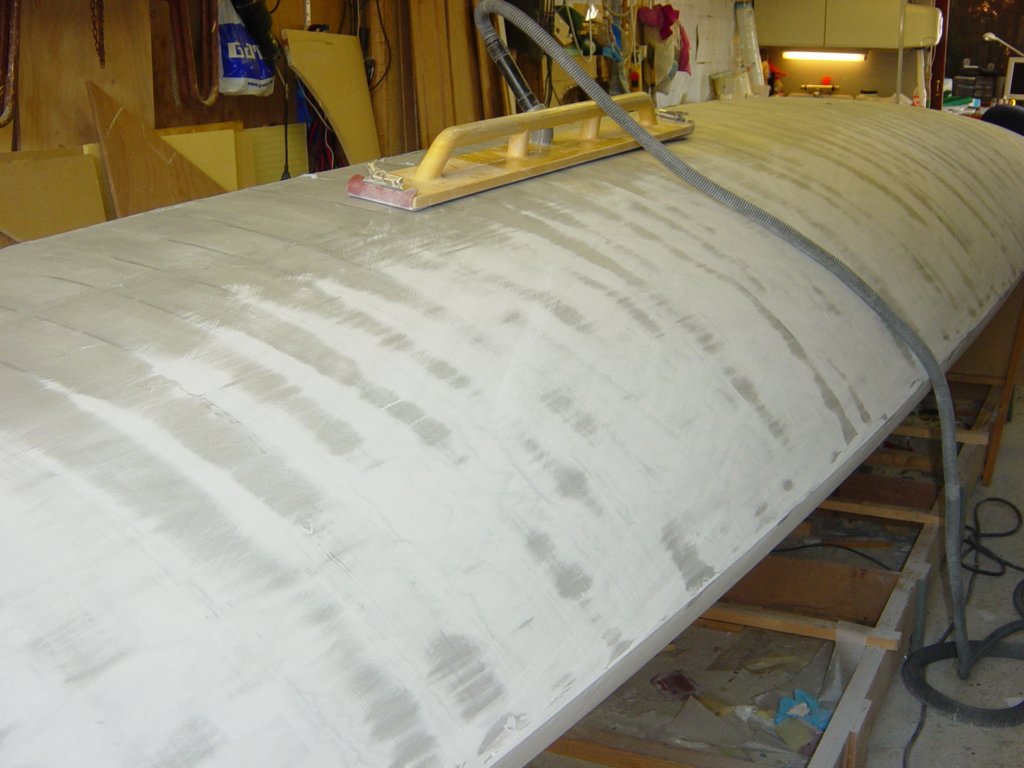
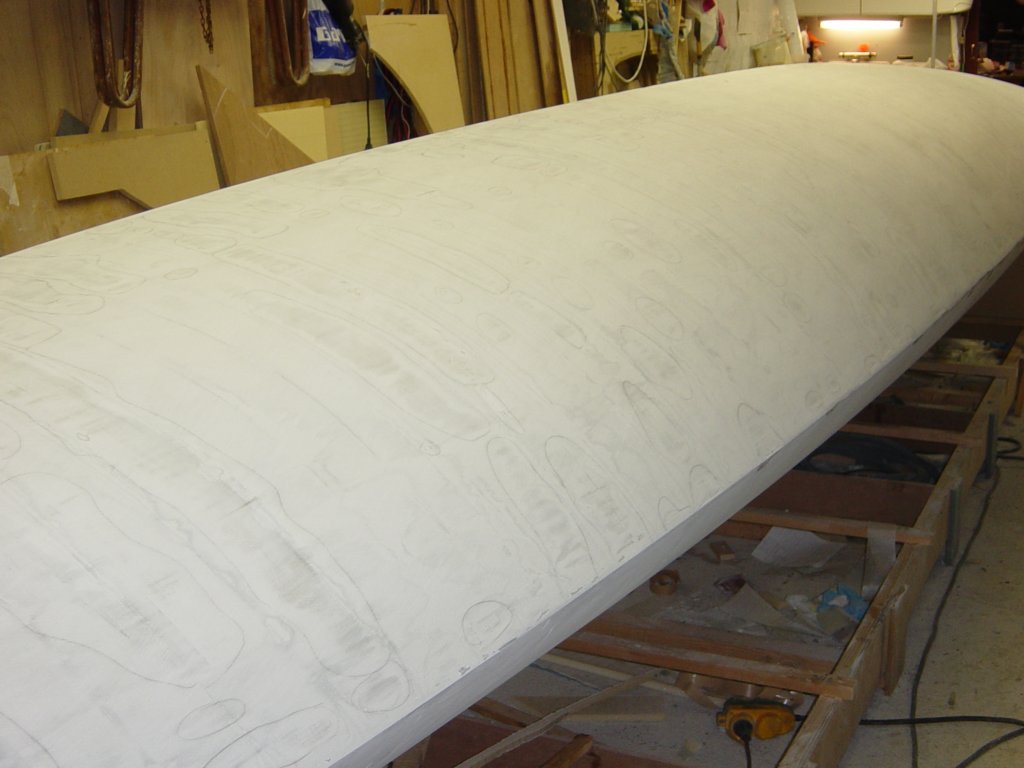
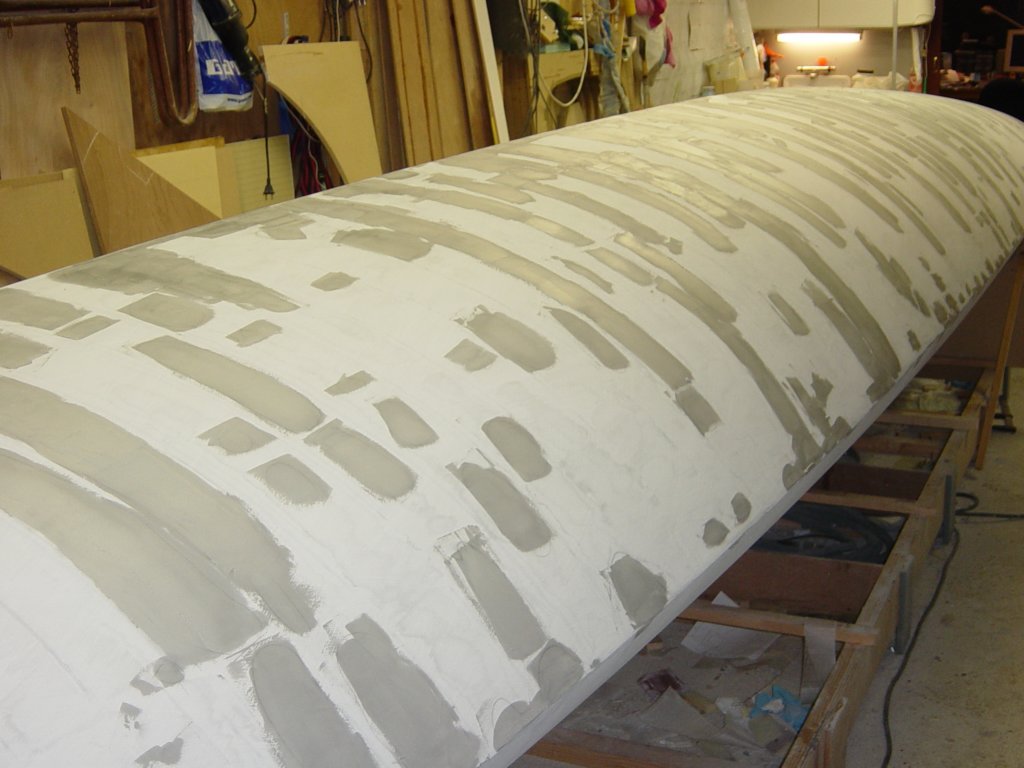
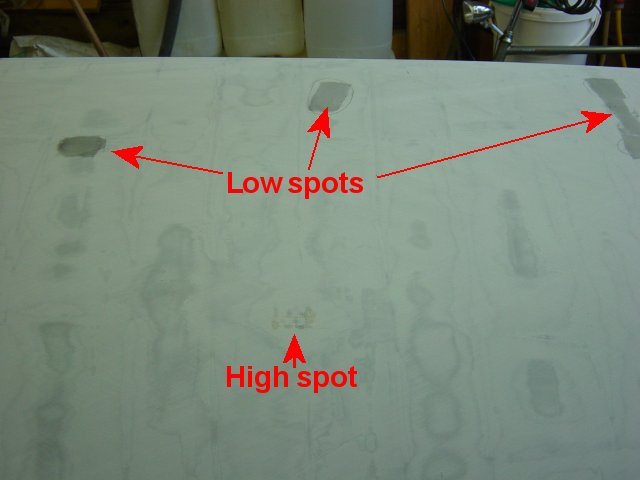
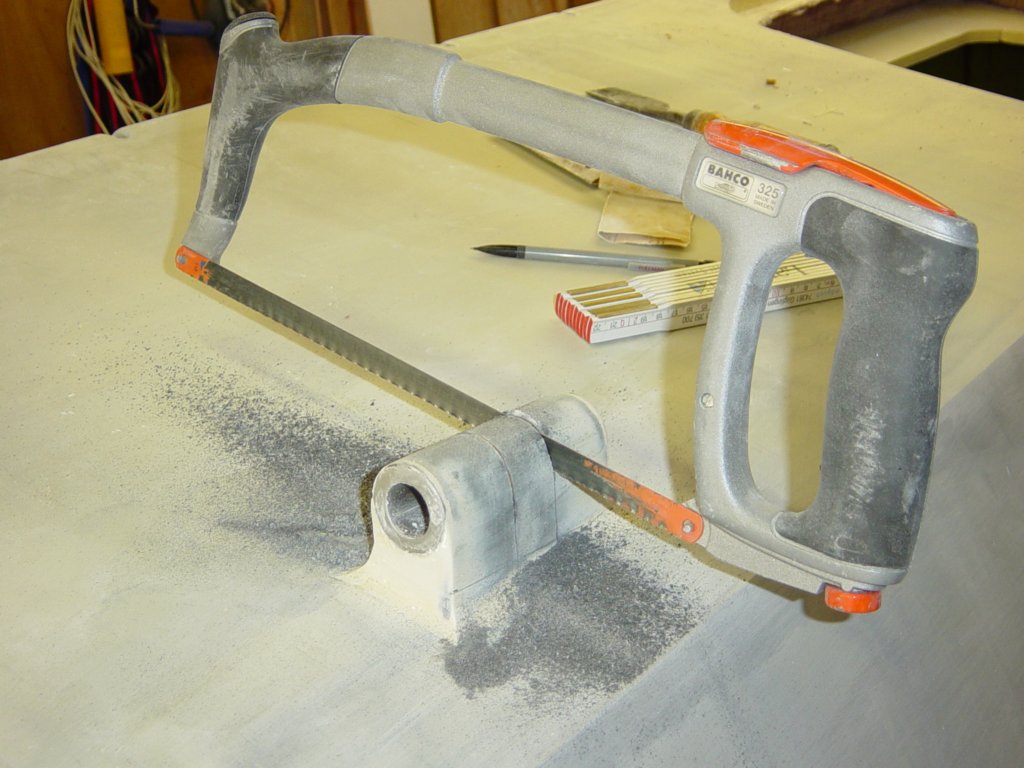
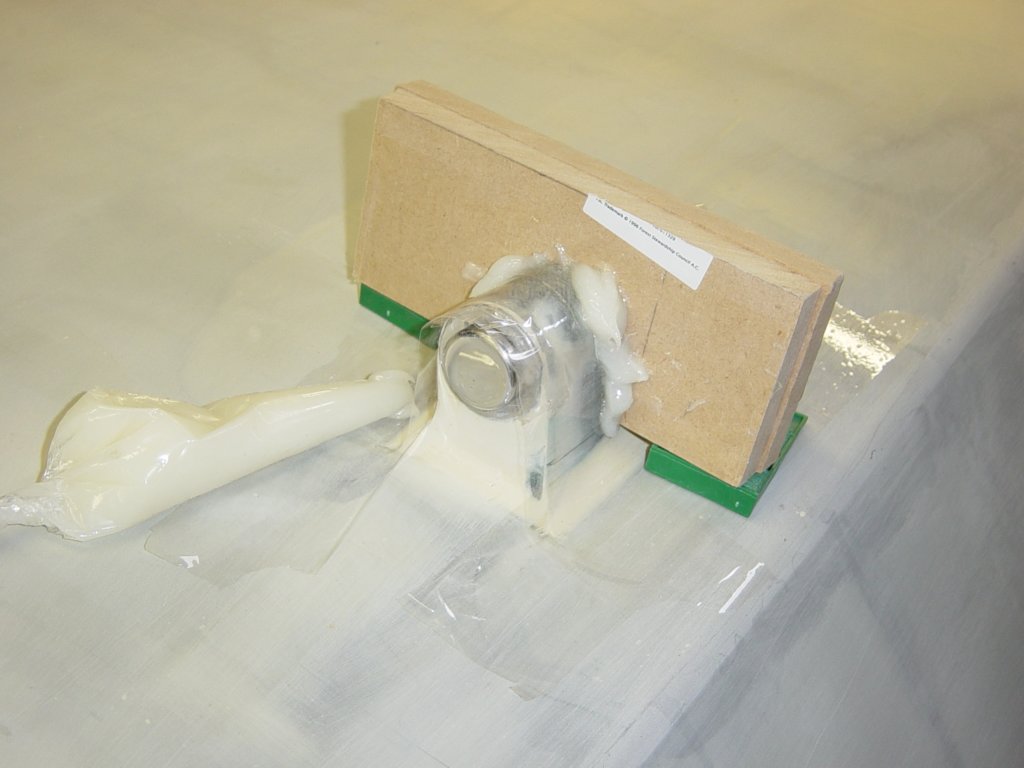
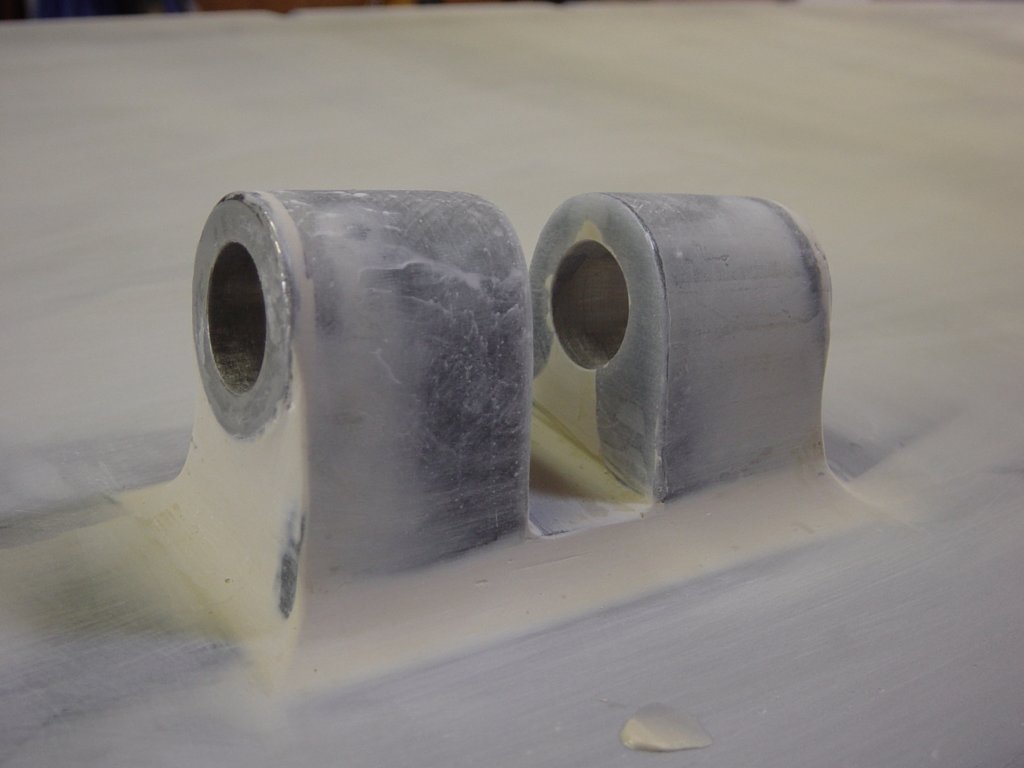
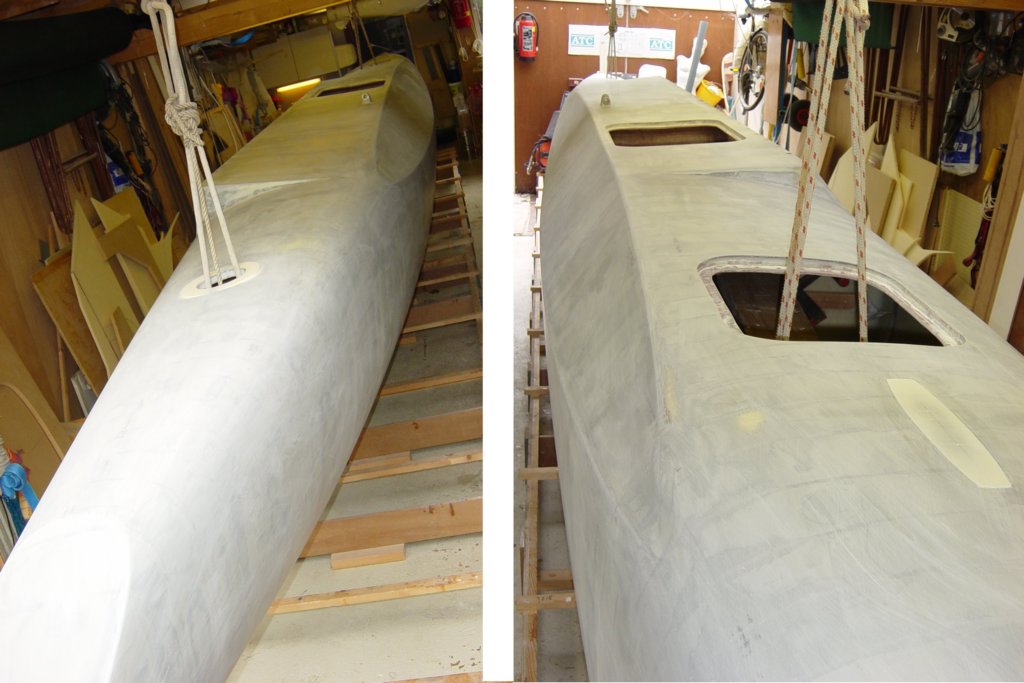
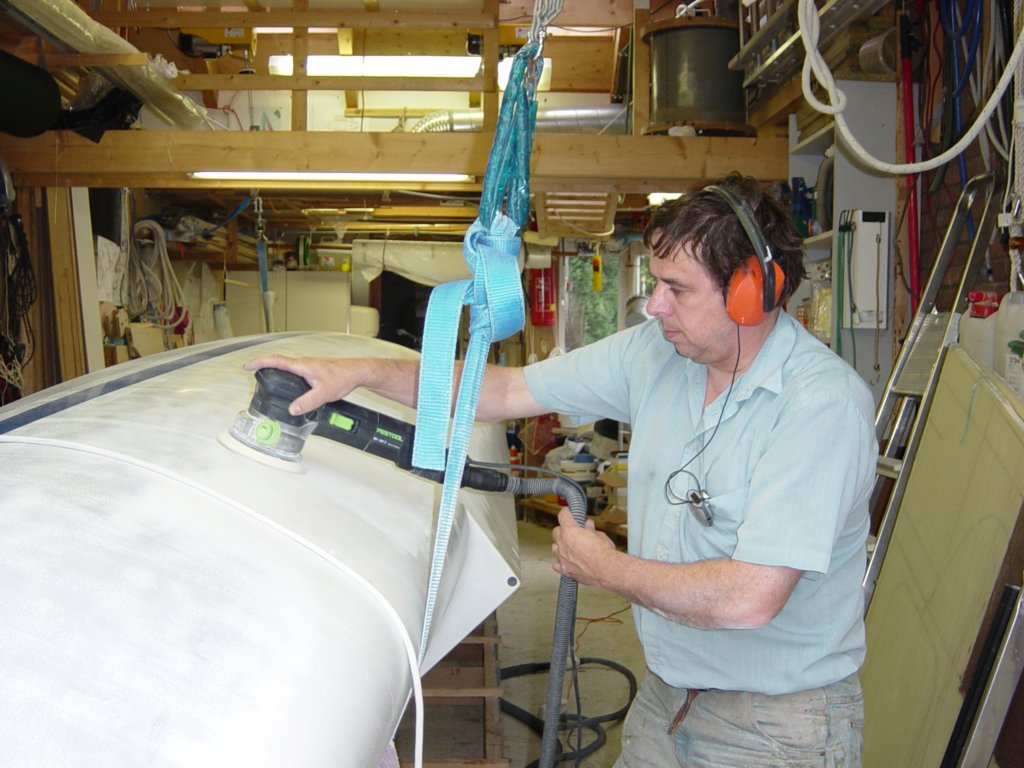
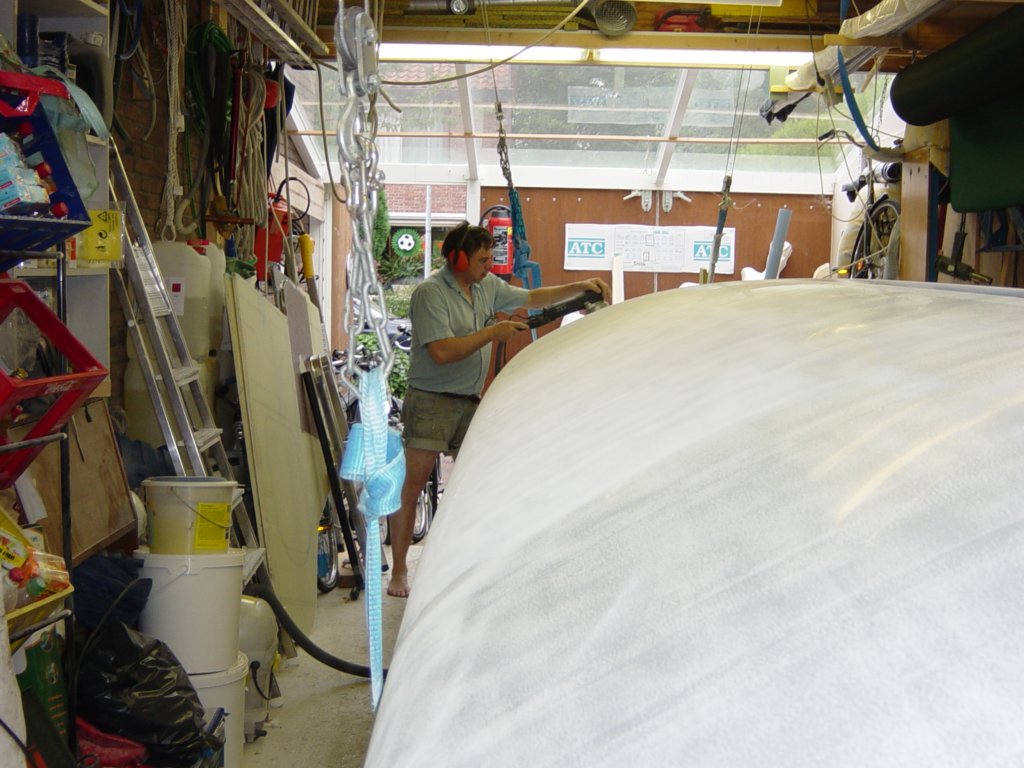
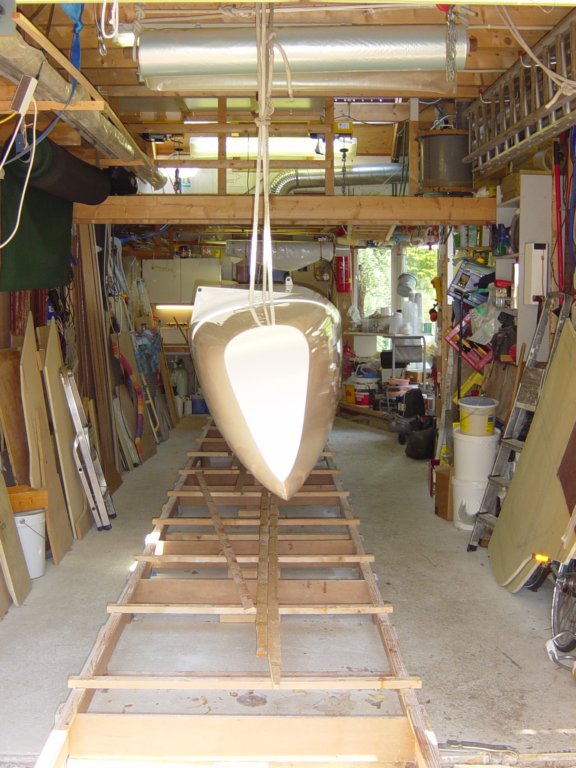
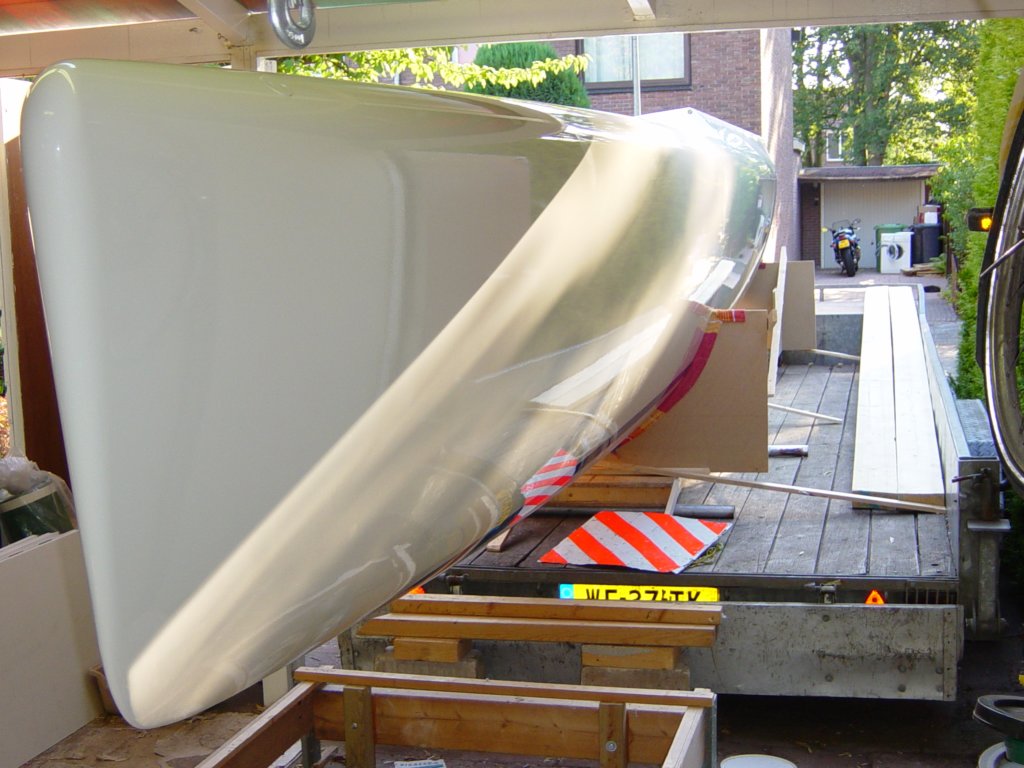
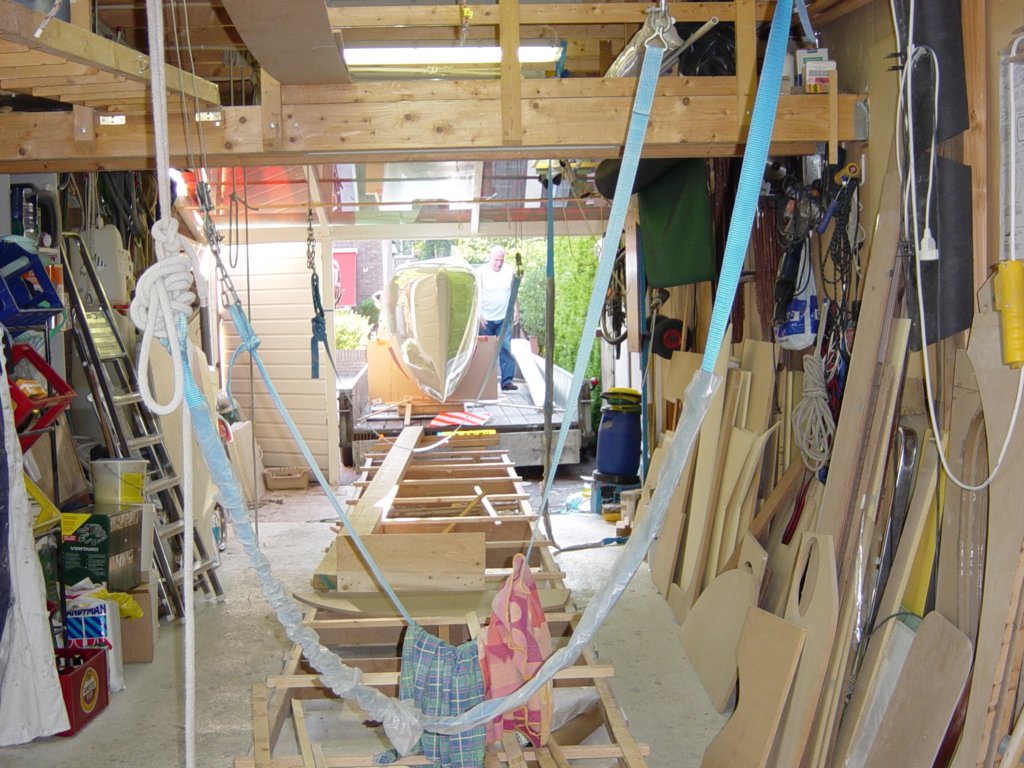
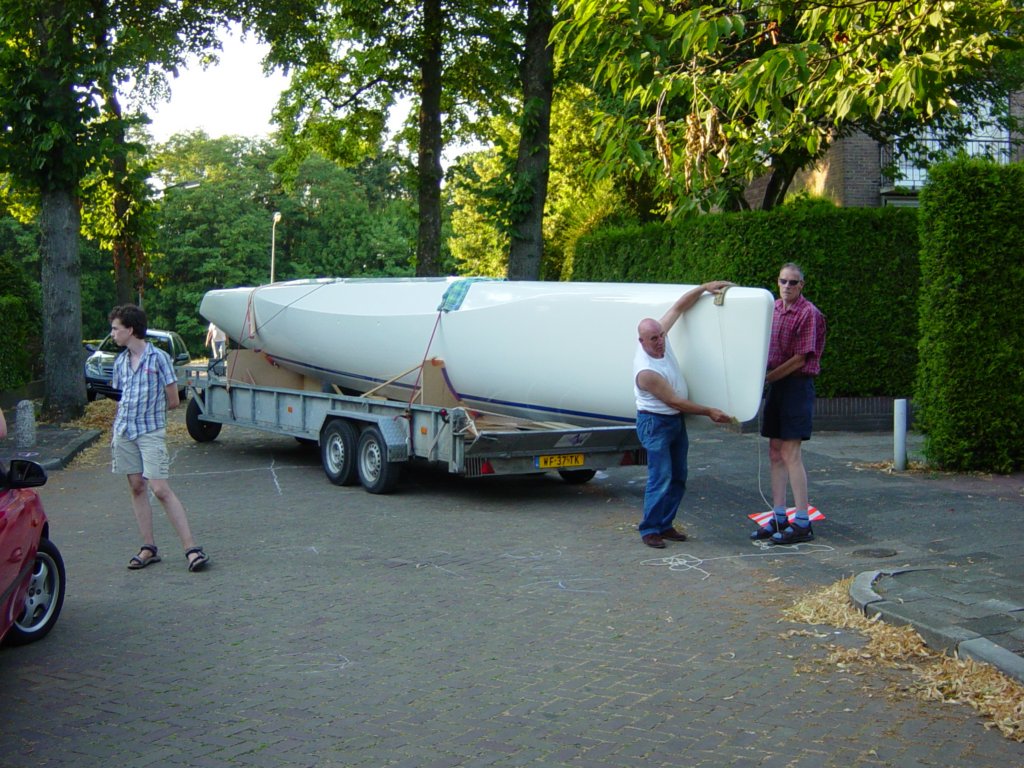
The float halves fit exactly together again, which is no surprise anymore. Now that I know what to expect, construction is progressing faster. I have now replaced the caulking gun for applying the filler strips with a candy bag with a hole in the tip. That works much more convenient. I have experienced allergic reactions of the previously used filler (S-fair of SP) and that is now replaced by a local brand (LG of De IJssel) where I have not experienced any problems. Click on the pictures above and below for a detailed photo report and video about the composition of this float.

|
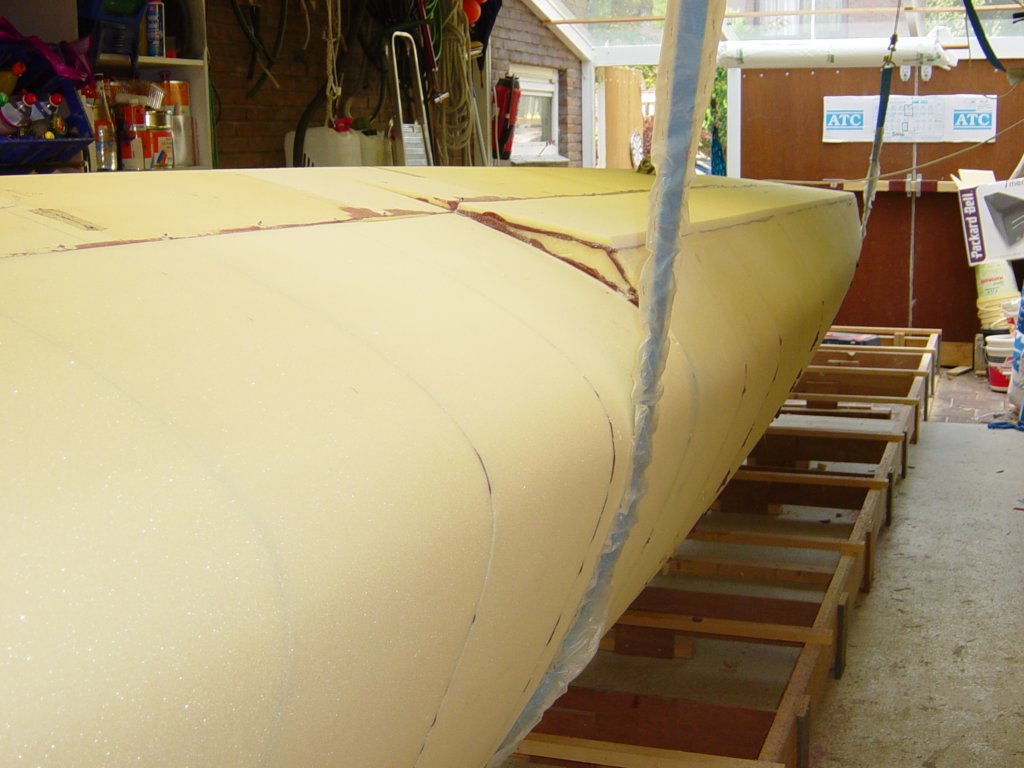
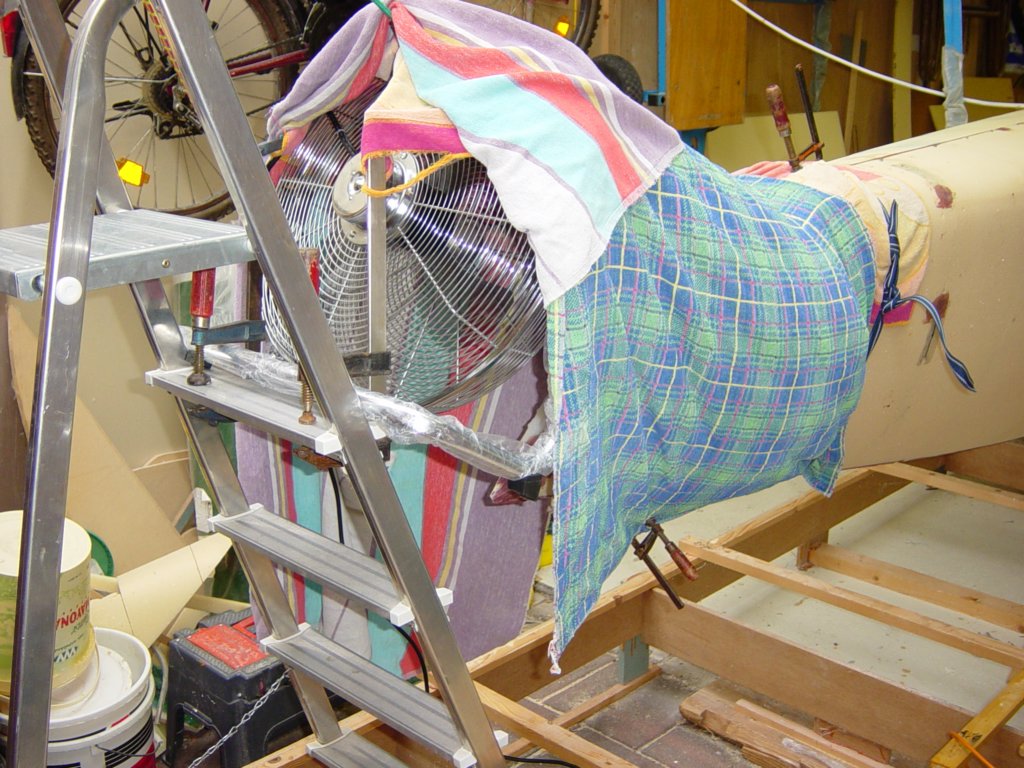
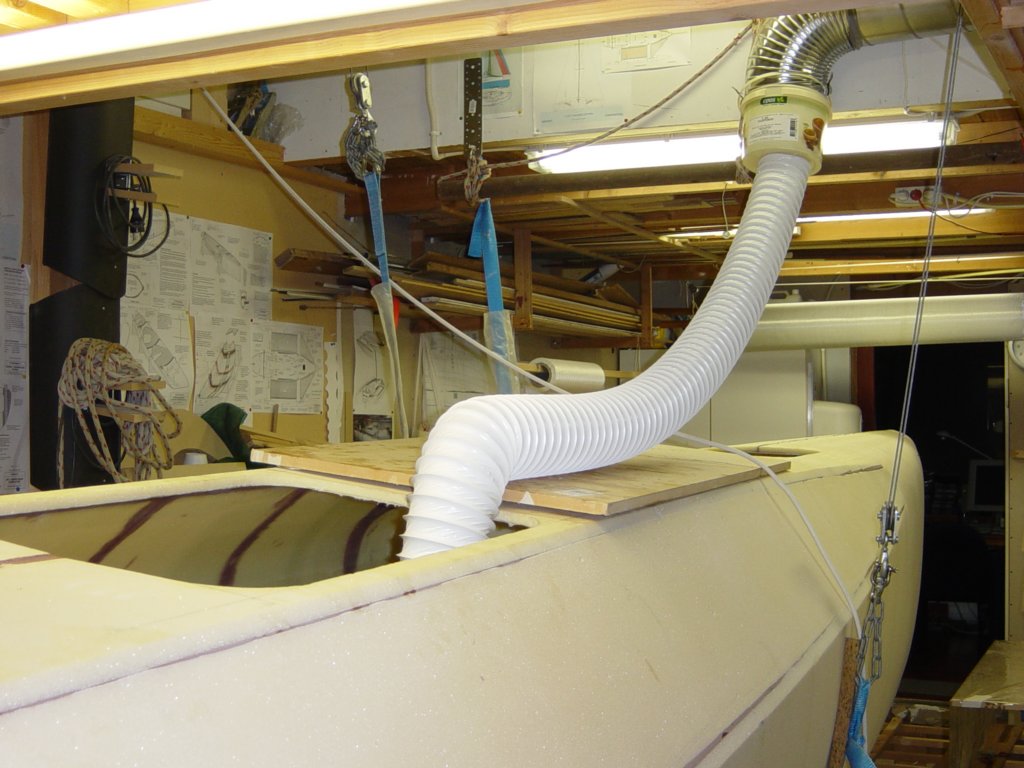
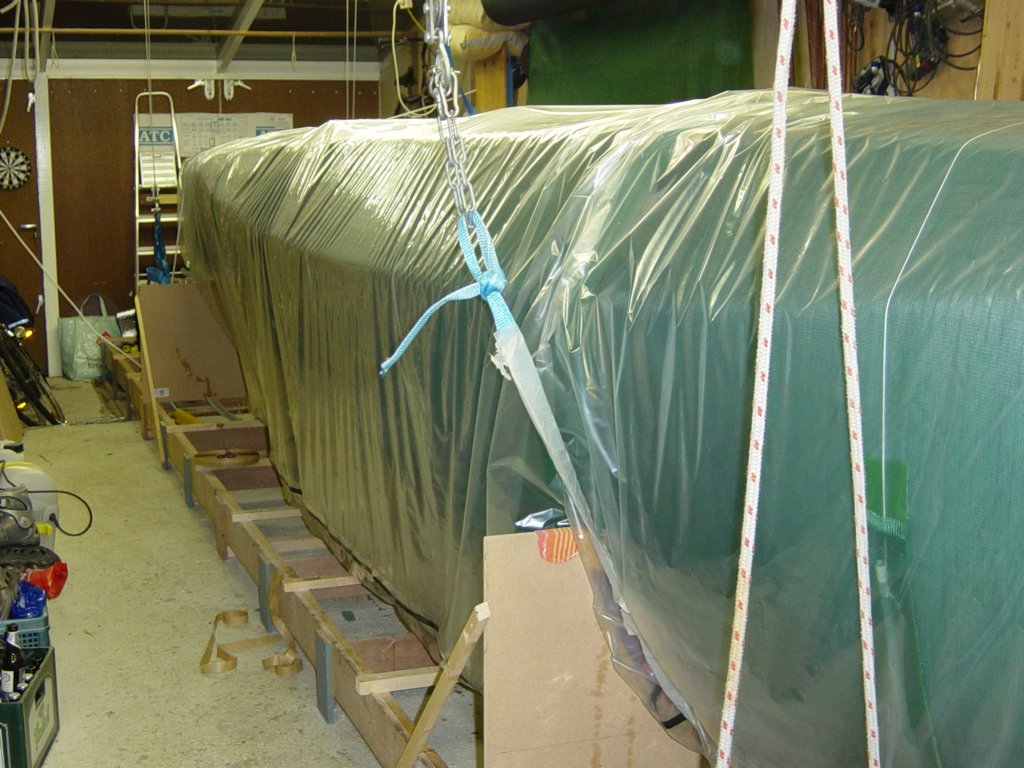
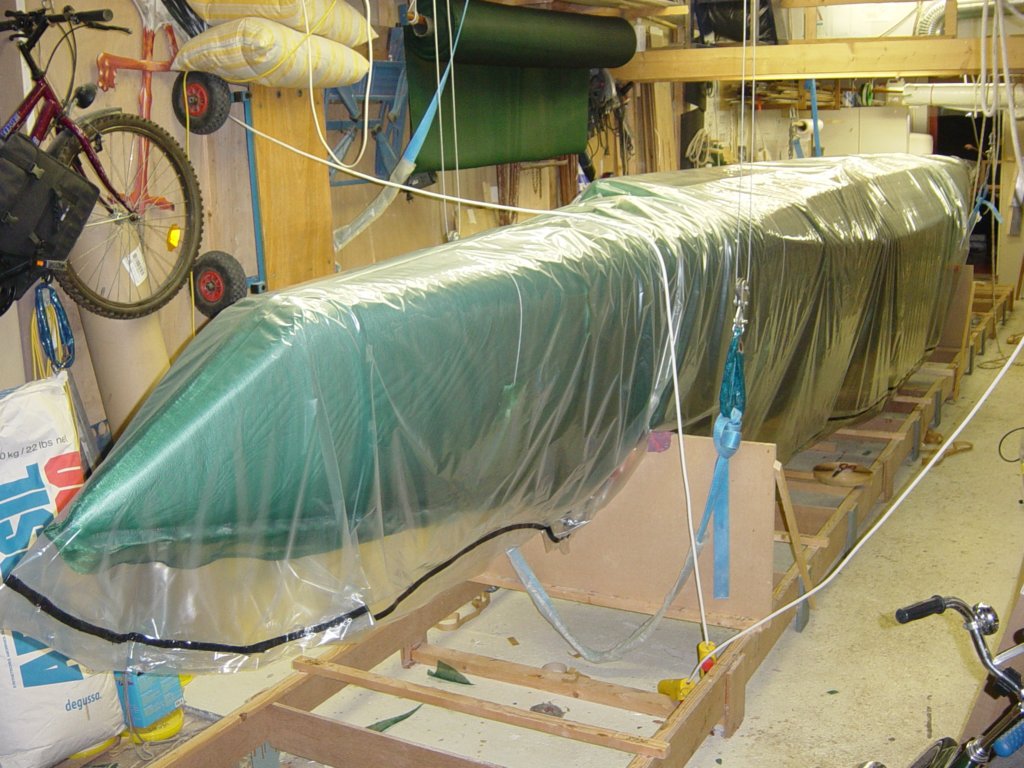
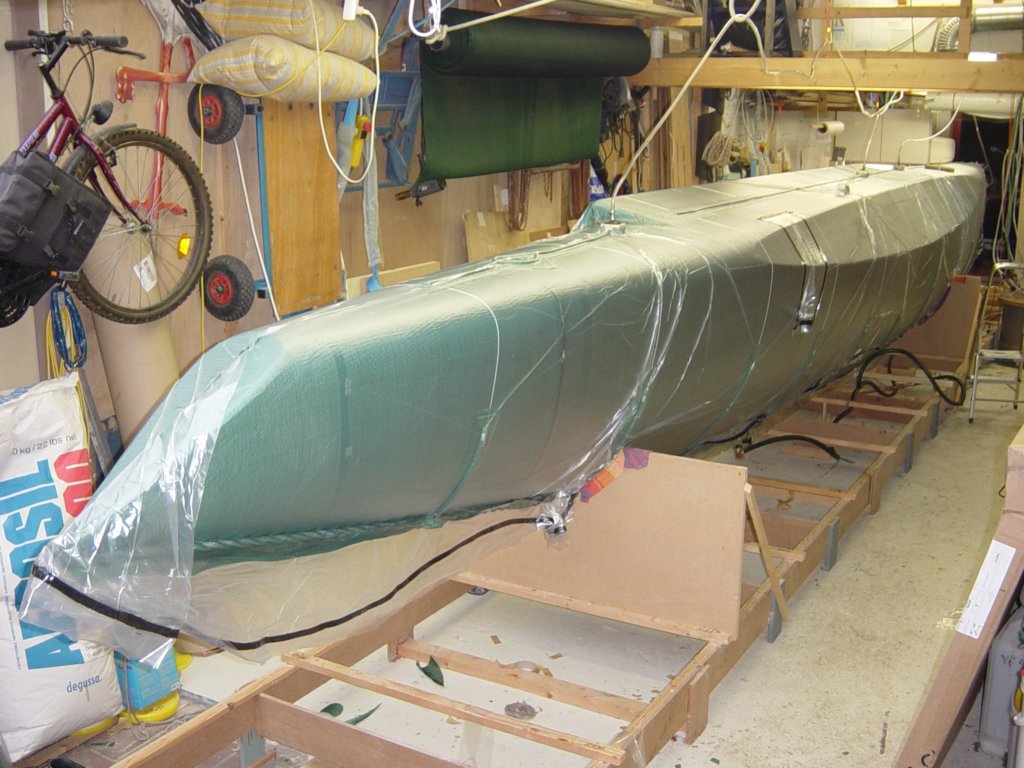
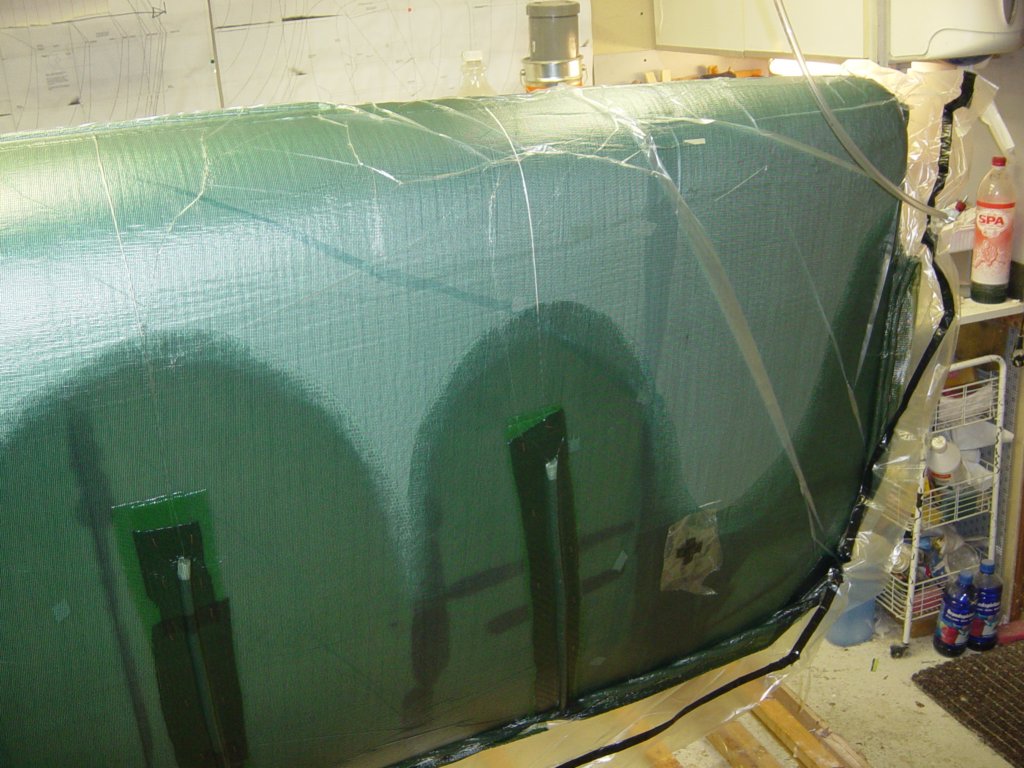
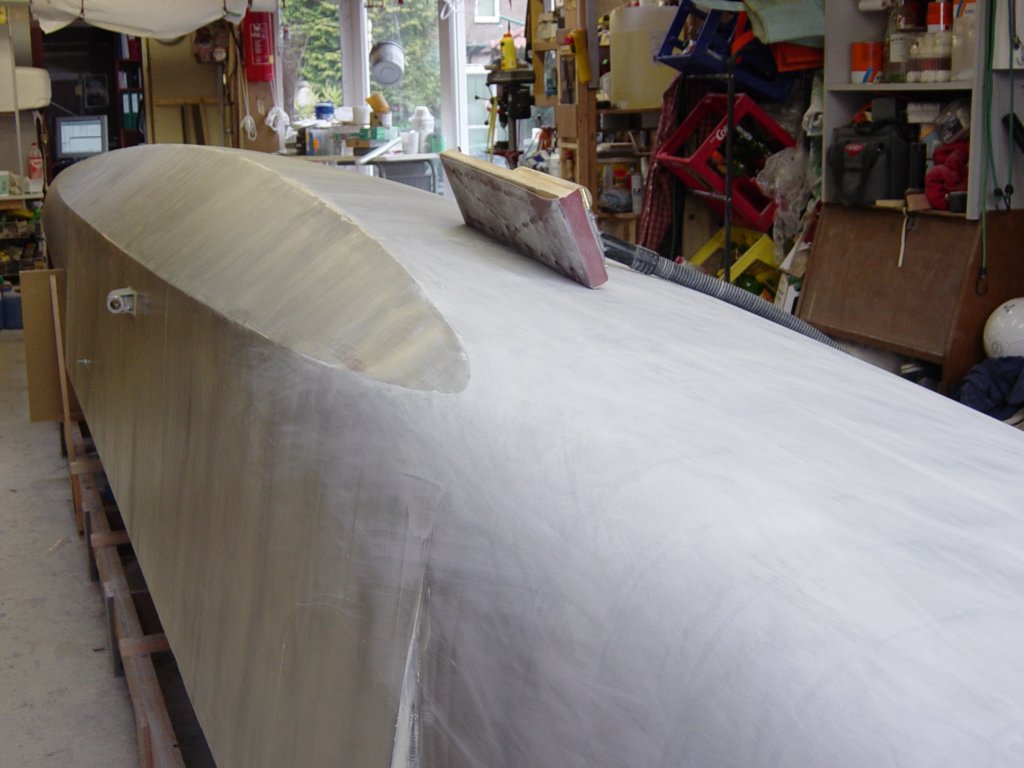
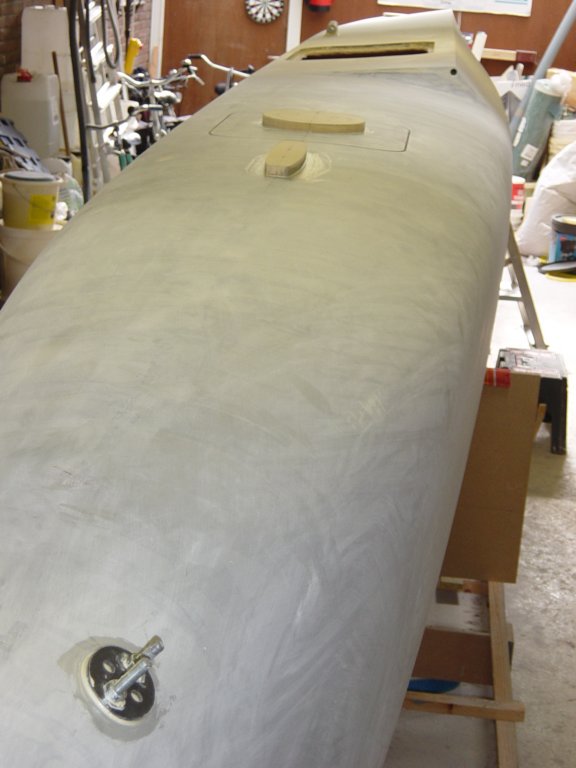
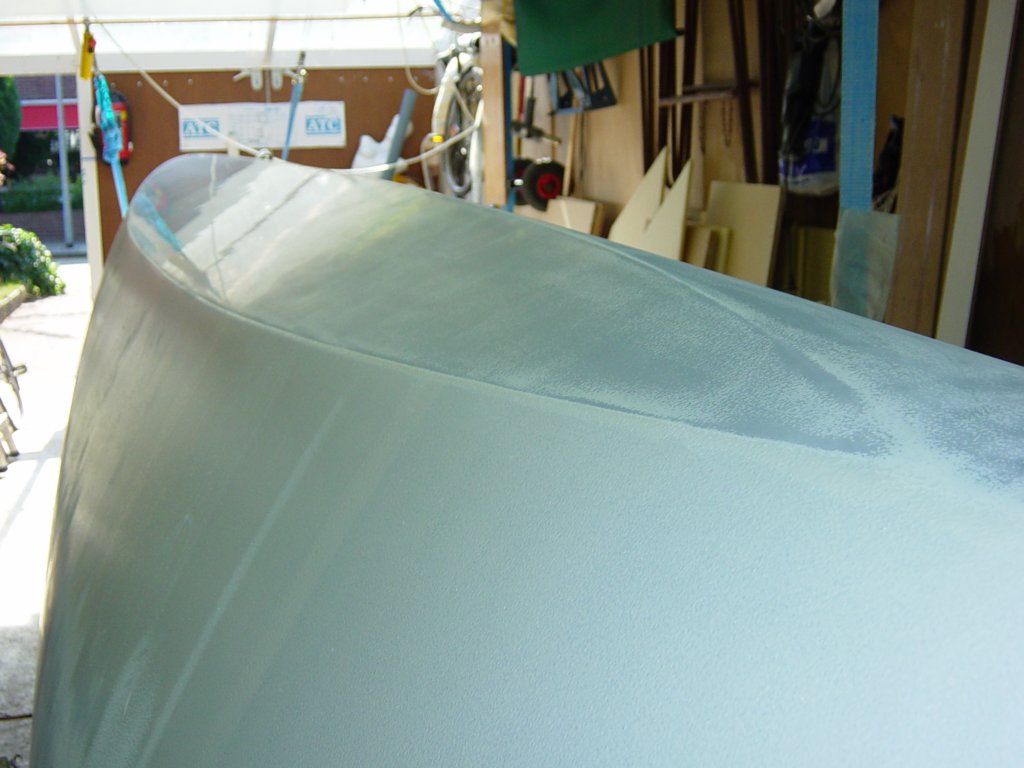
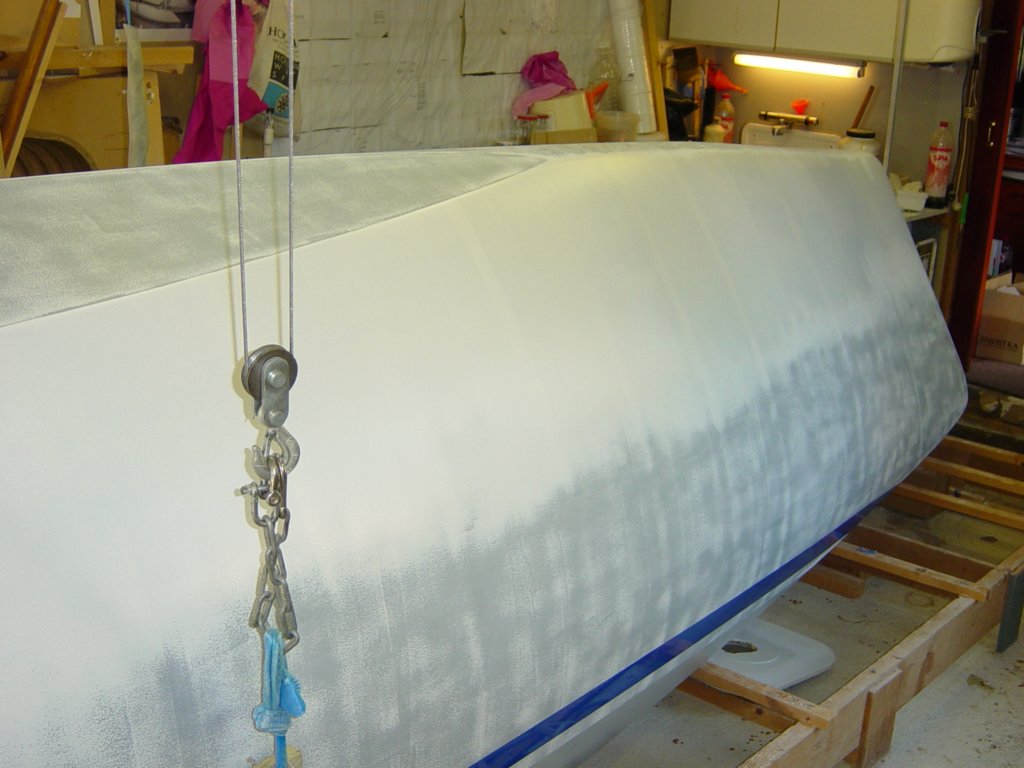
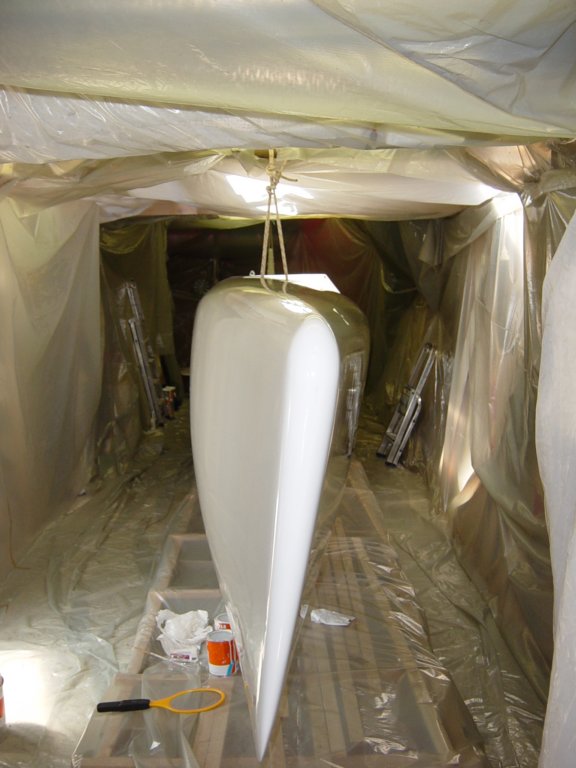
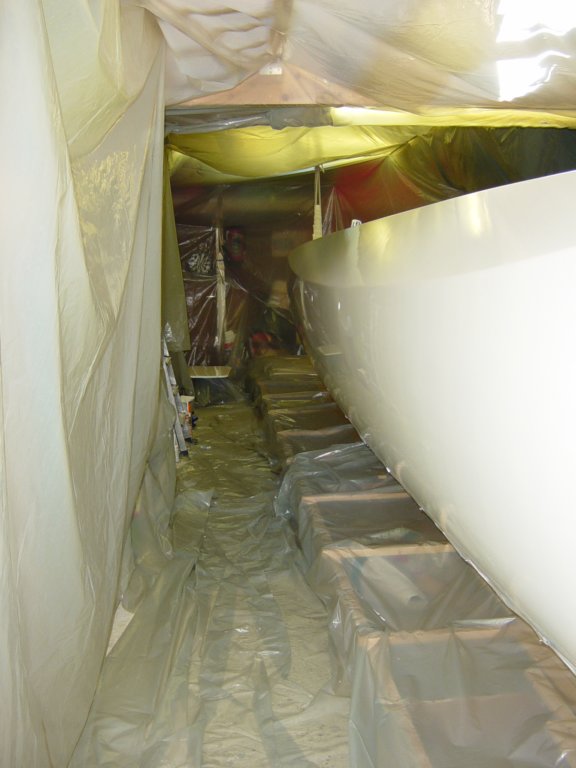
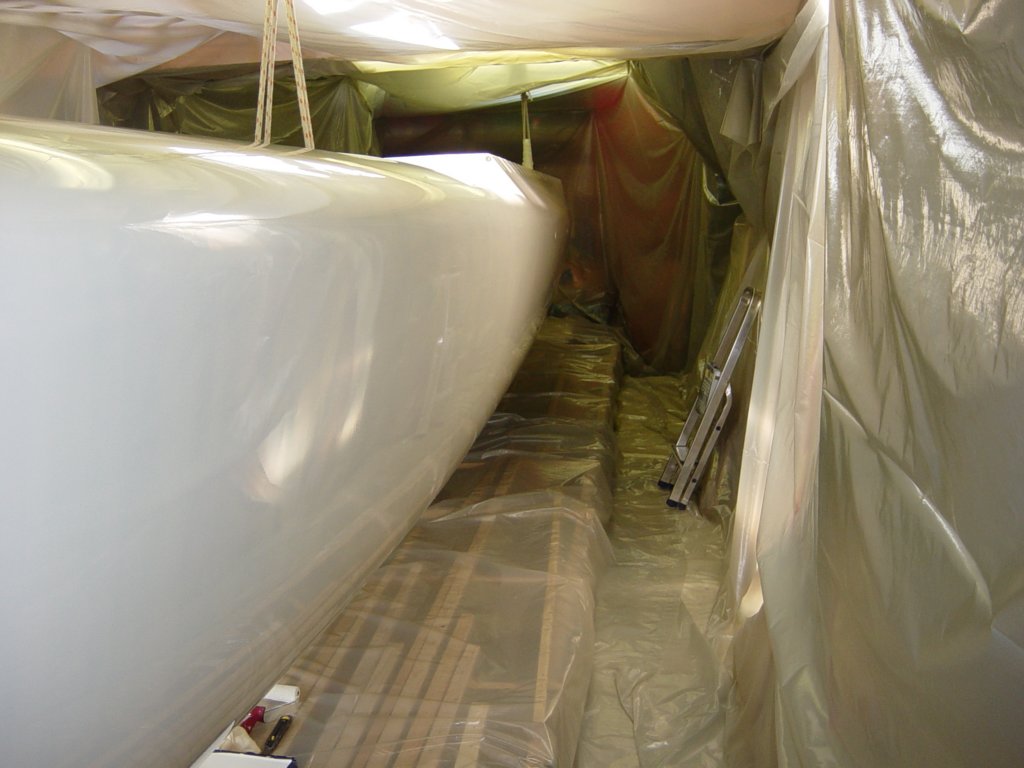
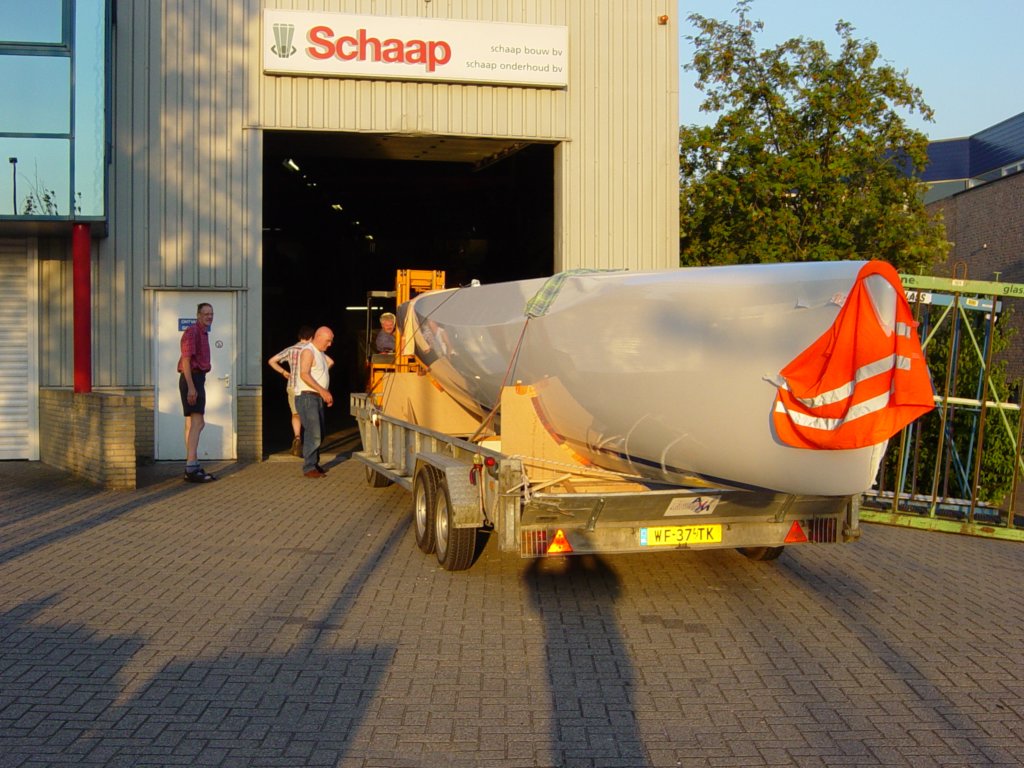
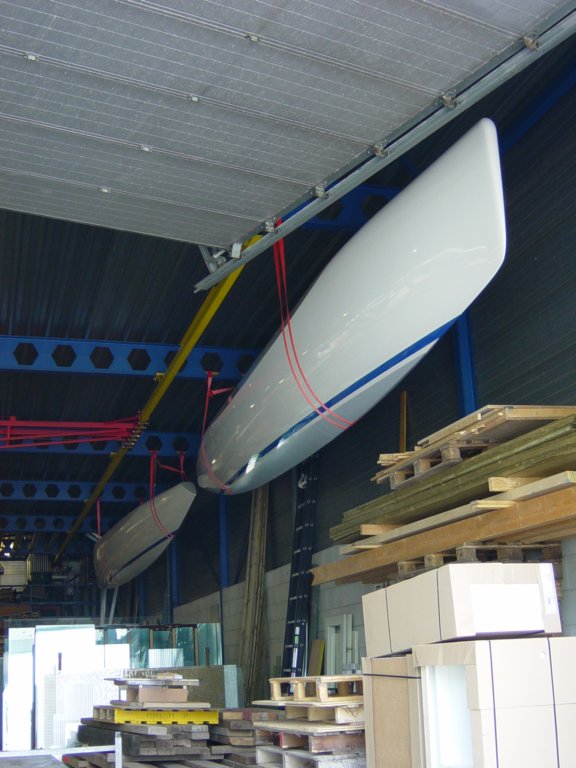
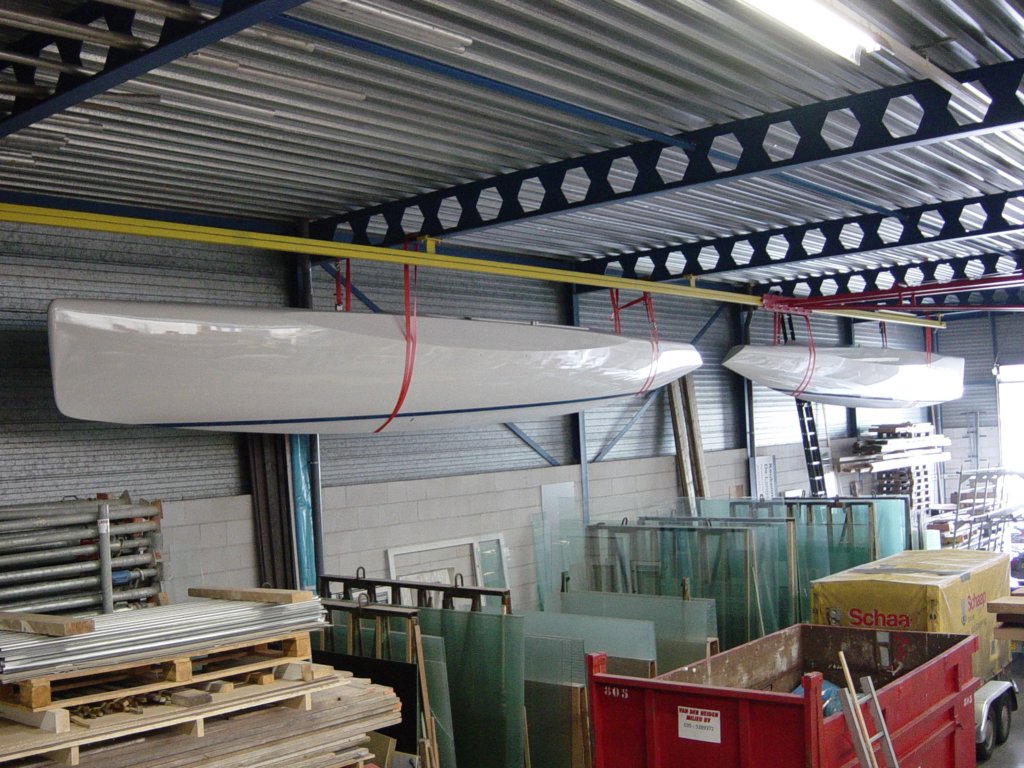
Final paint work and storage

| « Previous Next » |
to do it right in the first place,
when will you get the time to fix it